Astro Photography, The Milky Way and Chasing Auroras on Phillip Island by dale rogers

51178204141_9828b61574_k (1).jpg

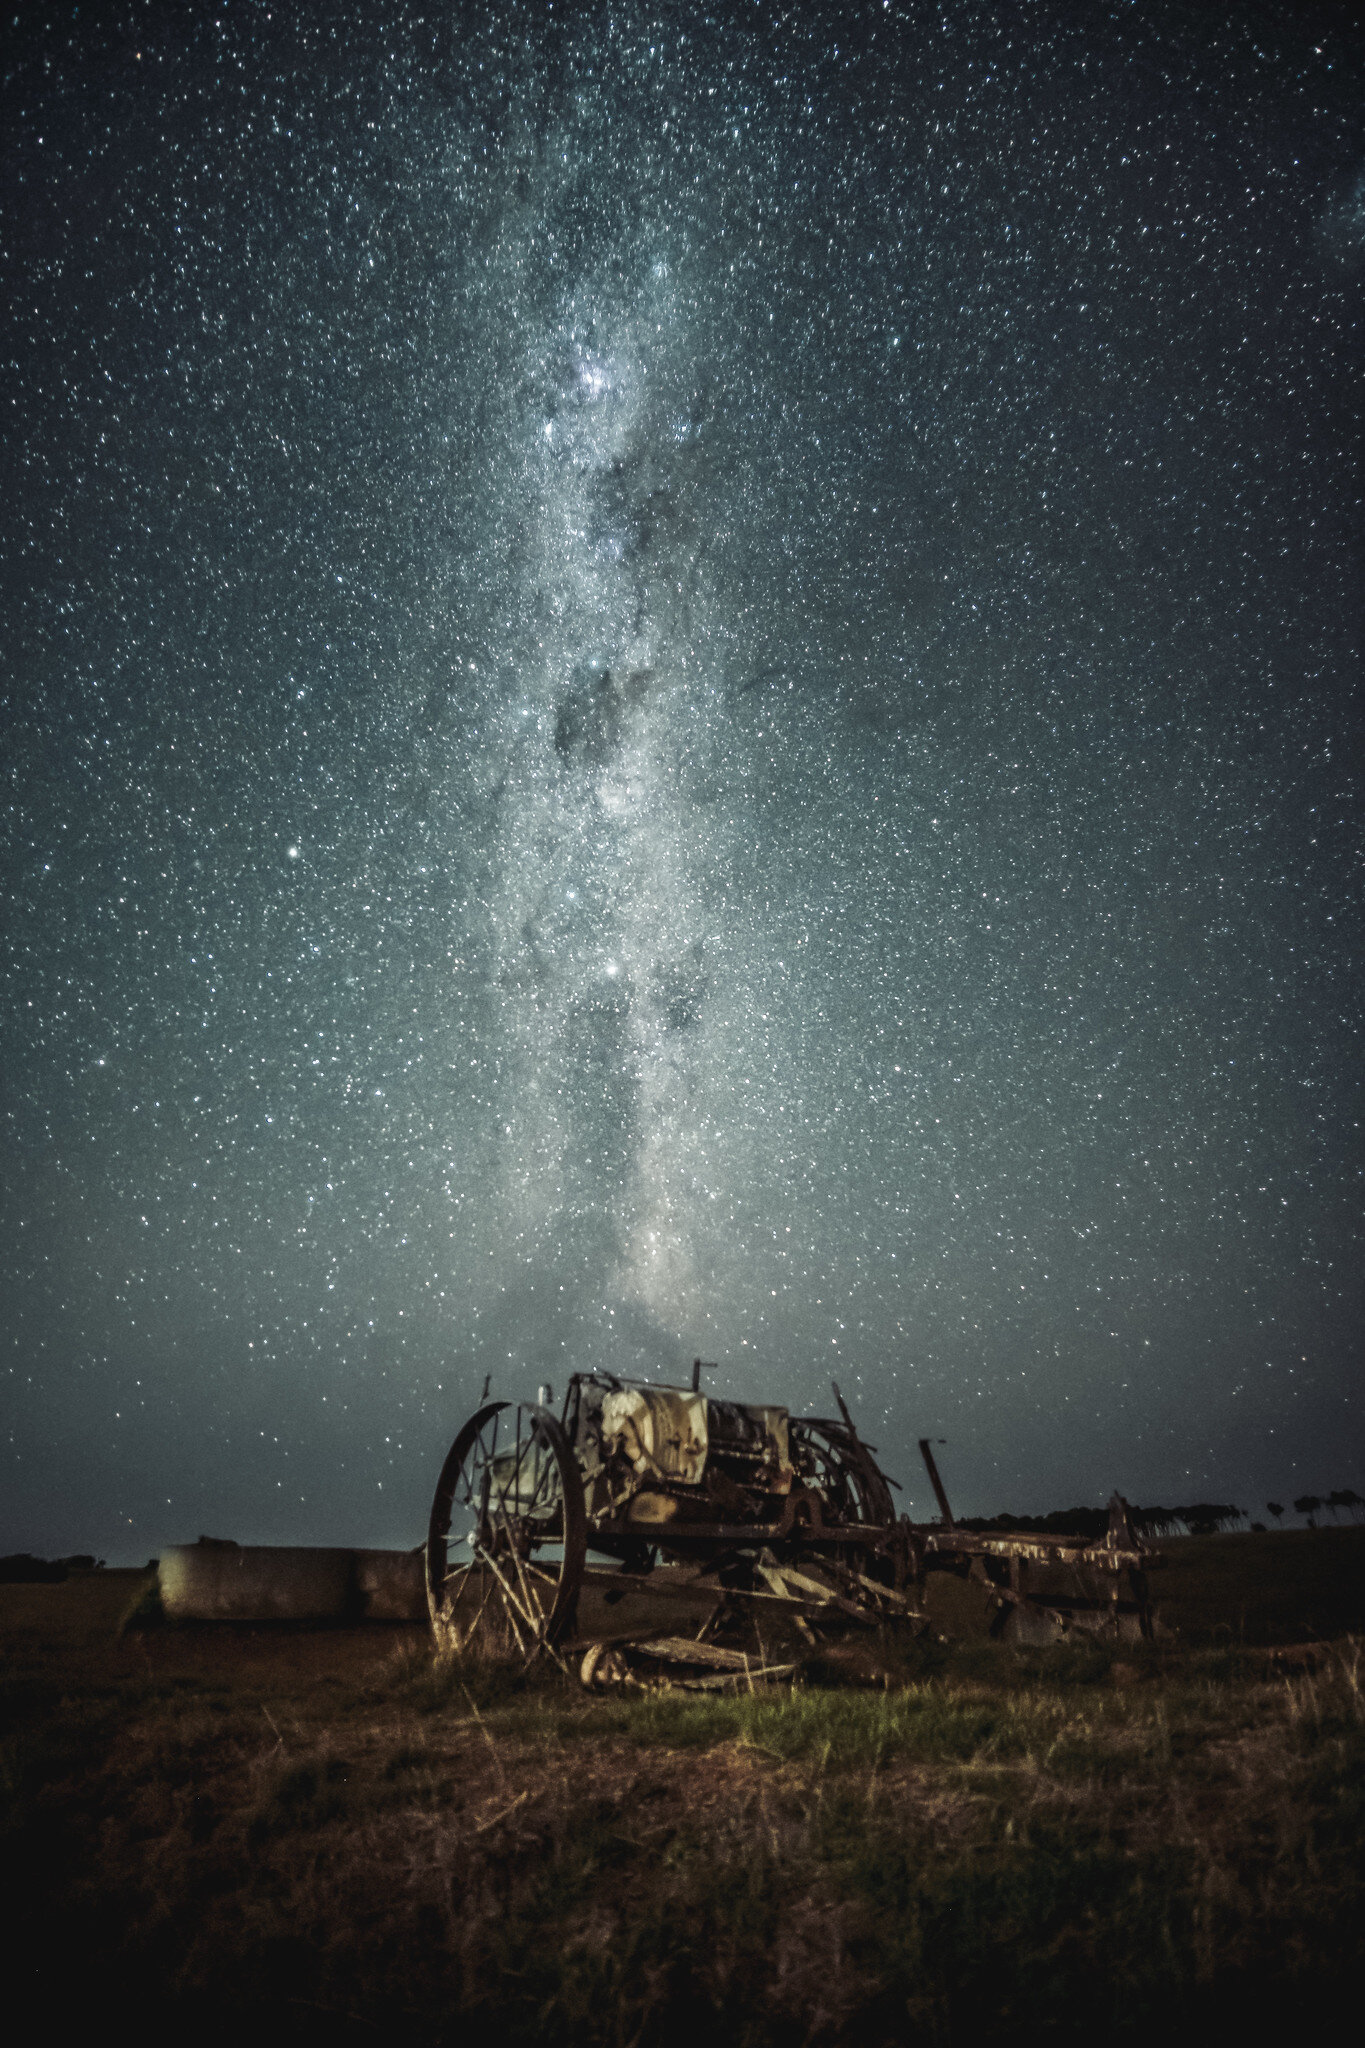
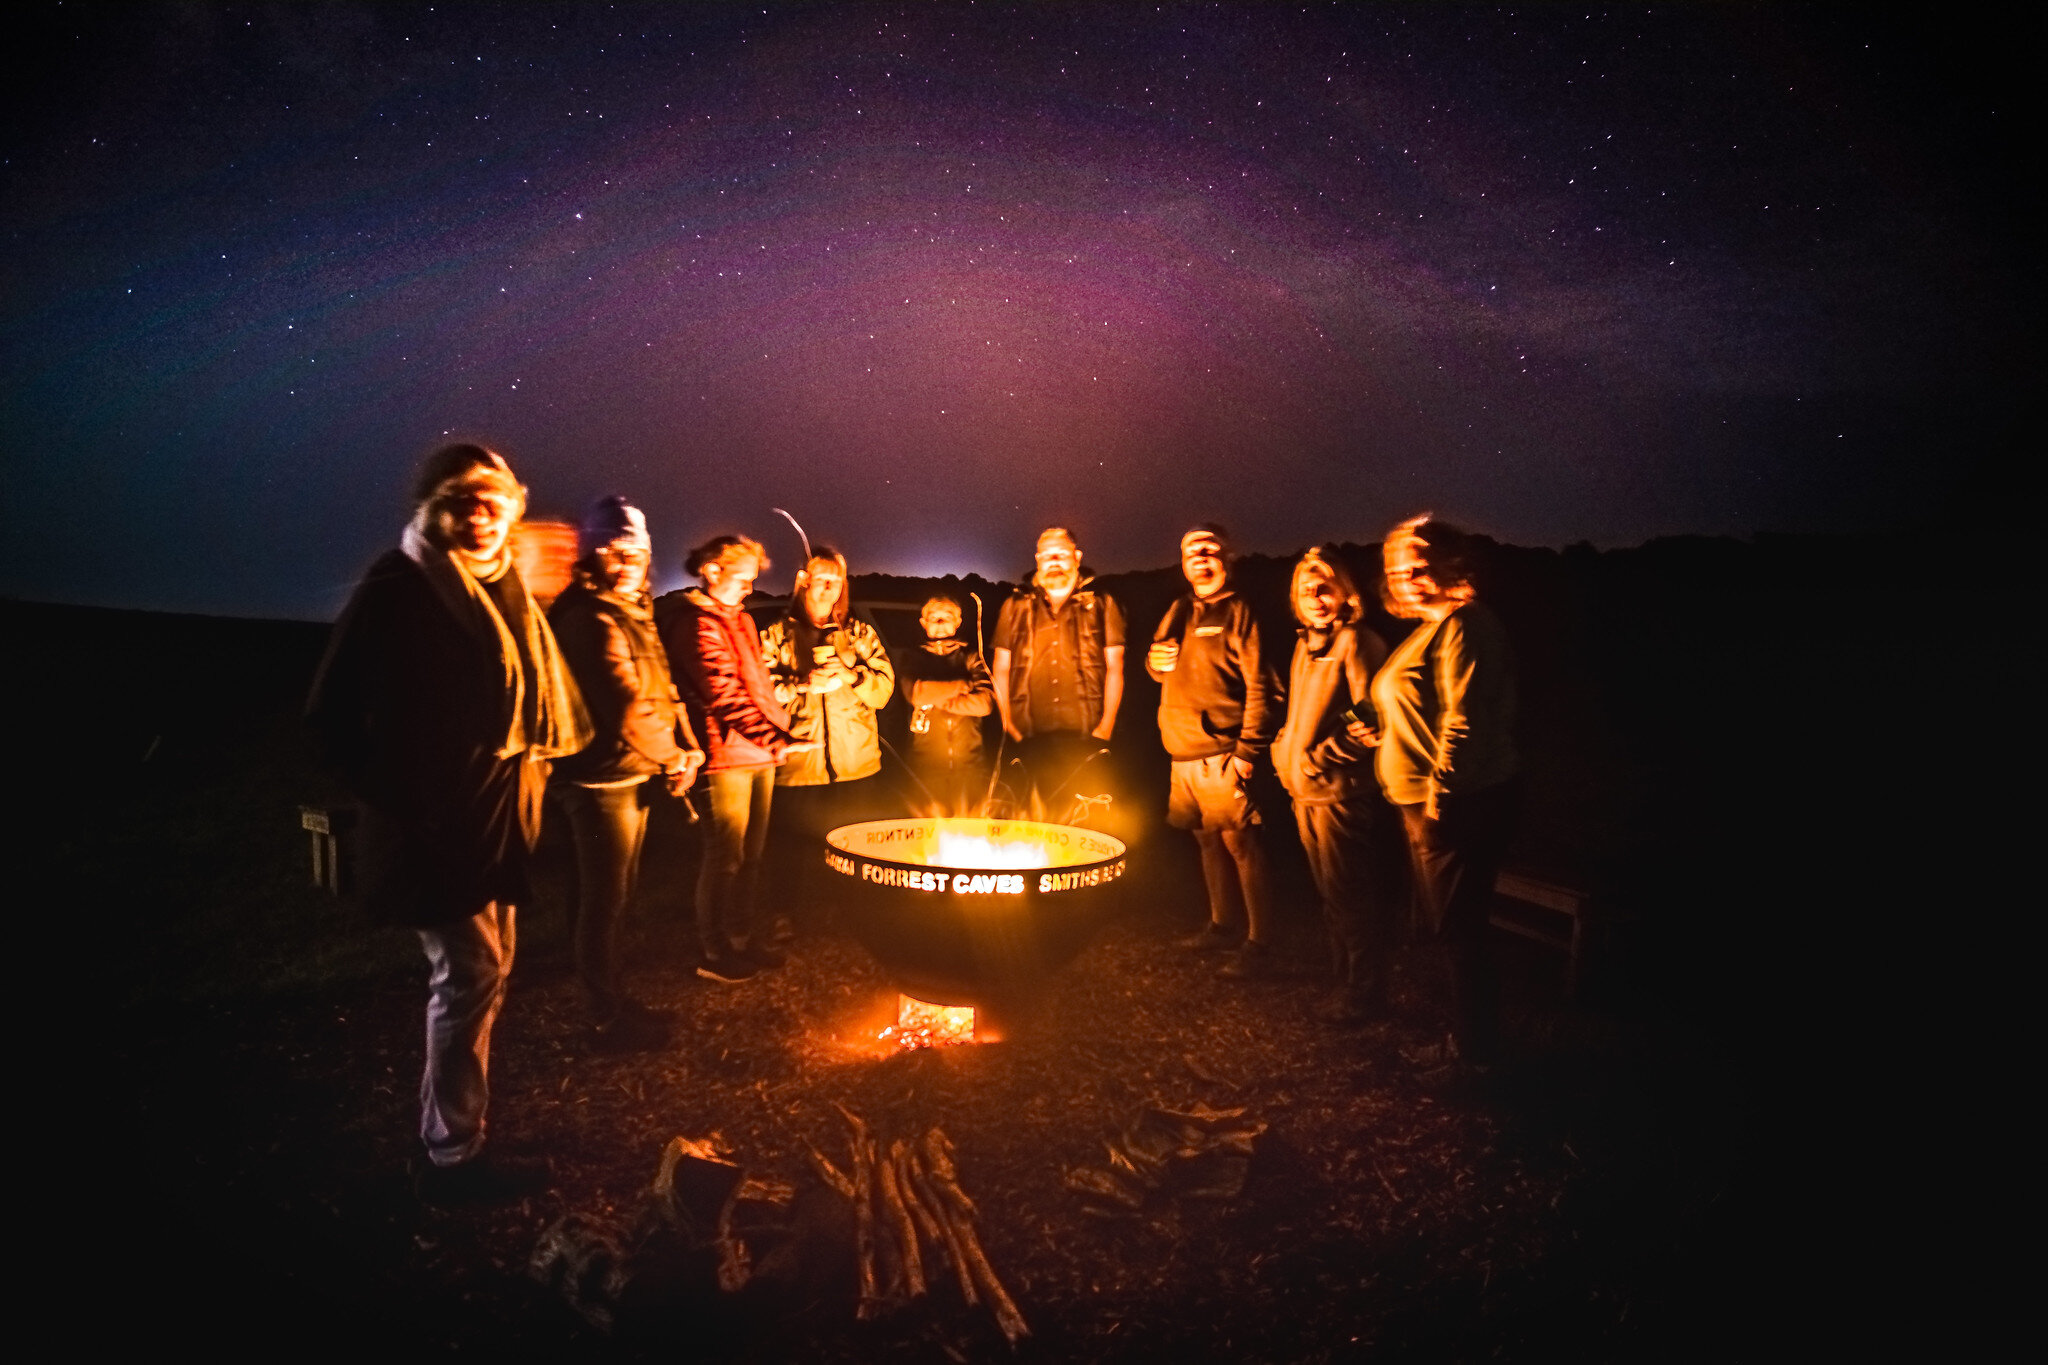
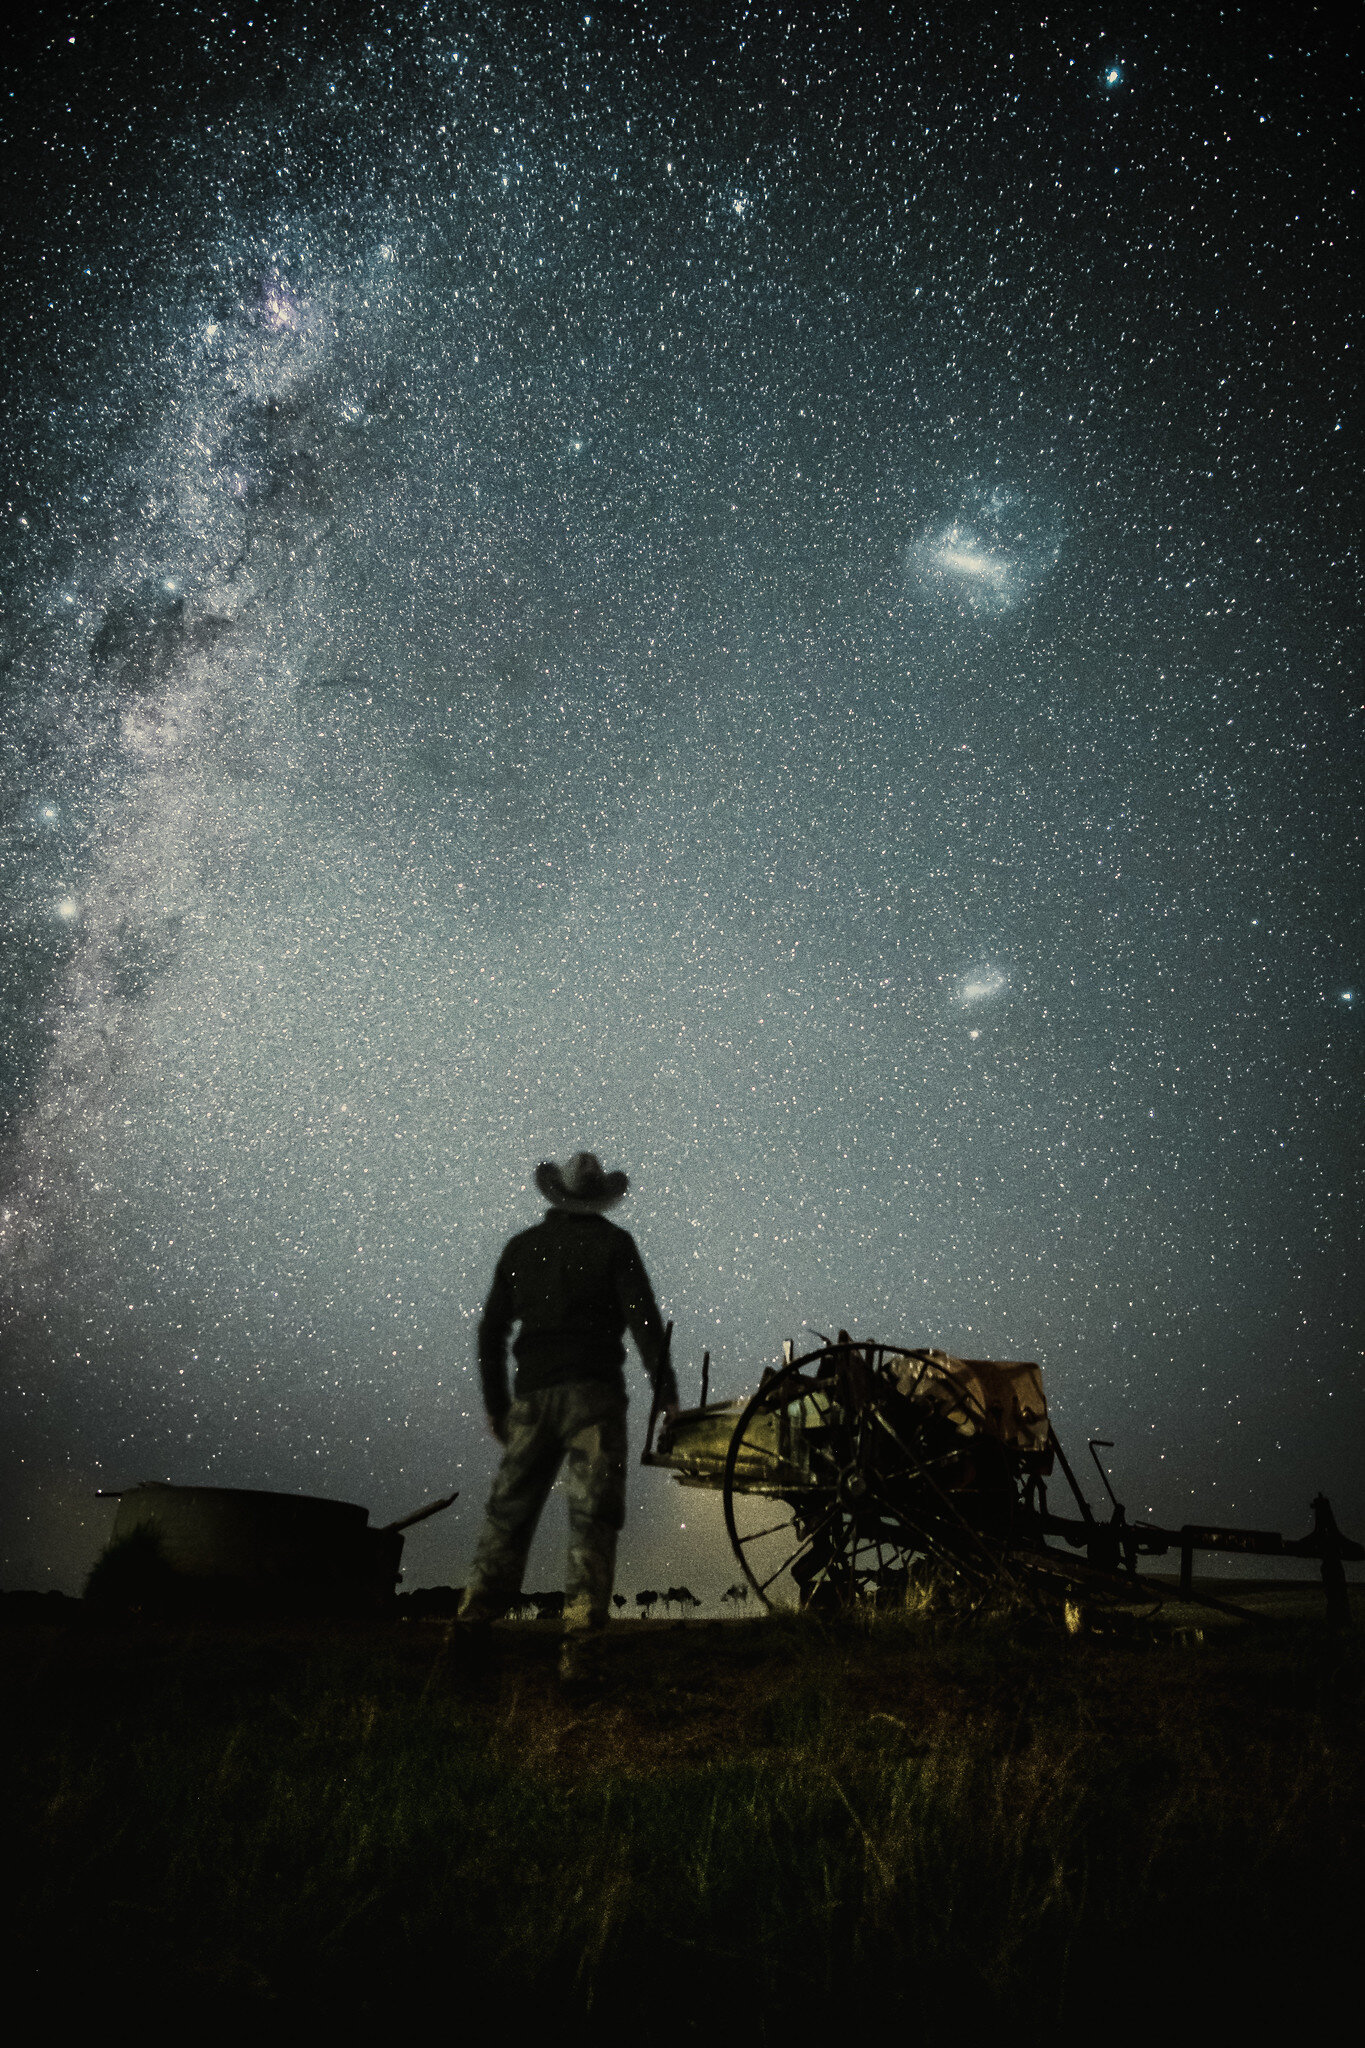
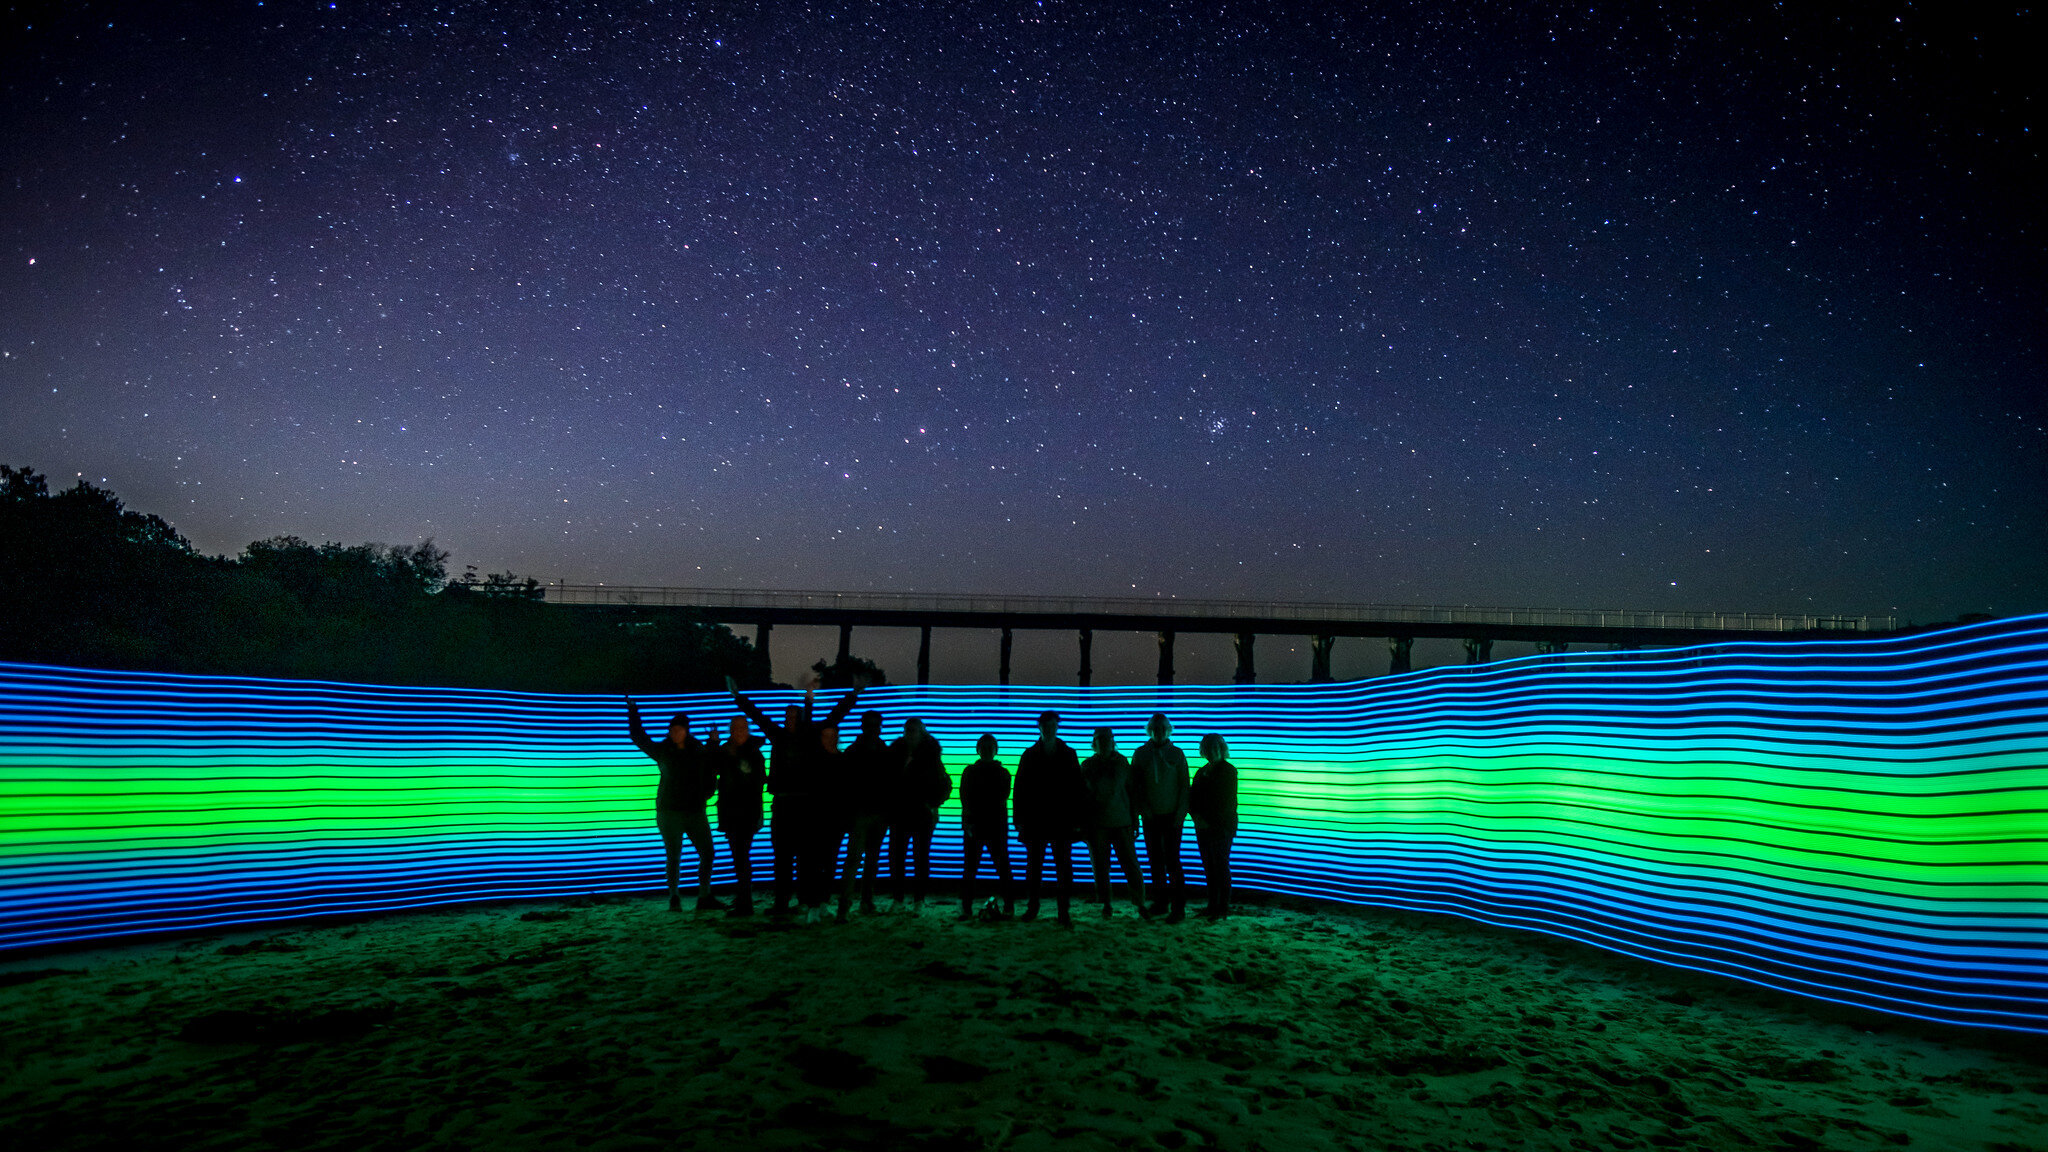
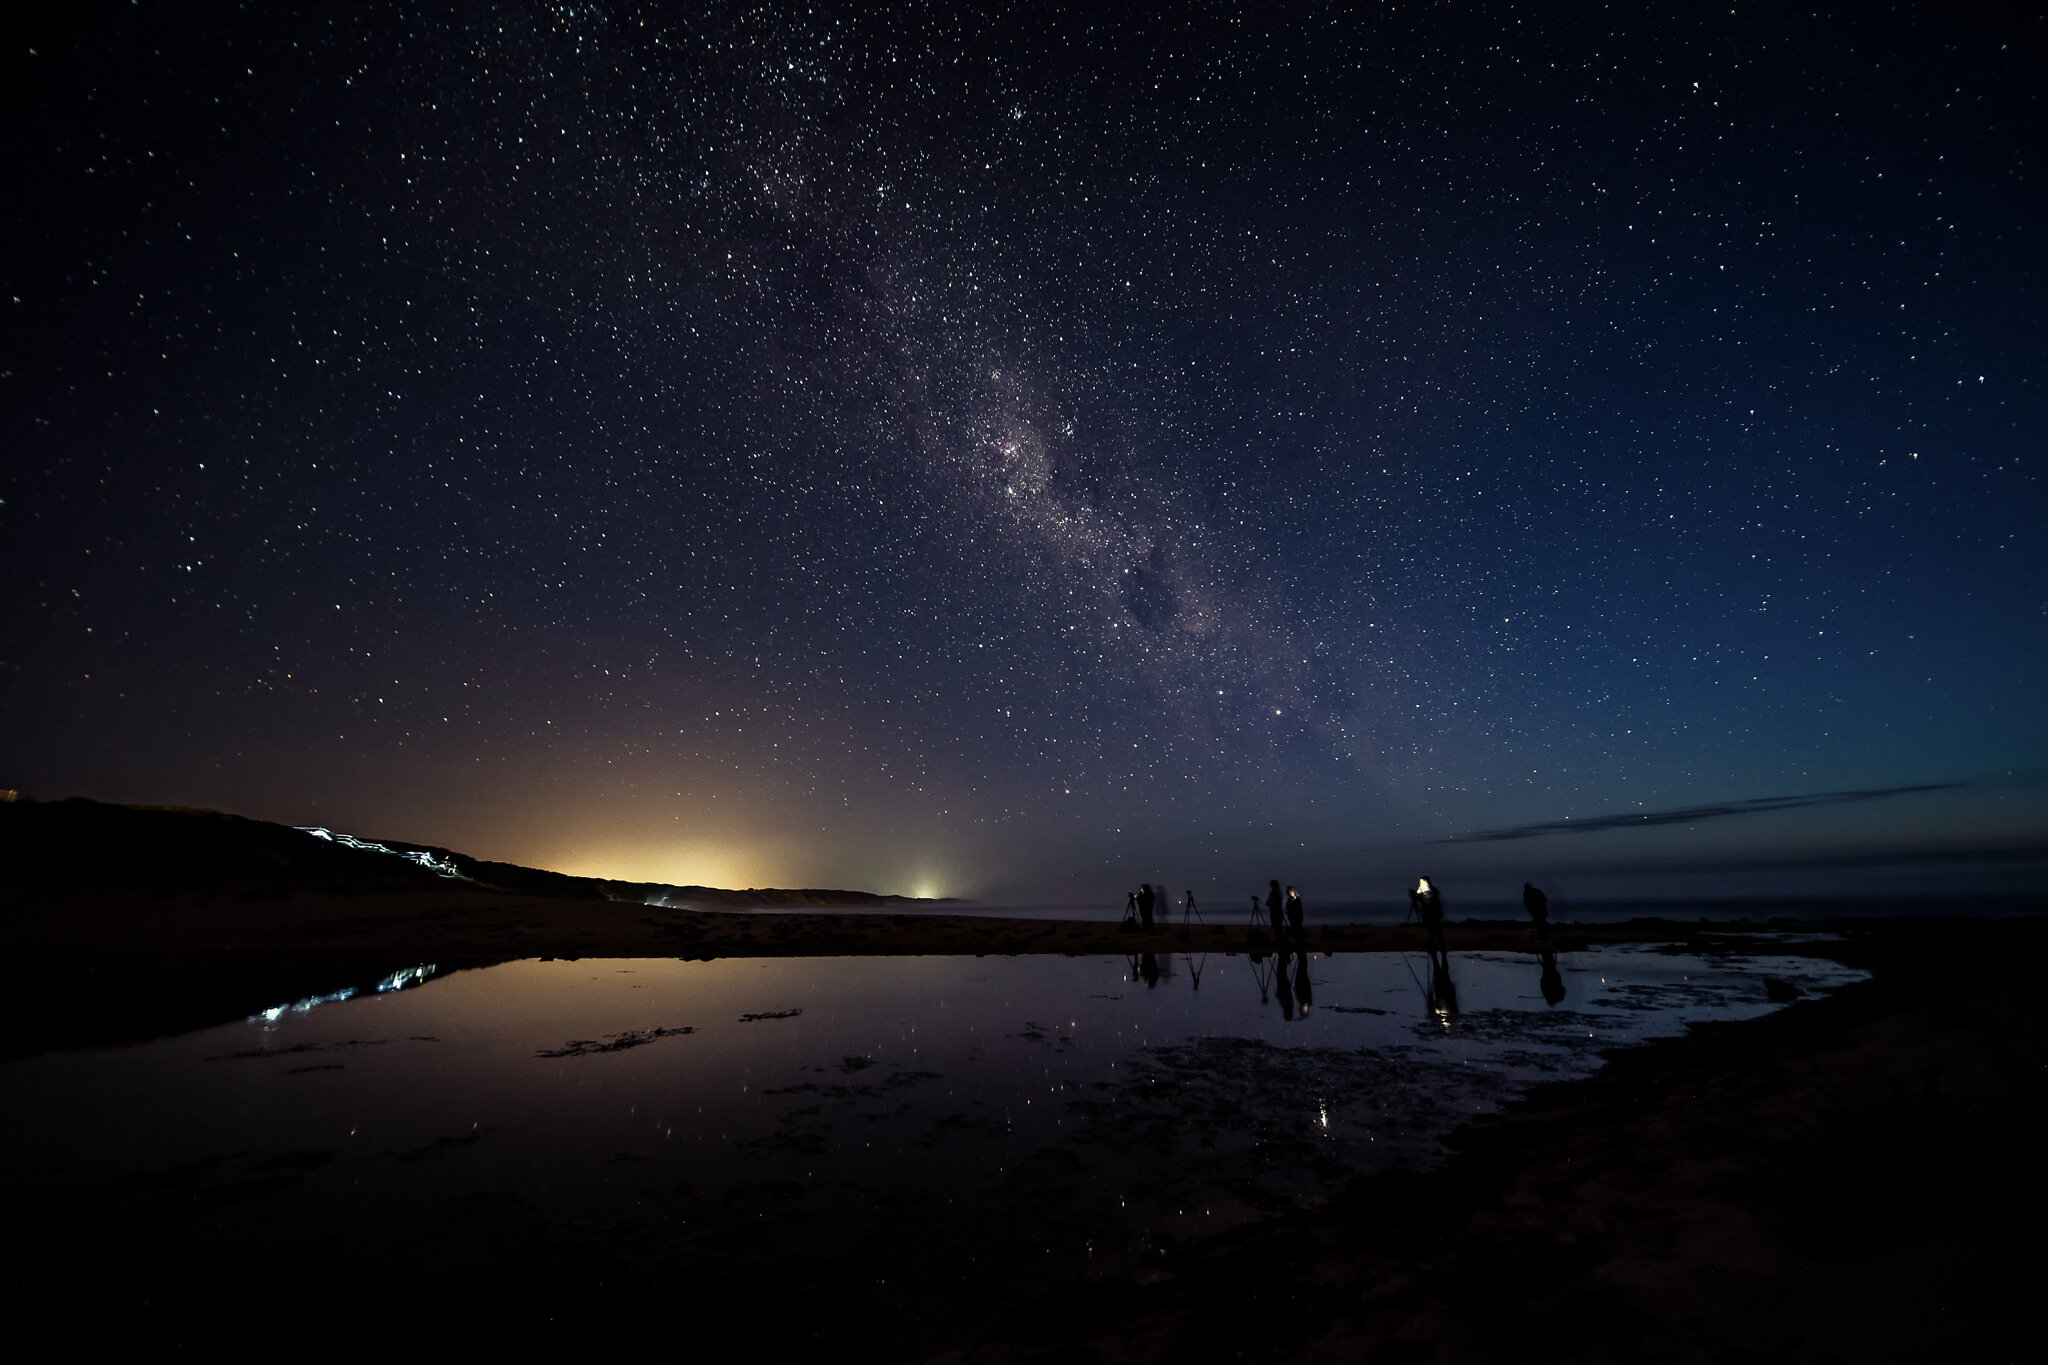
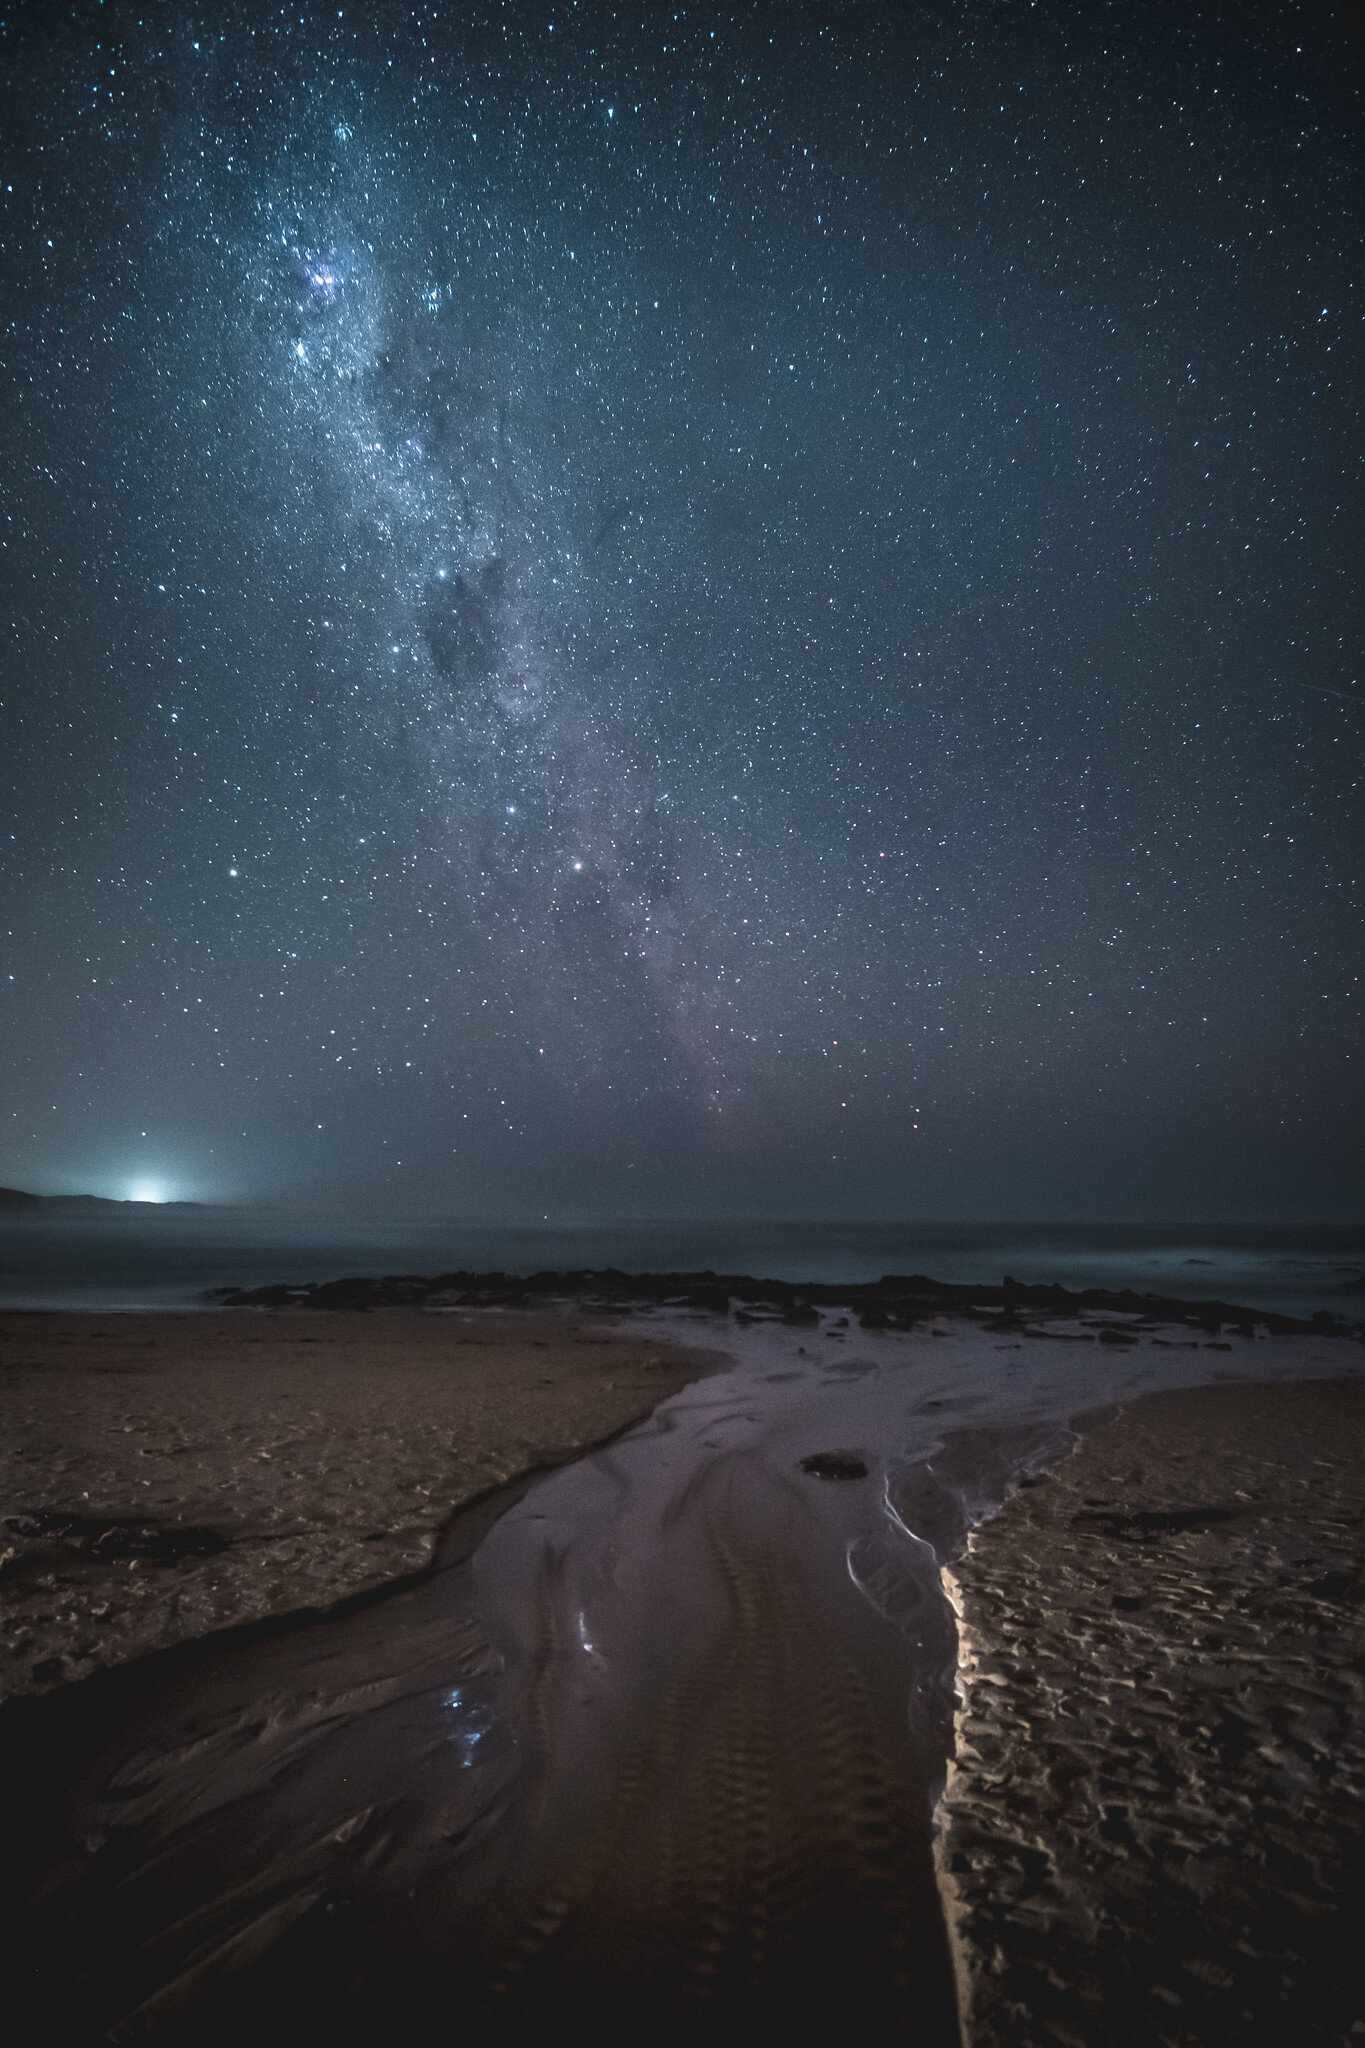
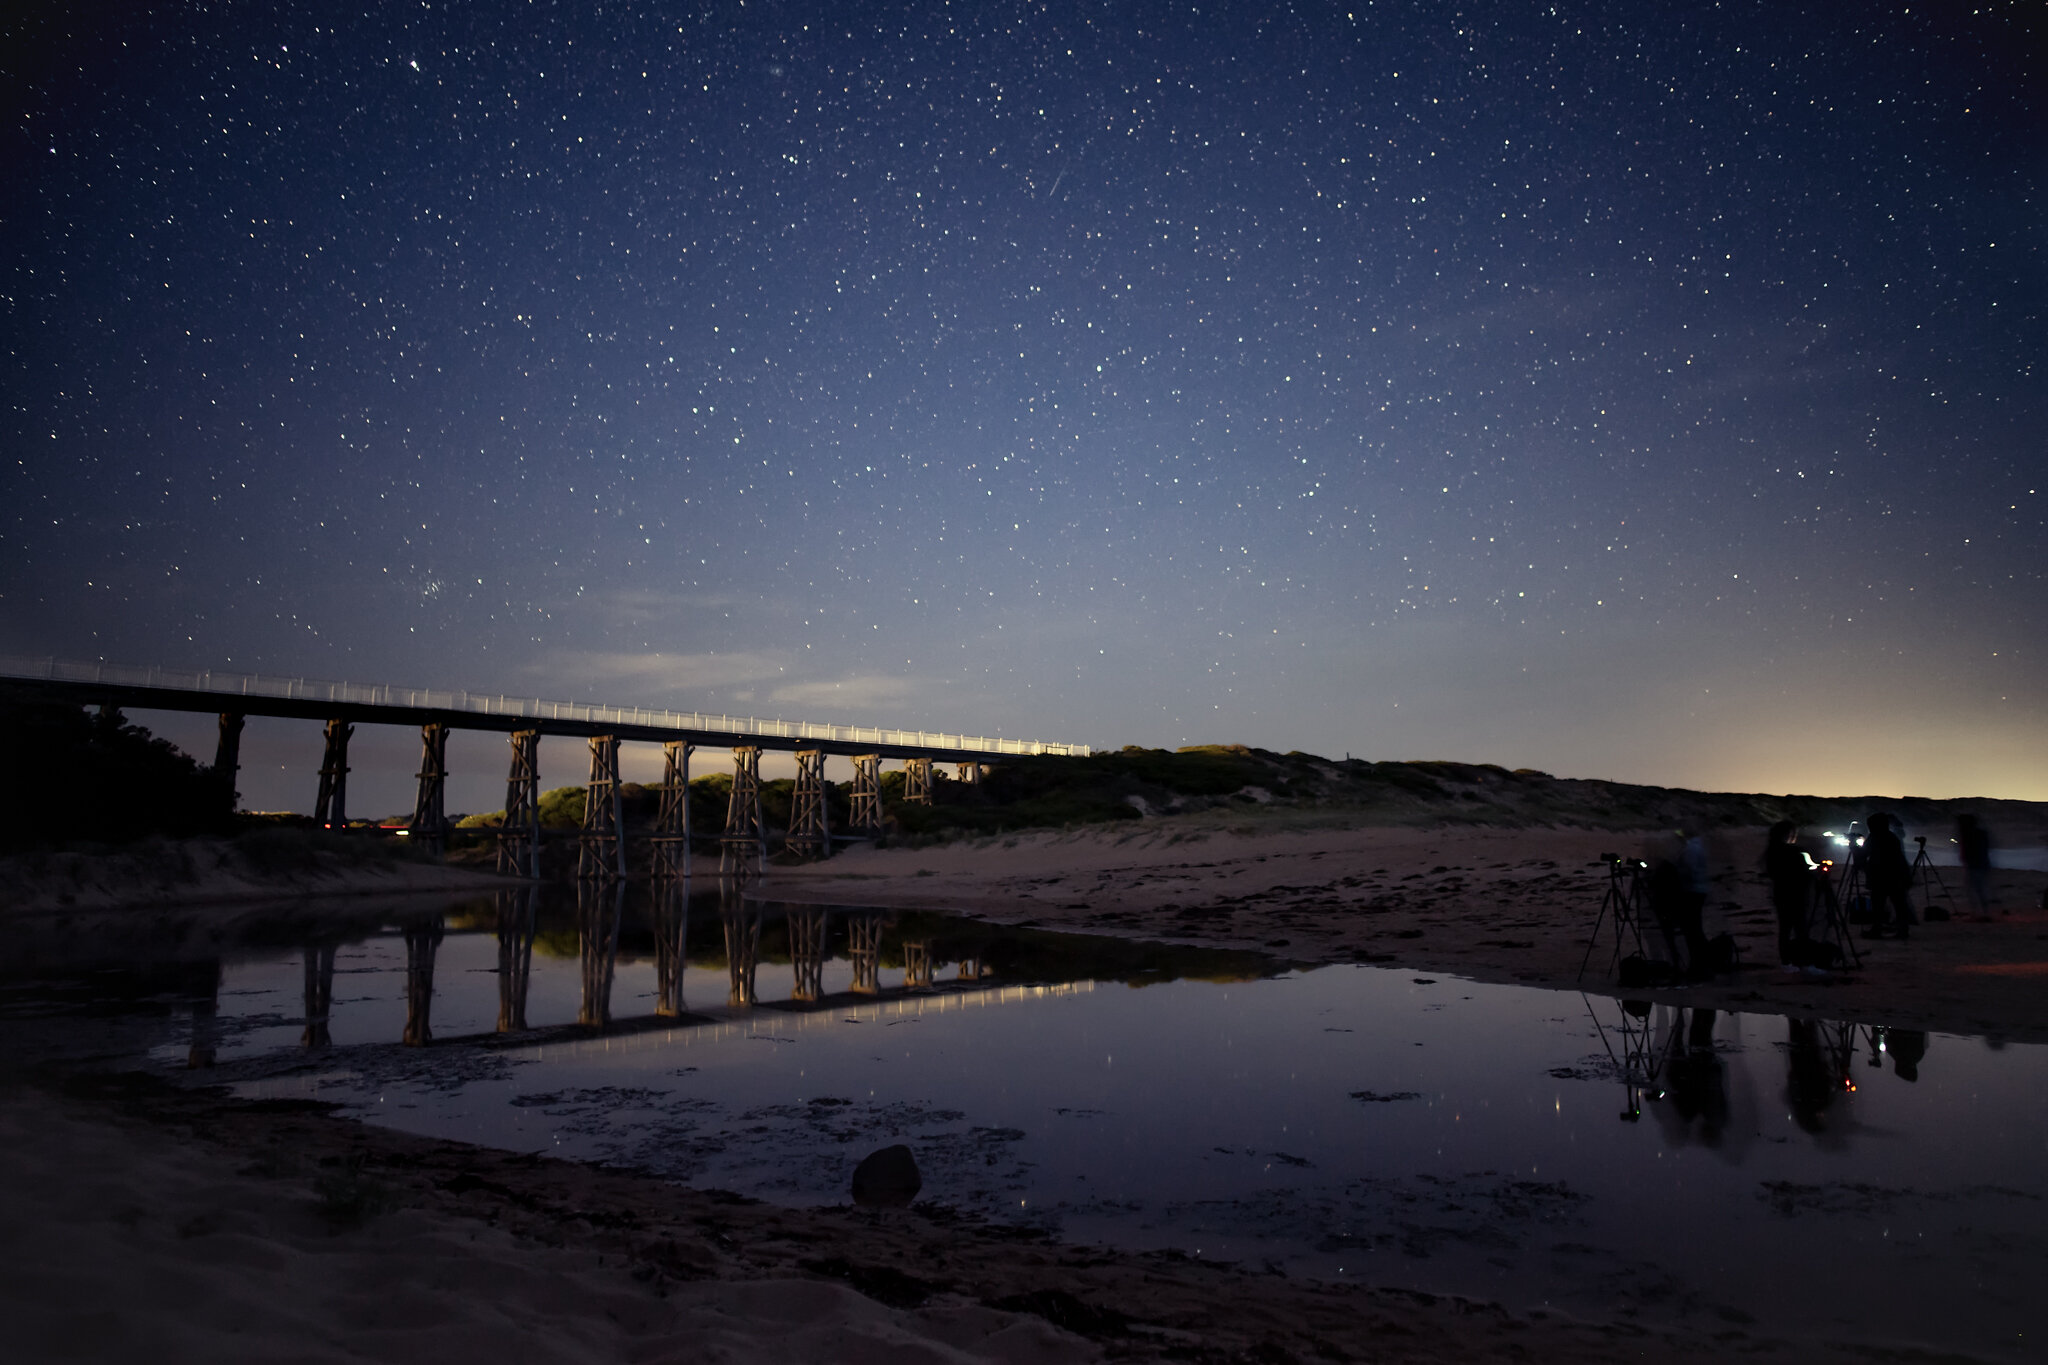
Have you ever looked up at the night sky and marvelled at its beauty? The sheer vastness of space and enormity of stars puts me in a mood to ponder and reflect on our own existence in the universe. It’s possible to capture this awe inspiring scene on basic camera equipment and get an even better view of the cosmos than what is possible to see with the naked eye. Did you know the stars rotate in the sky throughout the night? Did you know the Milky Way is only visible during certain months of the year? Did you know that you can sometimes see the Southern Aurora, Aurora Australis, from Phillip Island. Yes, these are all true and here’s how you can capture it with your own camera.

Here’s a very quick and basic guide to getting good shots of the night sky without getting too technical. There is much more to  getting good shots but this will help you at least get some stars in your photos. These settings are a general starting point for astrophotography. If you are unsure about changing settings in your camera or want some experienced assistance, we offer One to One Astro Photography lessons through Photo Rangers.


Gear Required 

Ideally you need a modern camera with interchangeable lenses. You would think that a zoom lens would be the best to see stars but this is not true. You need the widest lens you have. The wider the lens, or the more sky in the shot the better - more on this later. You also need a good sturdy tripod. That's all you need to get started.

Camera Settings

On a very dark night with little or no Moon, place the camera on a stable tripod and put it in manual mode. For many cameras that’s the ‘M’ setting on the top dial. Set the camera and lens to also shoot in manual focus. The camera can not focus in the dark so you’ll need to do all the focus work. 
Here are the basic settings for your camera:

  • ISO: 3200

  • Shutter Speed: 25 seconds - anything over 25 seconds and you’ll likely get oblong shaped stars due to their movement through the night sky.

  • Aperture: the lowest setting you can get. If your lens goes to f/2.8 that would be perfect. However, most lenses that come with cameras will only go down to f/3.5 or f/4. Use the lowest aperture setting.

The slightest shake from your camera or tripod will cause your stars to look blurry. I recommend putting your camera on a 2 second delay so that when you press the shutter button, you don’t get any camera shake. 

Focus

This is probably the most difficult part of night photography. You need to focus your lens to infinity. On some lenses, there is a distance meter that indicates infinity. If your lens has an infinity mark, set your lens to this mark and you're ready to go. If your lens does not have a distance meter on it, here’s a few ways to get infinity focus. 

  1. If your lens has a distance meter on it. Turn the focus ring to the infinity mark. Put your lens and camera on manual focus.

  2. Before dark, focus your lens on a very distant object like a building, hill, tree etc. One that is far away. Immediately put your lens and camera on manual focus. Put a little masking tape on the focus ring to keep it in place in case you accidentally bump the ring while adjusting the camera and tripod.

  3. Some mirrorless cameras have a built in distance meter viewable on the back screen. If your camera has this, adjust the focus ring till you reach the infinity mark. Put your lens and camera on manual focus.

  4. The final way is to set up your camera on the tripod. Put your lens and camera on manual focus. Find a distant light like distant city lights, the moon or a very bright star and adjust the camera so this is in the very center of your back screen. Then magnify the back screen, usually the magnifier button, to zoom in on the light source. Once zoomed in, adjust the focus until the light is as sharp as you can make it. This takes some practice but once you can focus this way, night photography becomes much easier.

Night Tips

  • Get a good foreground remember it will likely result in a silhouette.

  • Put the camera on a 10 second delay and put yourself in the image.

  • A flashlight or headlamp can look really cool too.

The Milky Way

37641186196_15221a0407_k (2).jpg
  • Only visible between March and November

  • Can see the Large and Small Magellanic Clouds

  • Dark sky night is the best (no moon)

  • Be as far away from way from light pollution as possible

  • The Milky Way appears at different places in the sky and moves during the night

  • Use an APP to find and track the Milky Way for any position on Earth and at any time - The Photographer's Ephemeris or Photo Pills are two excellent smartphone apps to help you plan your night photography.

Southern Aurora - Aurora Australis

Aurora Australis, Phillip Island

You can see the Southern Aurora from Phillip Island

  • May see a faint white/grey cloud on the horizon with naked eye … white beams in sky

  • Looks green and pink on camera after 20 seconds

  • They are unpredictable - they occur after a Coronal Mass Ejection (CME)

  • A Coronal Mass Ejection is when the Sun burps plasma - a solar flare. It takes 3-4 days to travel to Earth

  • For a CME alert follow Aurora Hunters Victoria Facebook for notifications or use an Aurora alert smartphone app.

  • Always look to the South - same conditions, gear and settings as Astro Photography

  • Cloud, light pollution, Moon can block  it from view

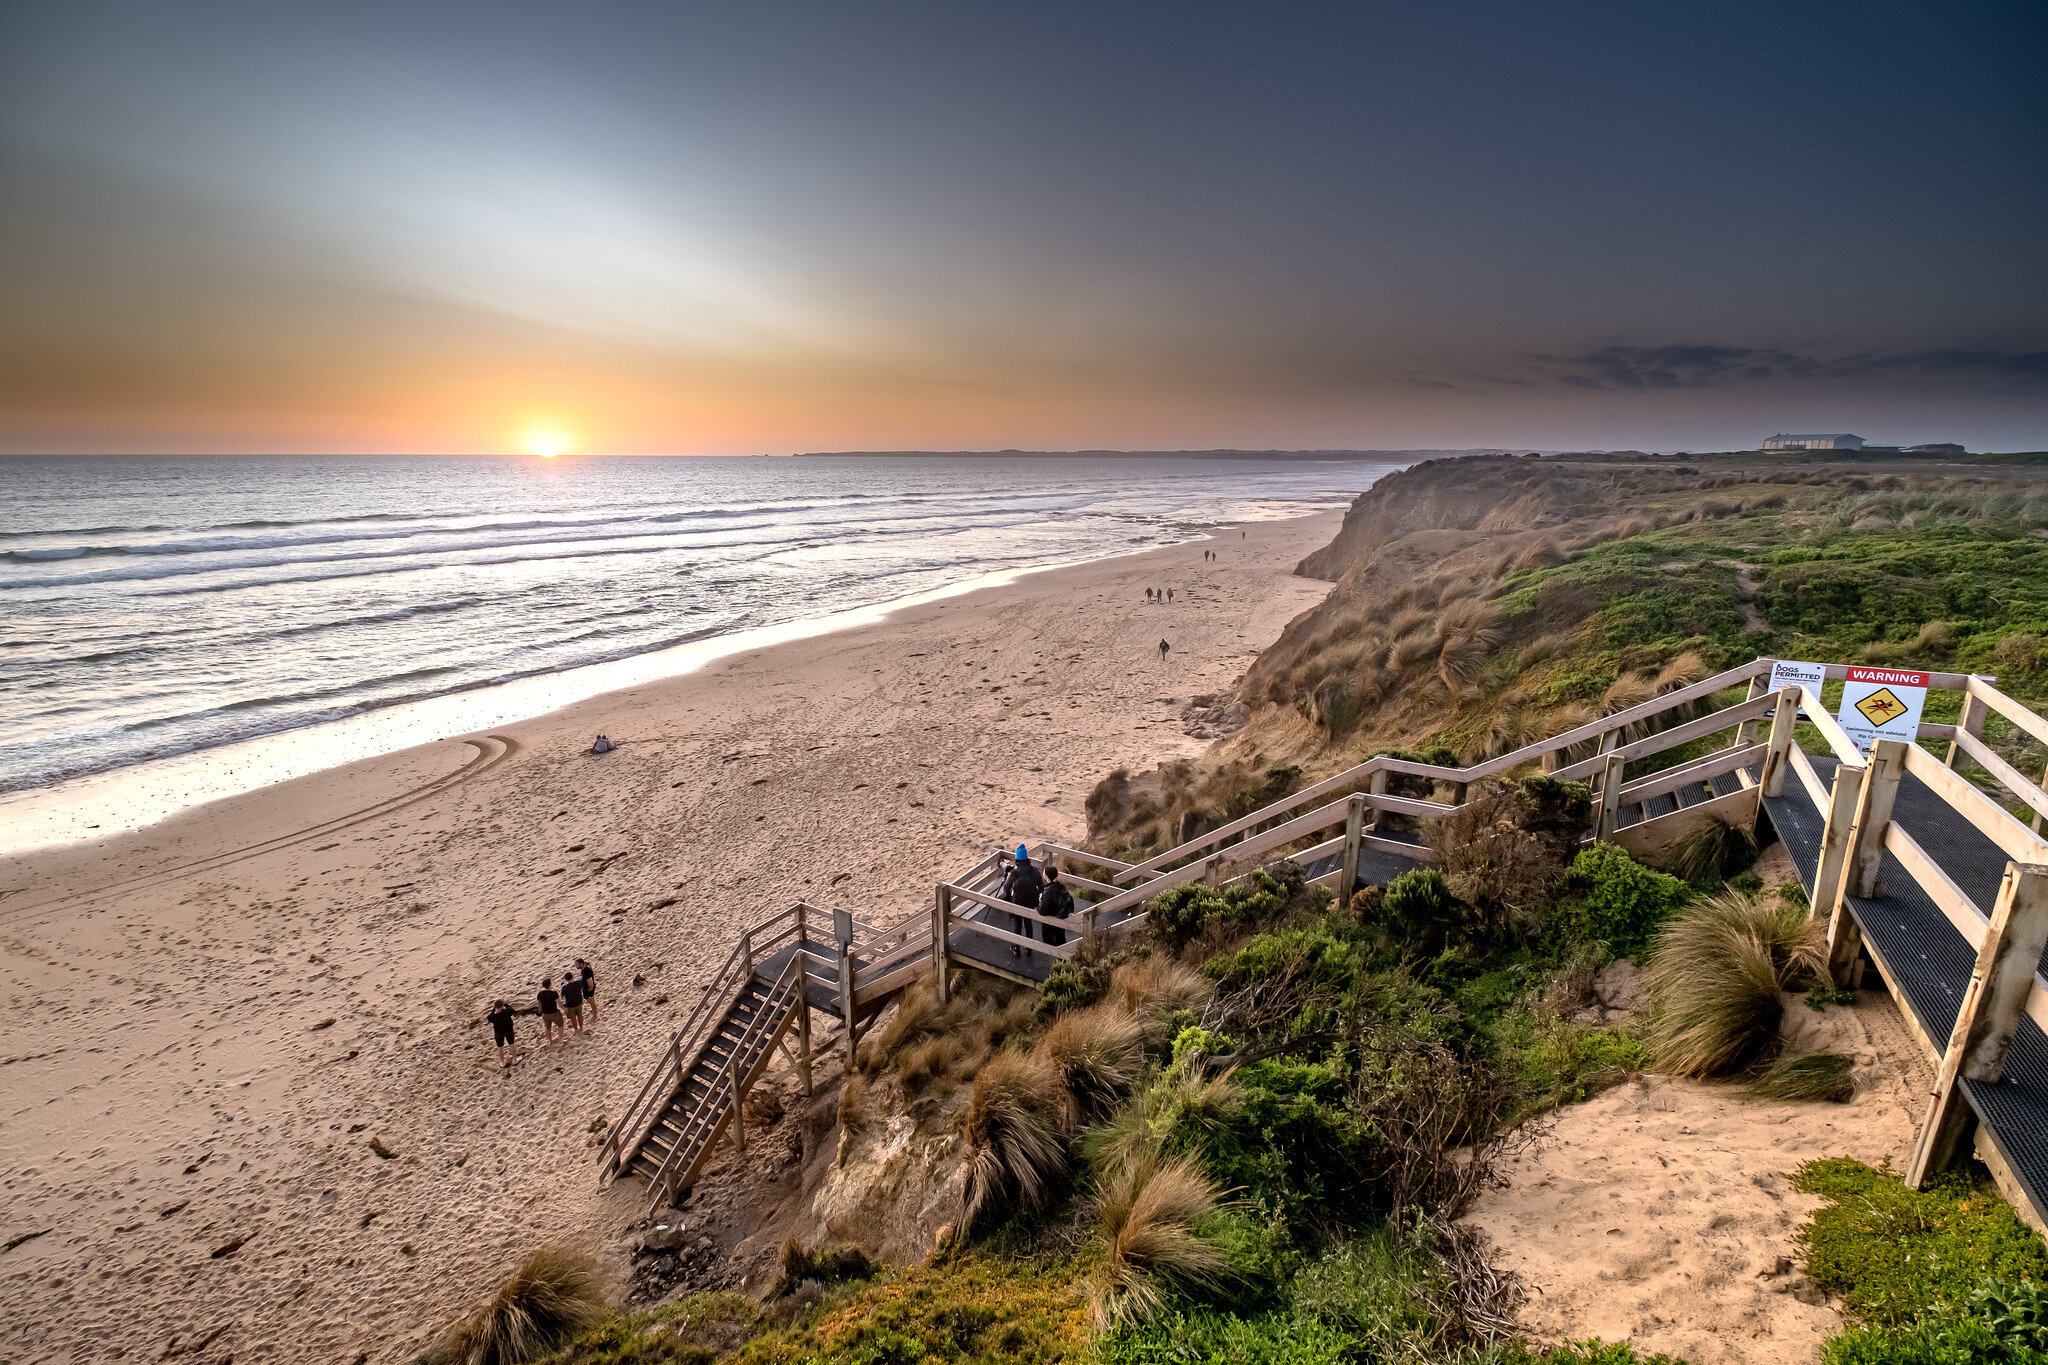
My Favourite Phillip Island Astro Shooting Locations

  • Woolamai Beach Lookouts (any south beach)

  • Cadillac Canyon, San Remo

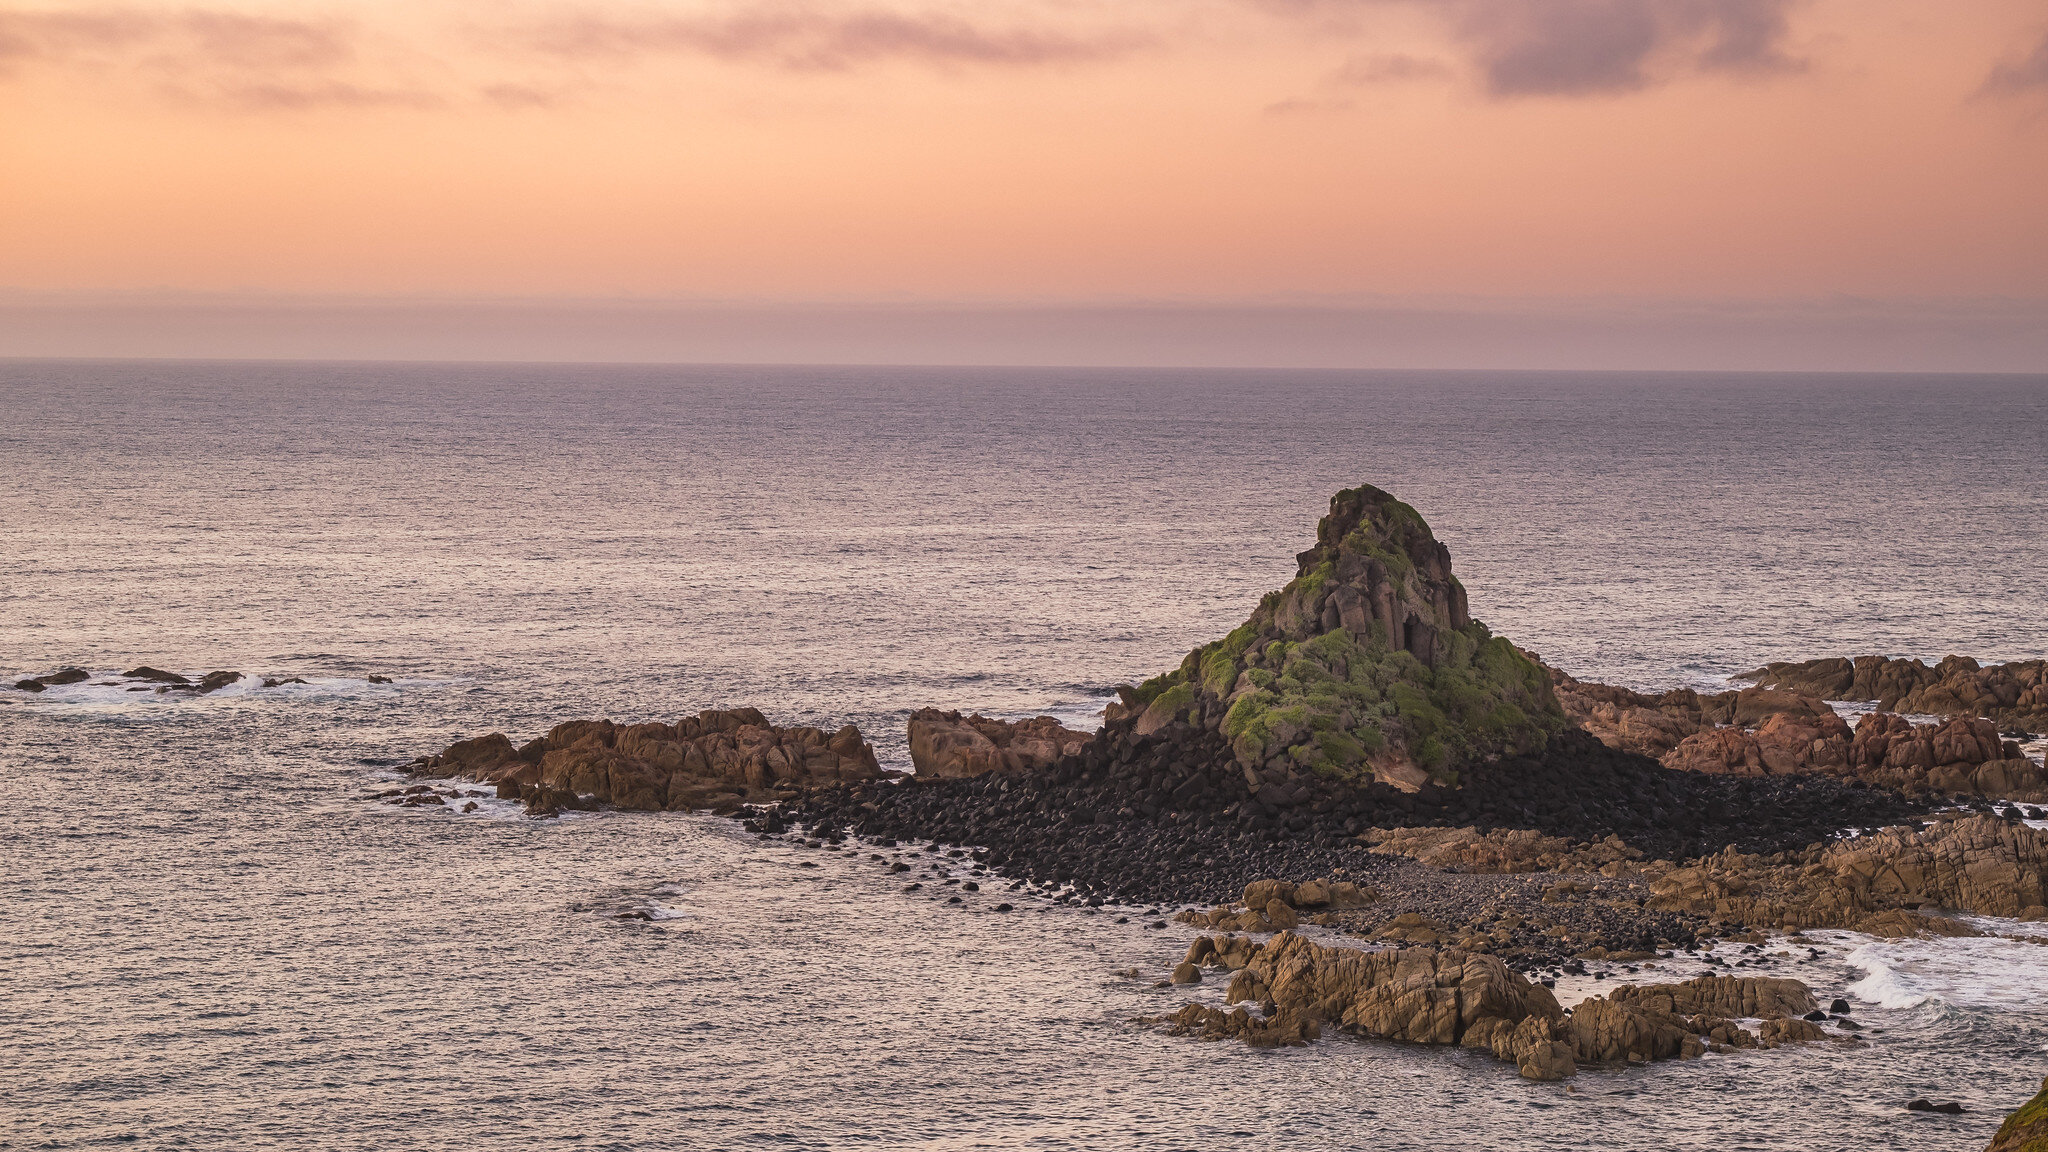
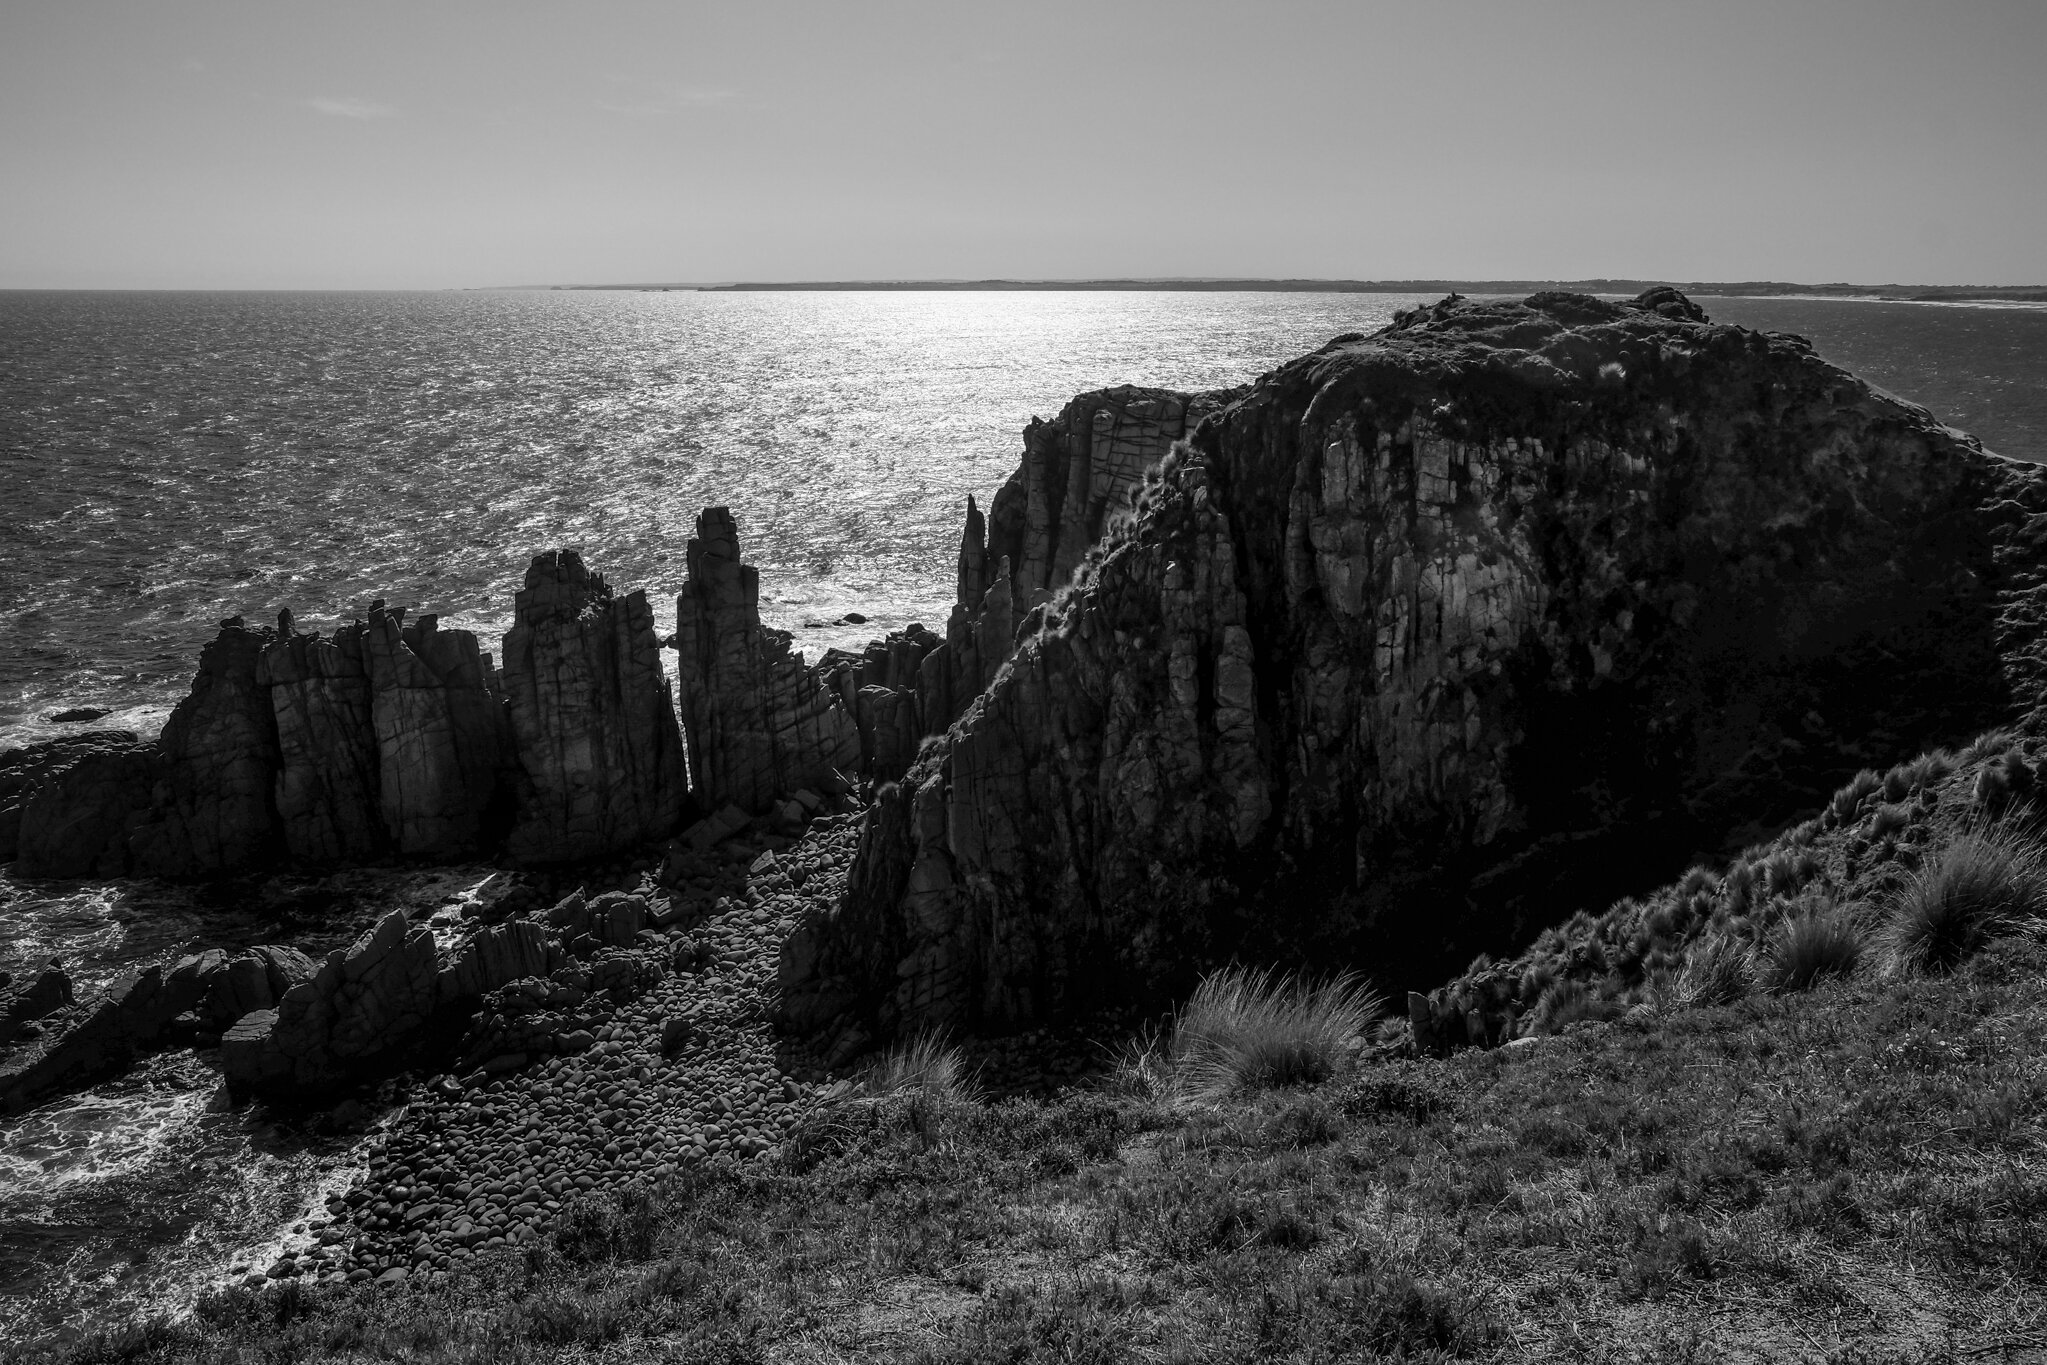
  • Pyramid Rock

  • Rhyll Wetlands

  • Wreck of the SS Speke - this is a dangerous location at night. Access is steep and becomes very slippery at night. Tides must be low. Footing around the wreck is also treacherous.

51175382907_883c58e3c6_k (1).jpg

If you want to learn more about shooting the night sky, chasing Auroras or night photography, contact us to set up One to One workshop.

Sand In My Pocket - 2020 Analogue Reflections by dale rogers

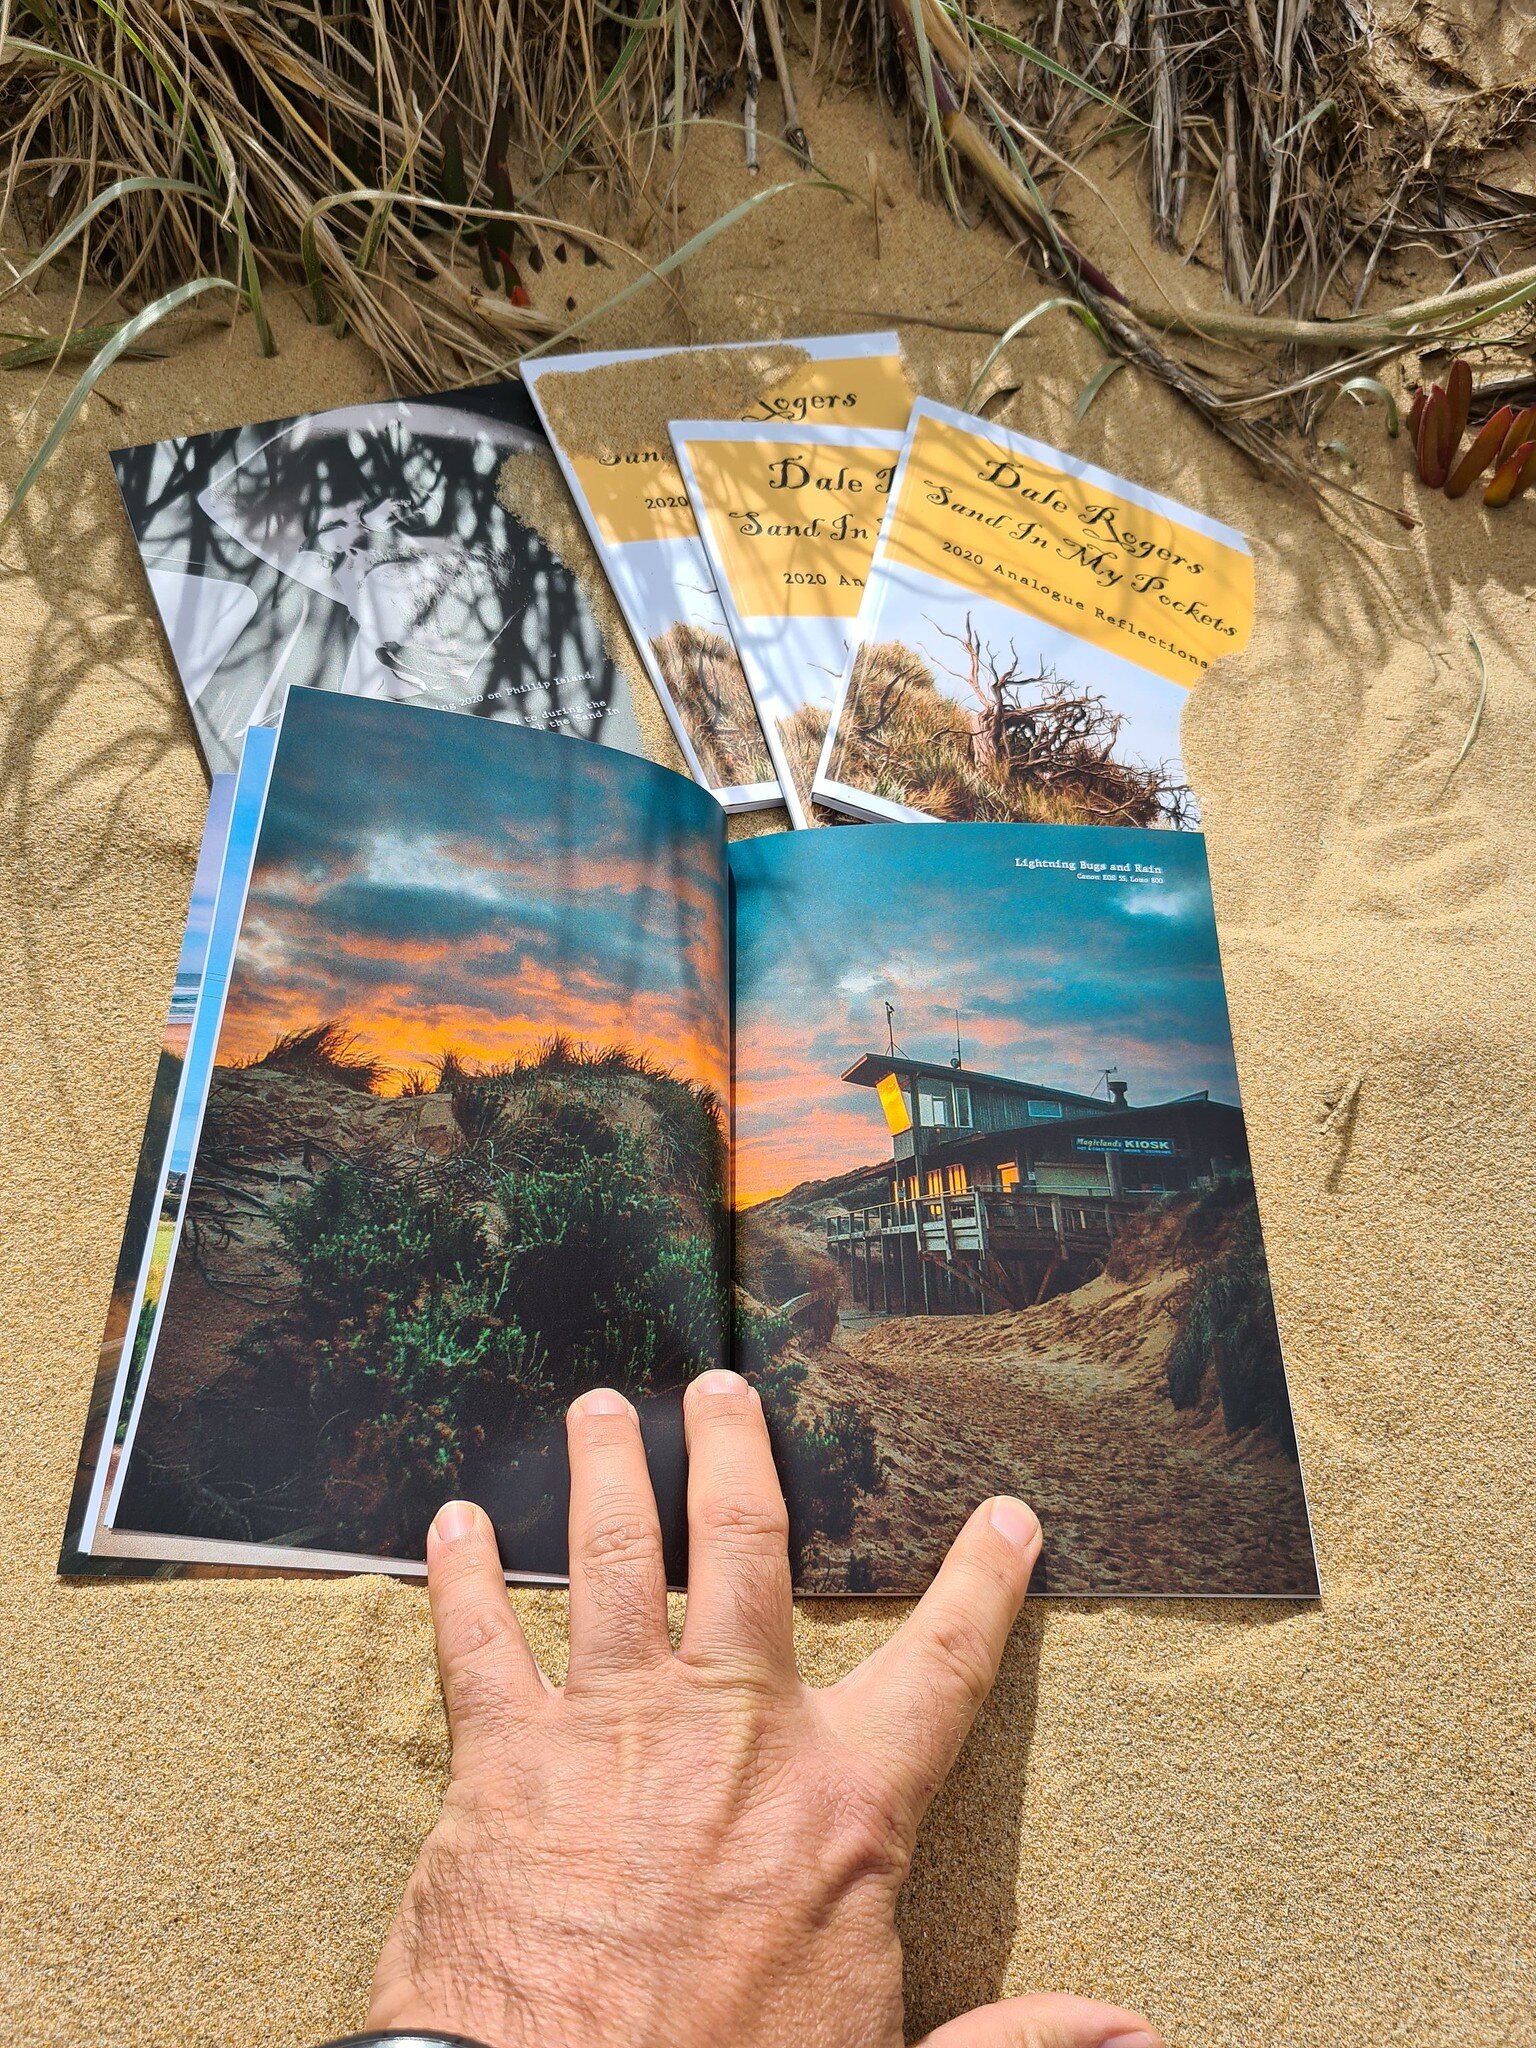
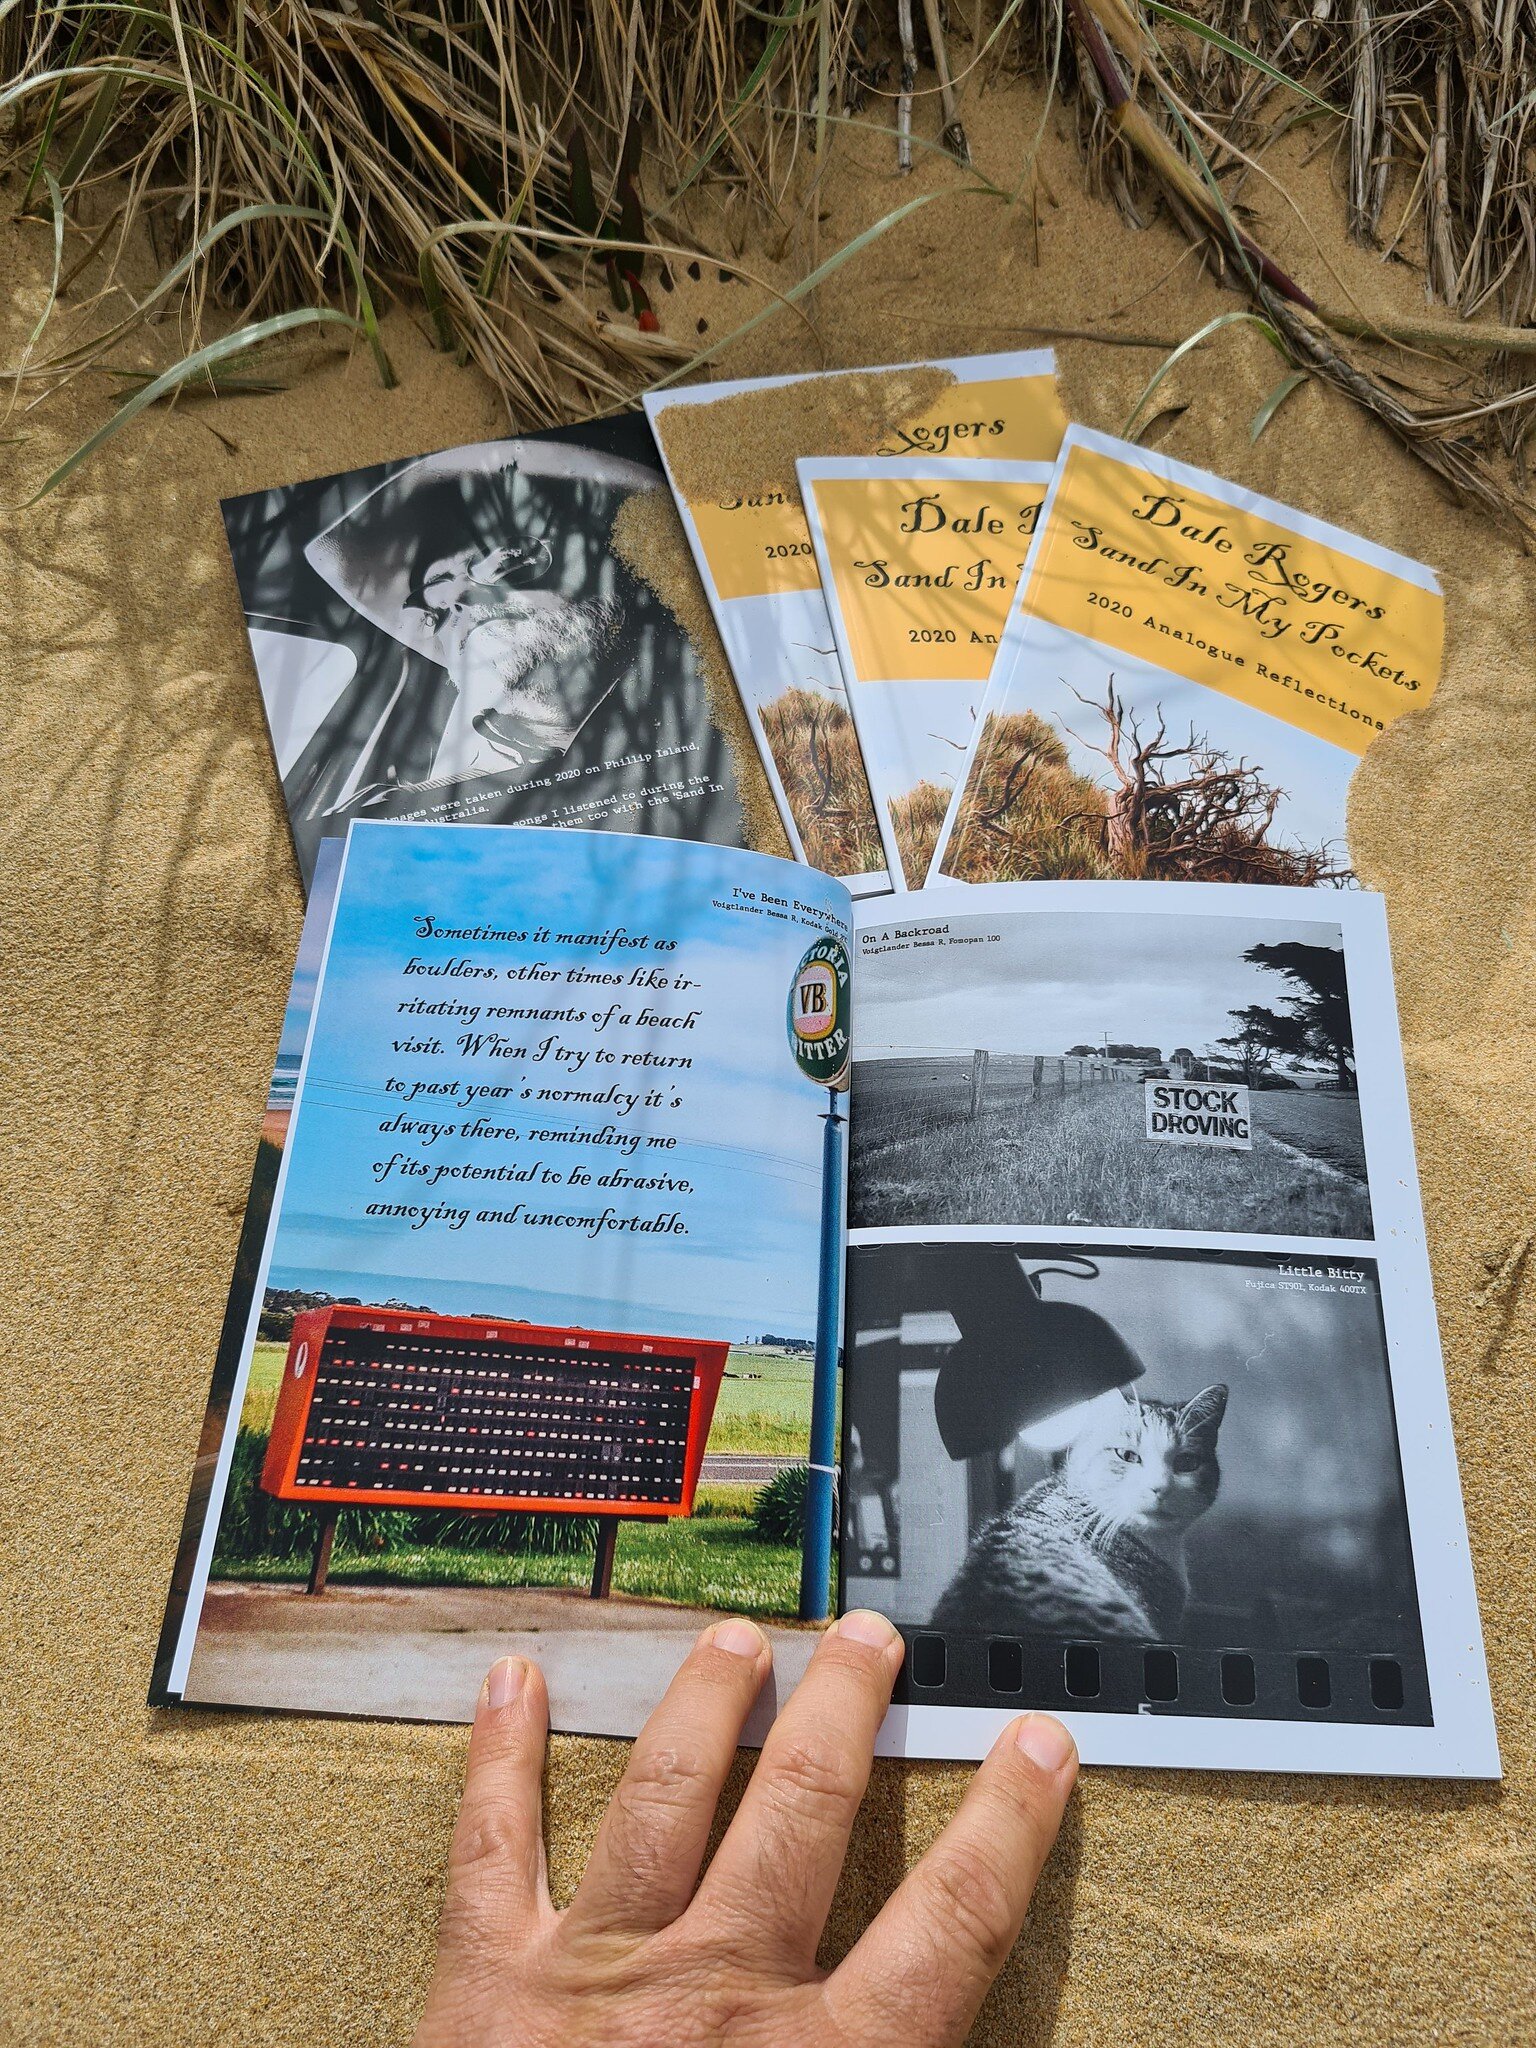
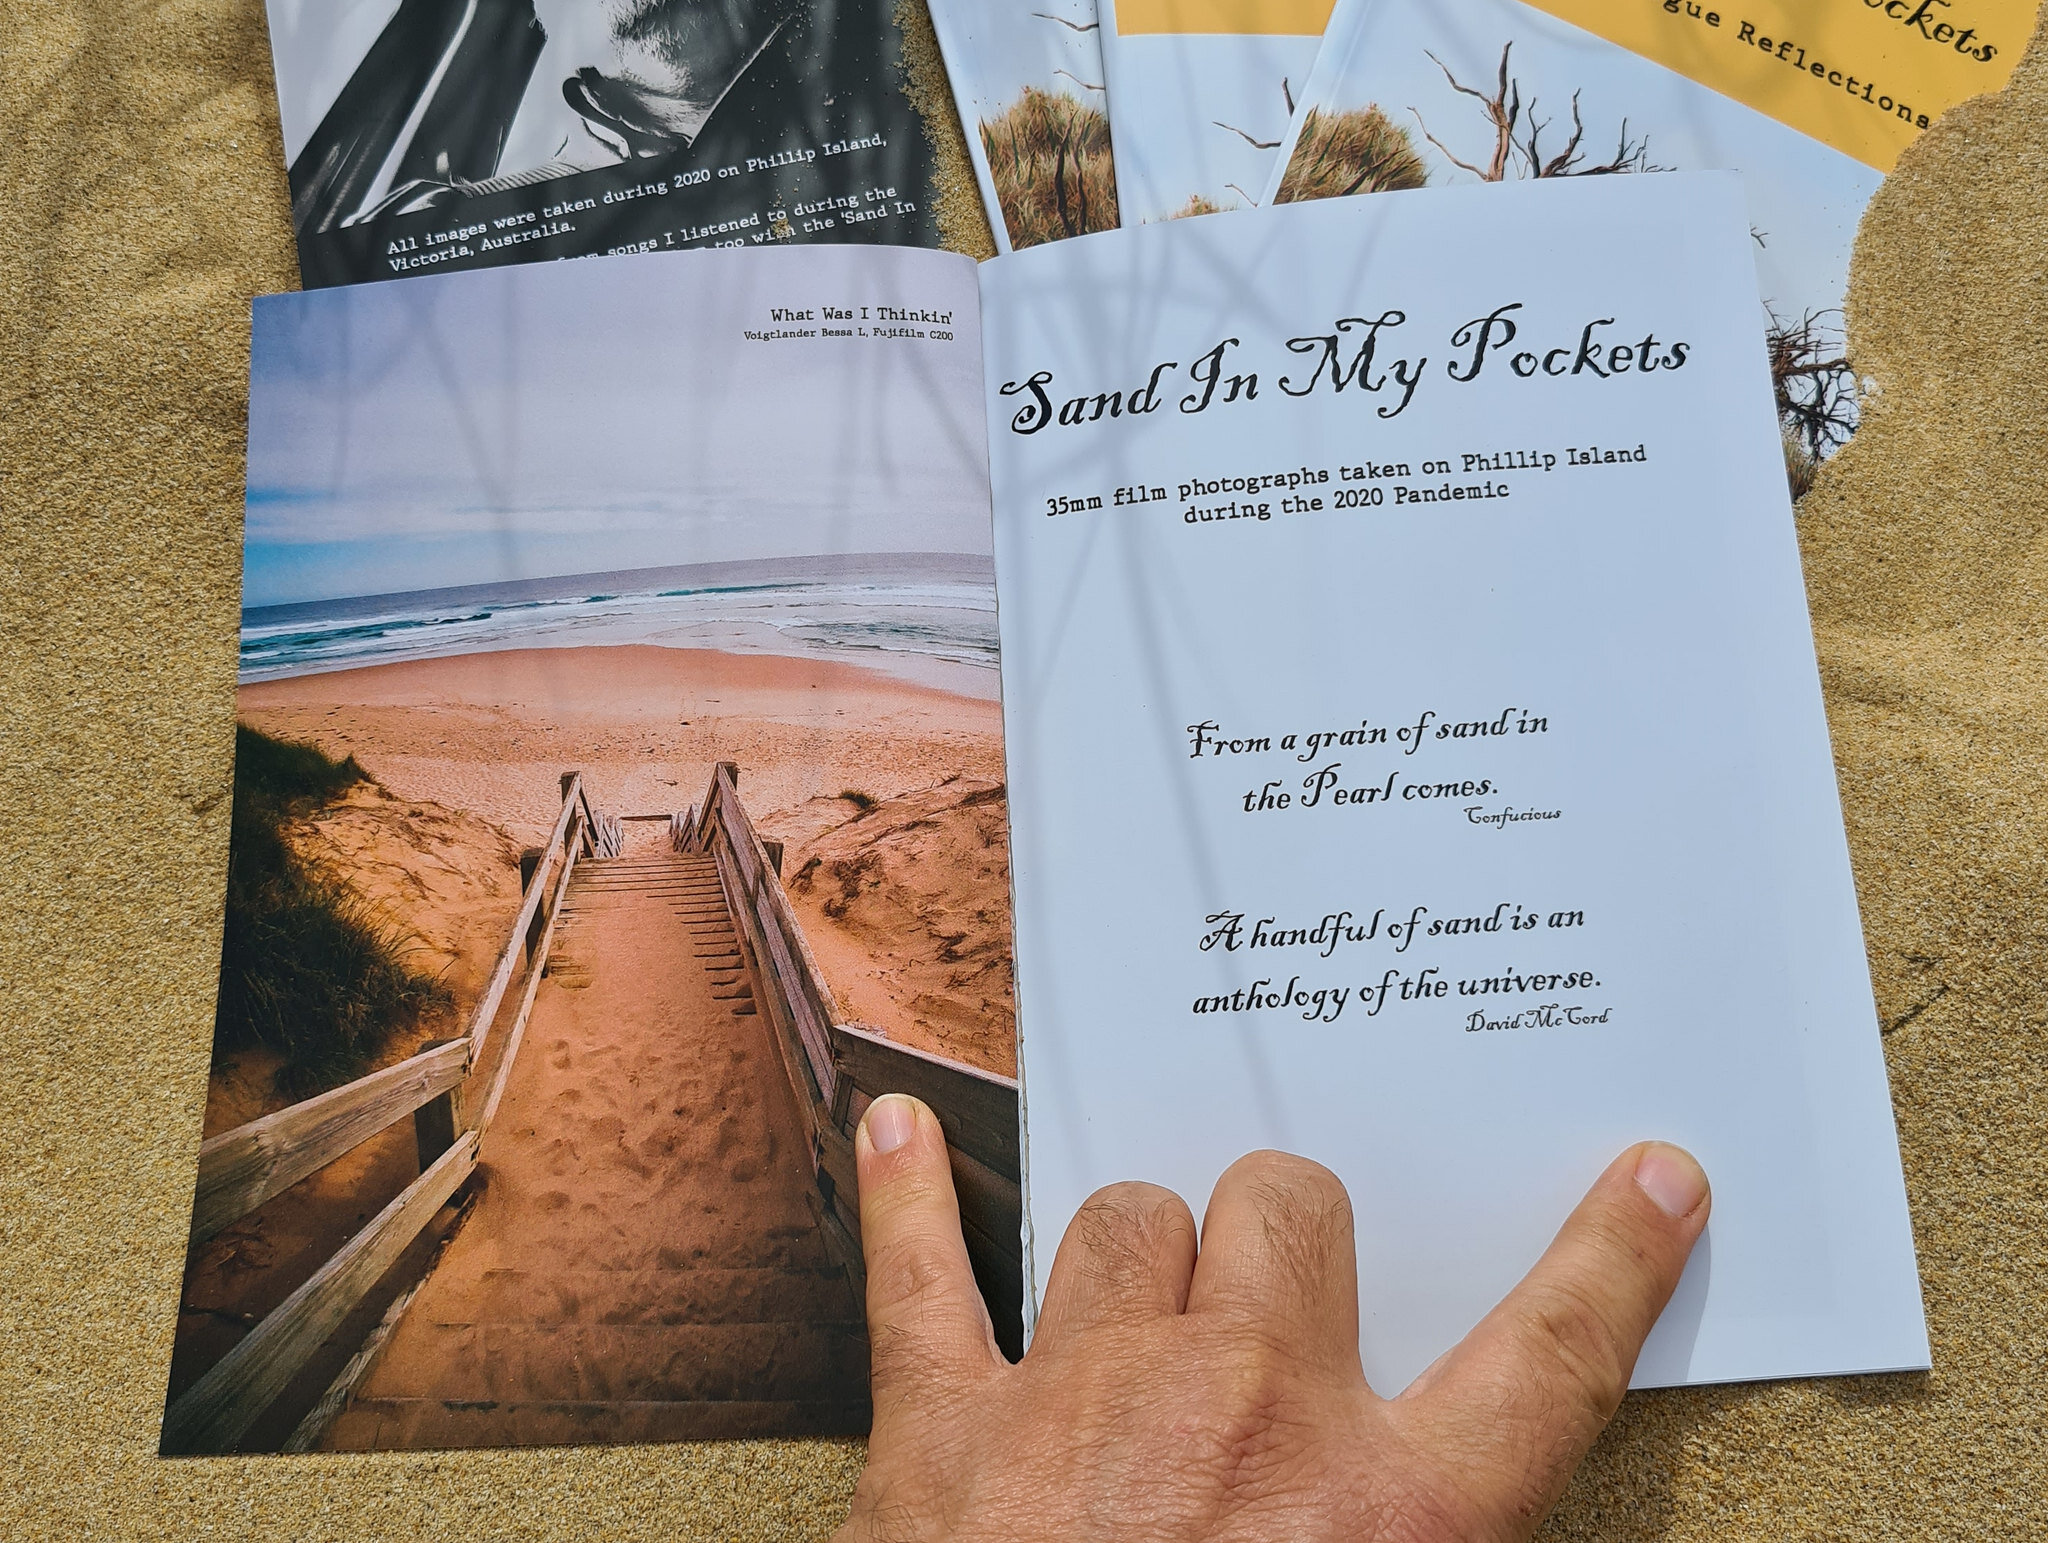
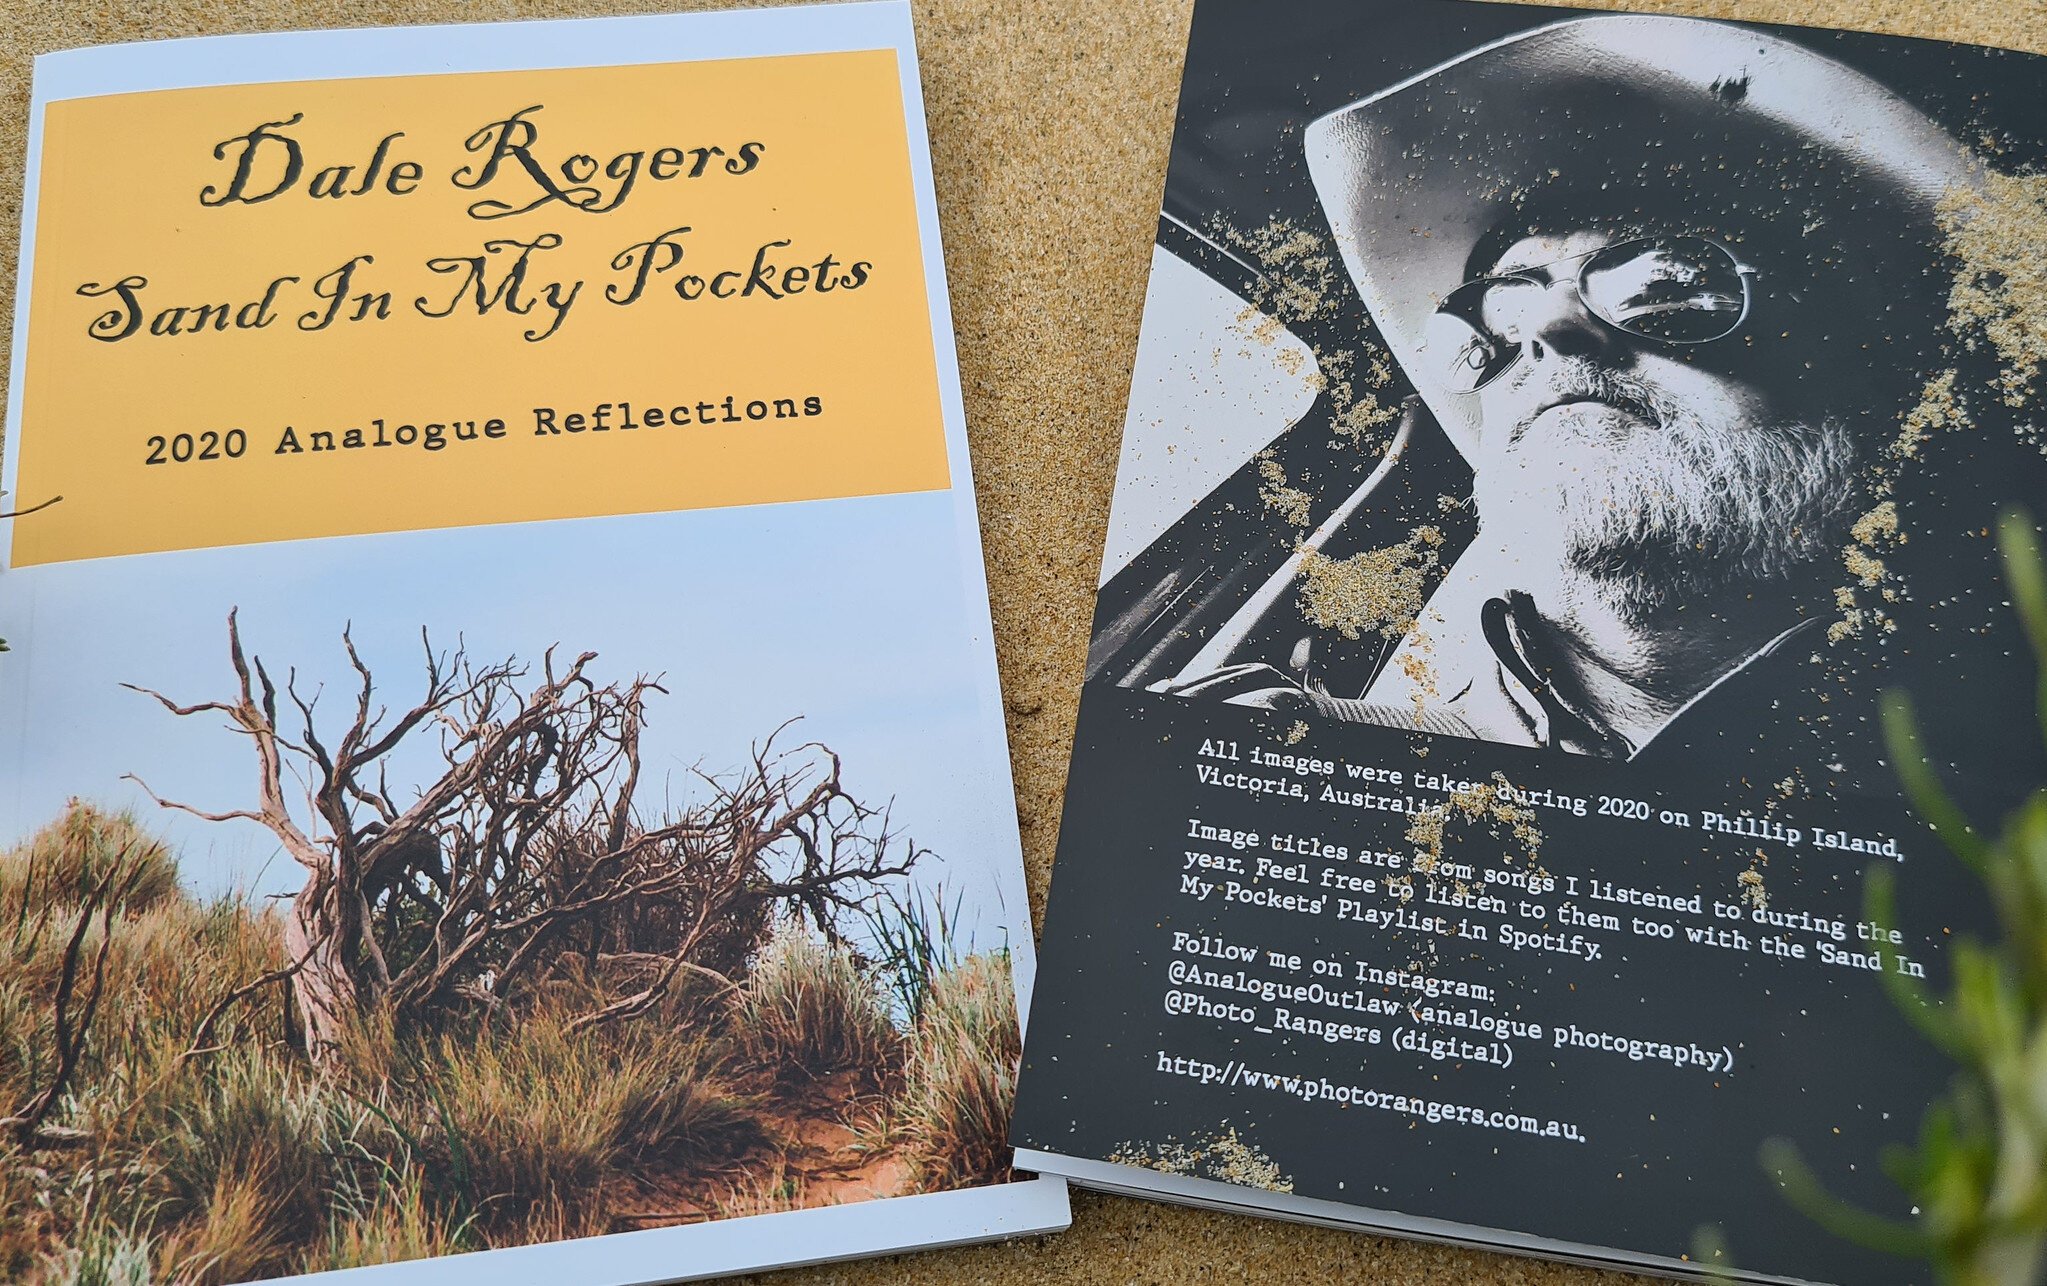
 Sand In My Pocket - 2020 Analogue Reflections - available Feb 2021

2020 was such a strange, devastating and unique year for us all. Sand In My Pockets is my personal collection of photos and reflections on this wacky year. All images were captured on 35mm colour and black and white film. Each image has the camera and film stock used.

Sand In My Pockets is a 52 page full colour A5 portrait printed zine of personal reflections and photos taken during the COVID-19 pandemic on Phillip Island, AUS. The zine is printed on 130 gsm satin paper with a 300 gsm full colour matt laminated cover. It is perfect bound with pages glued to the back binding.

To Order a copy, please head over to https://analogueoutlaw.com/zines/

50899331358_c36342b3e2_k.jpg

JPG v RAW by dale rogers

To edit or not to edit, that is the question.

Actually, it's not the question at all but I hear it a lot. As a photographer, that is not a question, the real question is should you shoot in RAW, JPG or both?

To answer you need to be familiar with each image format. The JPG or JPEG is named after the Joint Photographic Experts Group committee that set the standards for compressing an image into bytes that were transferrable and subsequently decompressed at the receiver in mid 1980's. When an image is saved in the JPG format some data is irretrievably lost. JPG is the most common digital image format and most all cameras and smartphones save in JPG.

All digital cameras, whether you are shooting in JPG, RAW or both display a JPG image on the backscreen. This is a compressed image you are looking at that has been passed through the camera manufacturers filters built directly into the camera. It is not a RAW image. On many cameras you can fine tune the JPG output on the backscreen and the saved file by slightly adjusting colour, shadows, highlights, contrast, white balance and other factors. This is not as extensive as a RAW file edit but gives some latitude to the camera JPG output.

A RAW file is all data saved from the camera or device's sensor. It is not altered or compressed. Think of it like undeveloped film. A RAW file is not fit to print or develop in its raw state much like film and must be passed through a RAW converter to be processed or edited and saved. By itself, the RAW file is not a pretty image. It looks soft and bland. It contains all the information received by the sensor allowing much more latitude in editing than the compressed JPG file.

Many professional photographers only shoot in RAW to give them this extended latitude to recover shadows and other details in the photo and also stand up to extensive editing if required. I usually find my RAW files are preferred especially when shooting landscapes for this very reason. Shadows can be lifted to reveal much more detail and white balance can be tweaked with no loss in image quality. The RAW file is a the best platform if the camera is unable to deliver exactly the image in the photographer's mind.

You can not post a RAW file to instagram or other social media sites. Once a RAW file has been edited it is typically saved into a JPG format ready for posting on the internet or printing.

Some participants in my workshops state they are uncomfortable with editing images because they want the image to be an accurate representation of the scene they photographed. Does the RAW file capture exactly what the eye sees? No, our camera sensor technology is not nearly as good as our eyes at perceiving the world no matter how much the camera costs. We see from a distinctly human perspective that the camera can not match.

I save in both formats in my cameras for a couple of reasons. First, Fujifilm cameras have 15 built in film simulations. These are filters that simulate the look of some of Fujifilm's famous film stock. There are also seven film simulation presets in the camera that allow the user to customise the JPG output considerably. Fujfilm shooters have spent a lot of time working out combinations of built in film simulations and custom settings to mimic other film manufacturers film or give very distinct look to their JPG images. I have customised all seven of my presets to some of my favourite film stocks - Kodak Ektar, Kodak Kodachrome, Fujifilm Superia 800, Kodak 400TX, Cinestill 800, Kodak Portra 400 and my own landscape preset.

When out shooting I'll have the RAW file saved on the SD card but also choose a film simulation that I think works for the setting. That way I can later choose whether to edit the RAW file or go with a virtually unedited JPG file.

Comparing my JPG and RAW images has taught me to appreciate light and shadow much more. The JPG files, with their limited ability to display light's dynamic range, will often have intense highlights and deep shadows. Sometimes, I prefer the look and feel of the JPG images and have no need to edit further on the computer. This saves me time as well as providing a look that is different to most of the images posted on social media.

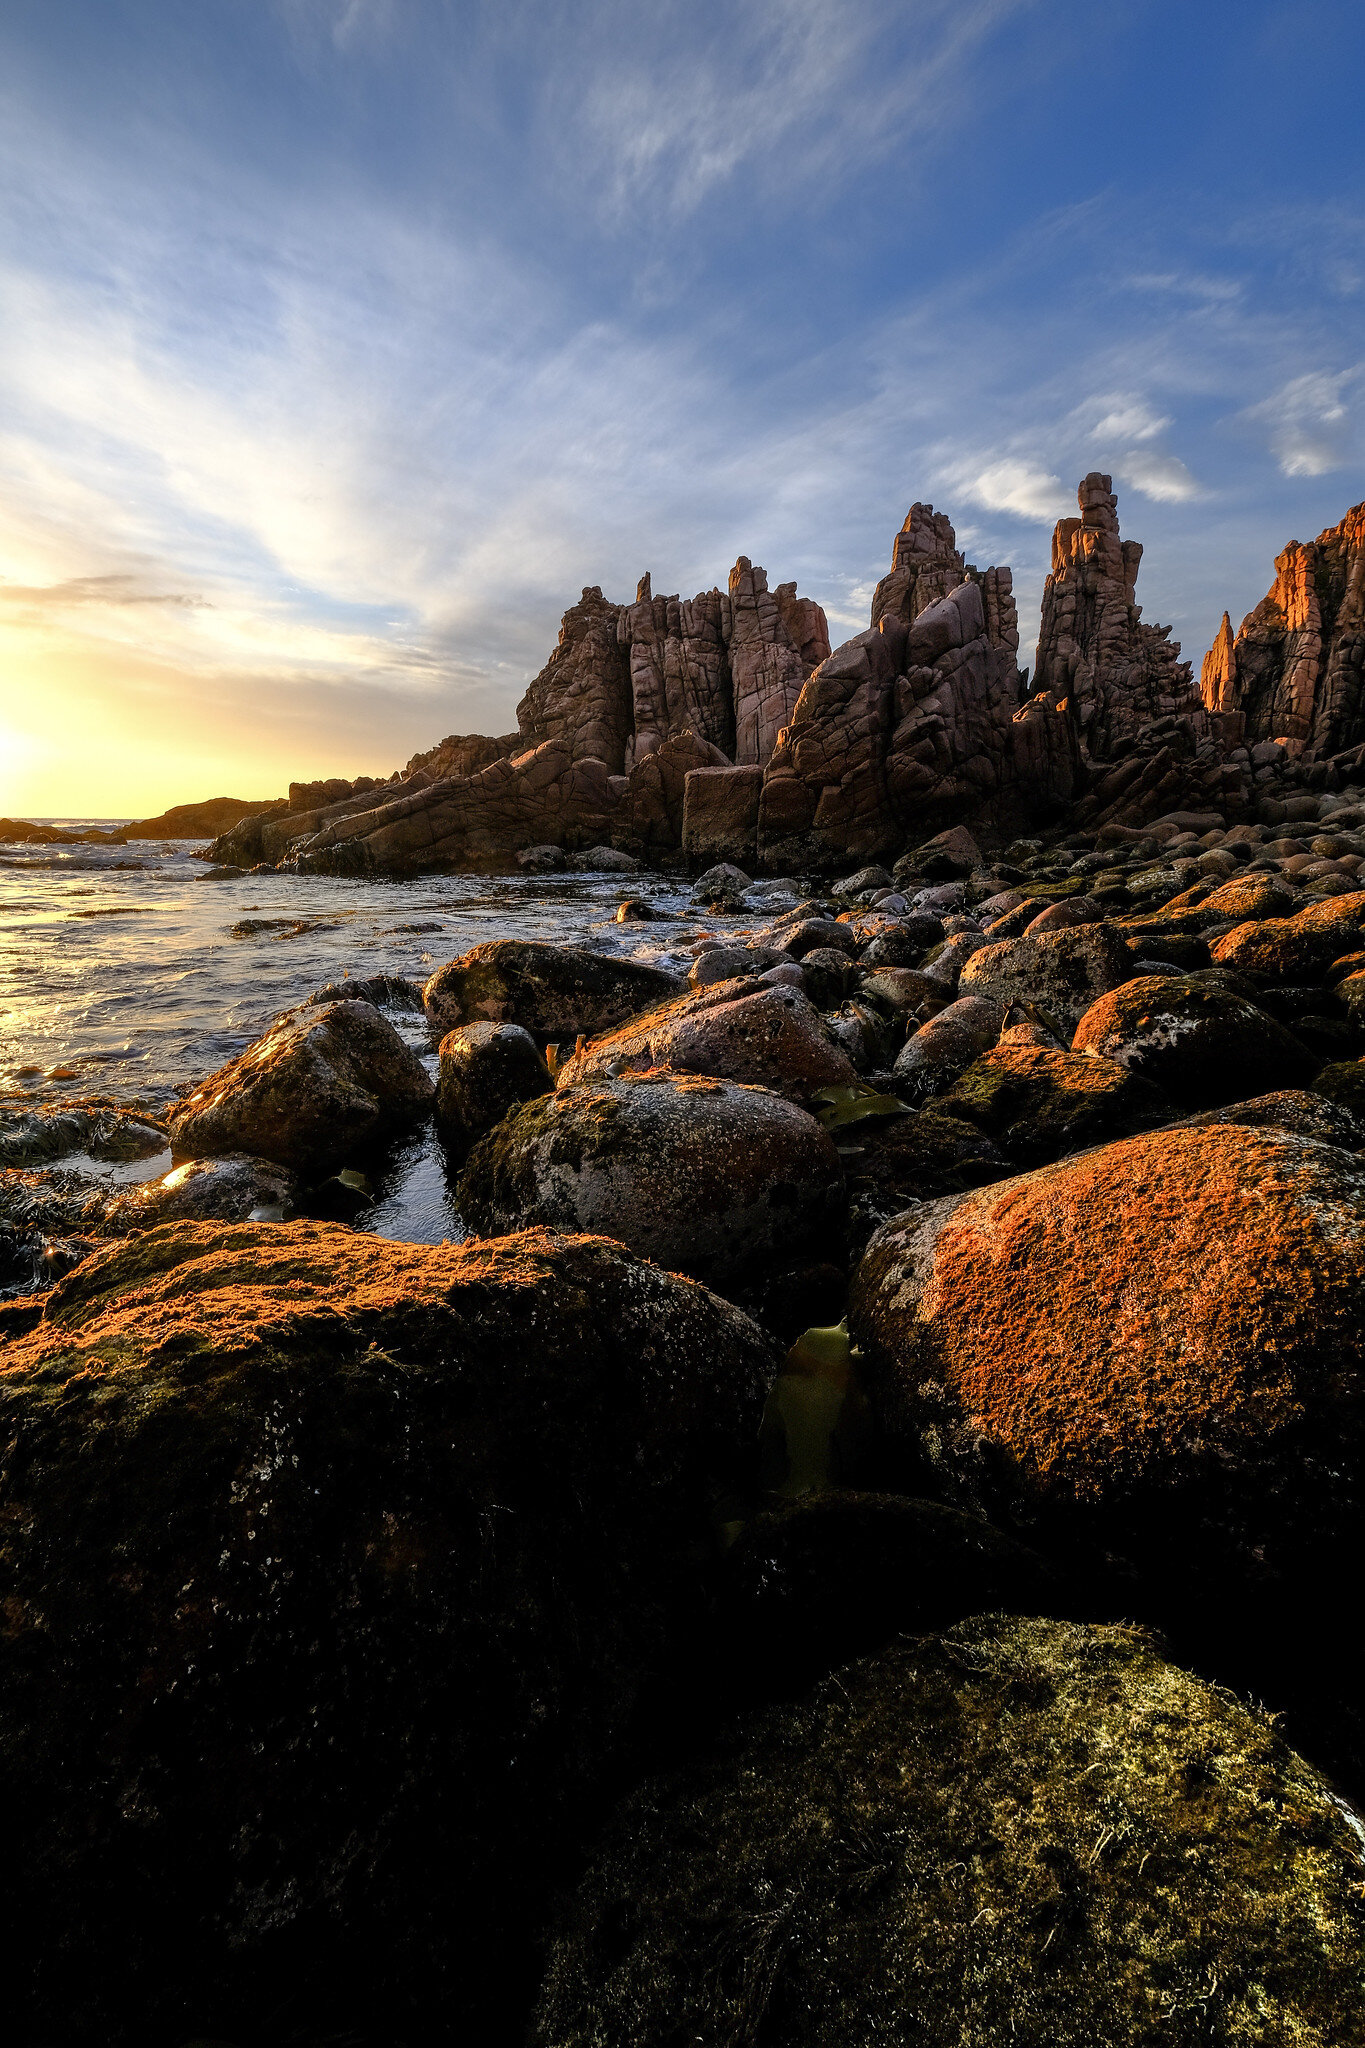
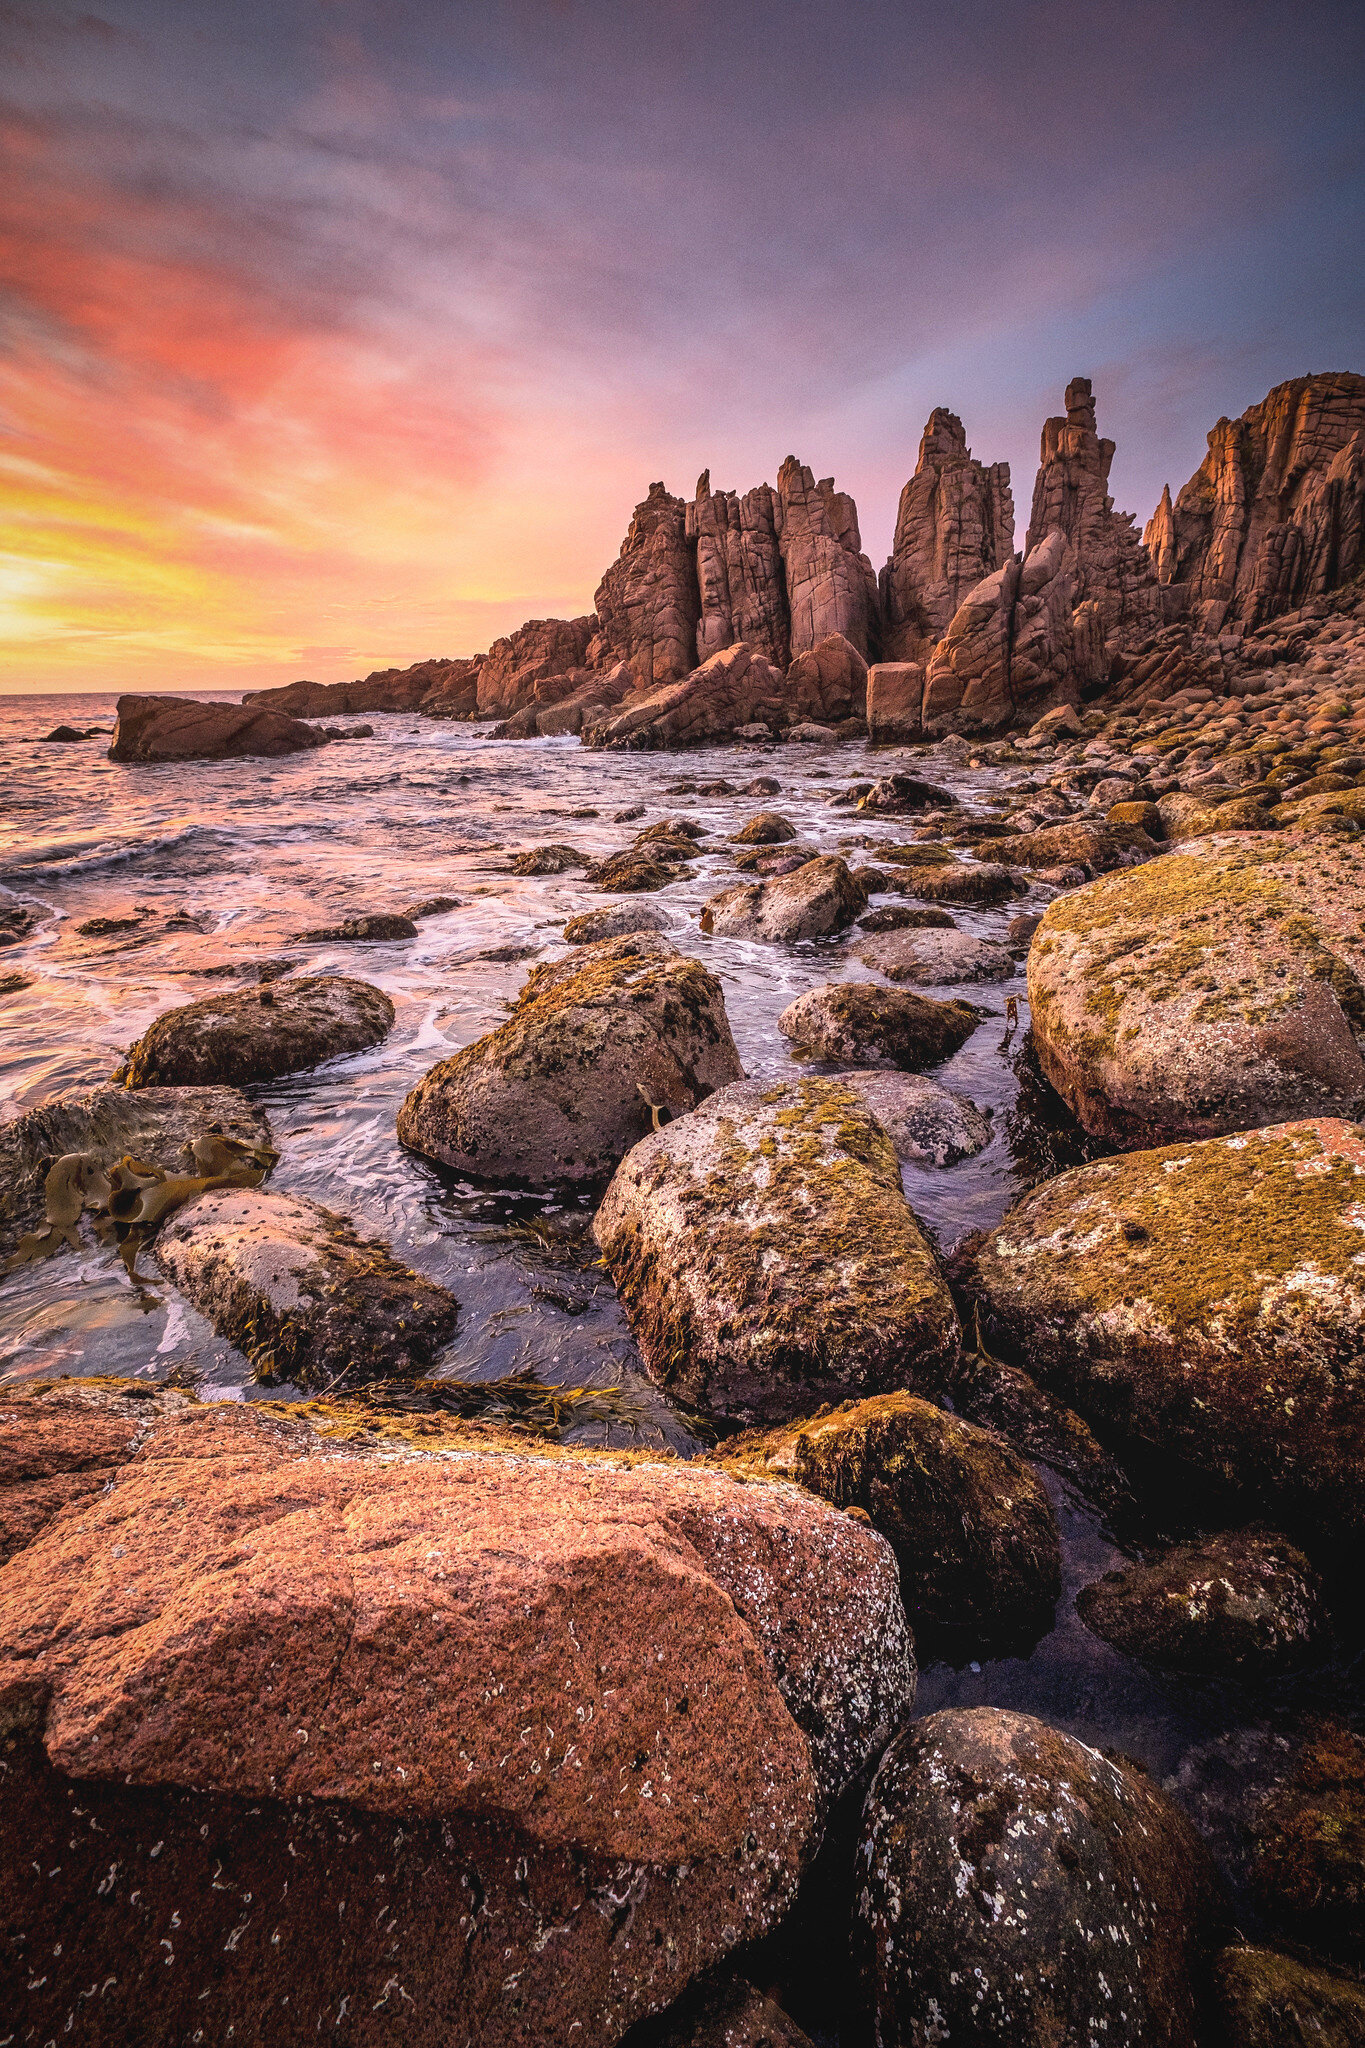
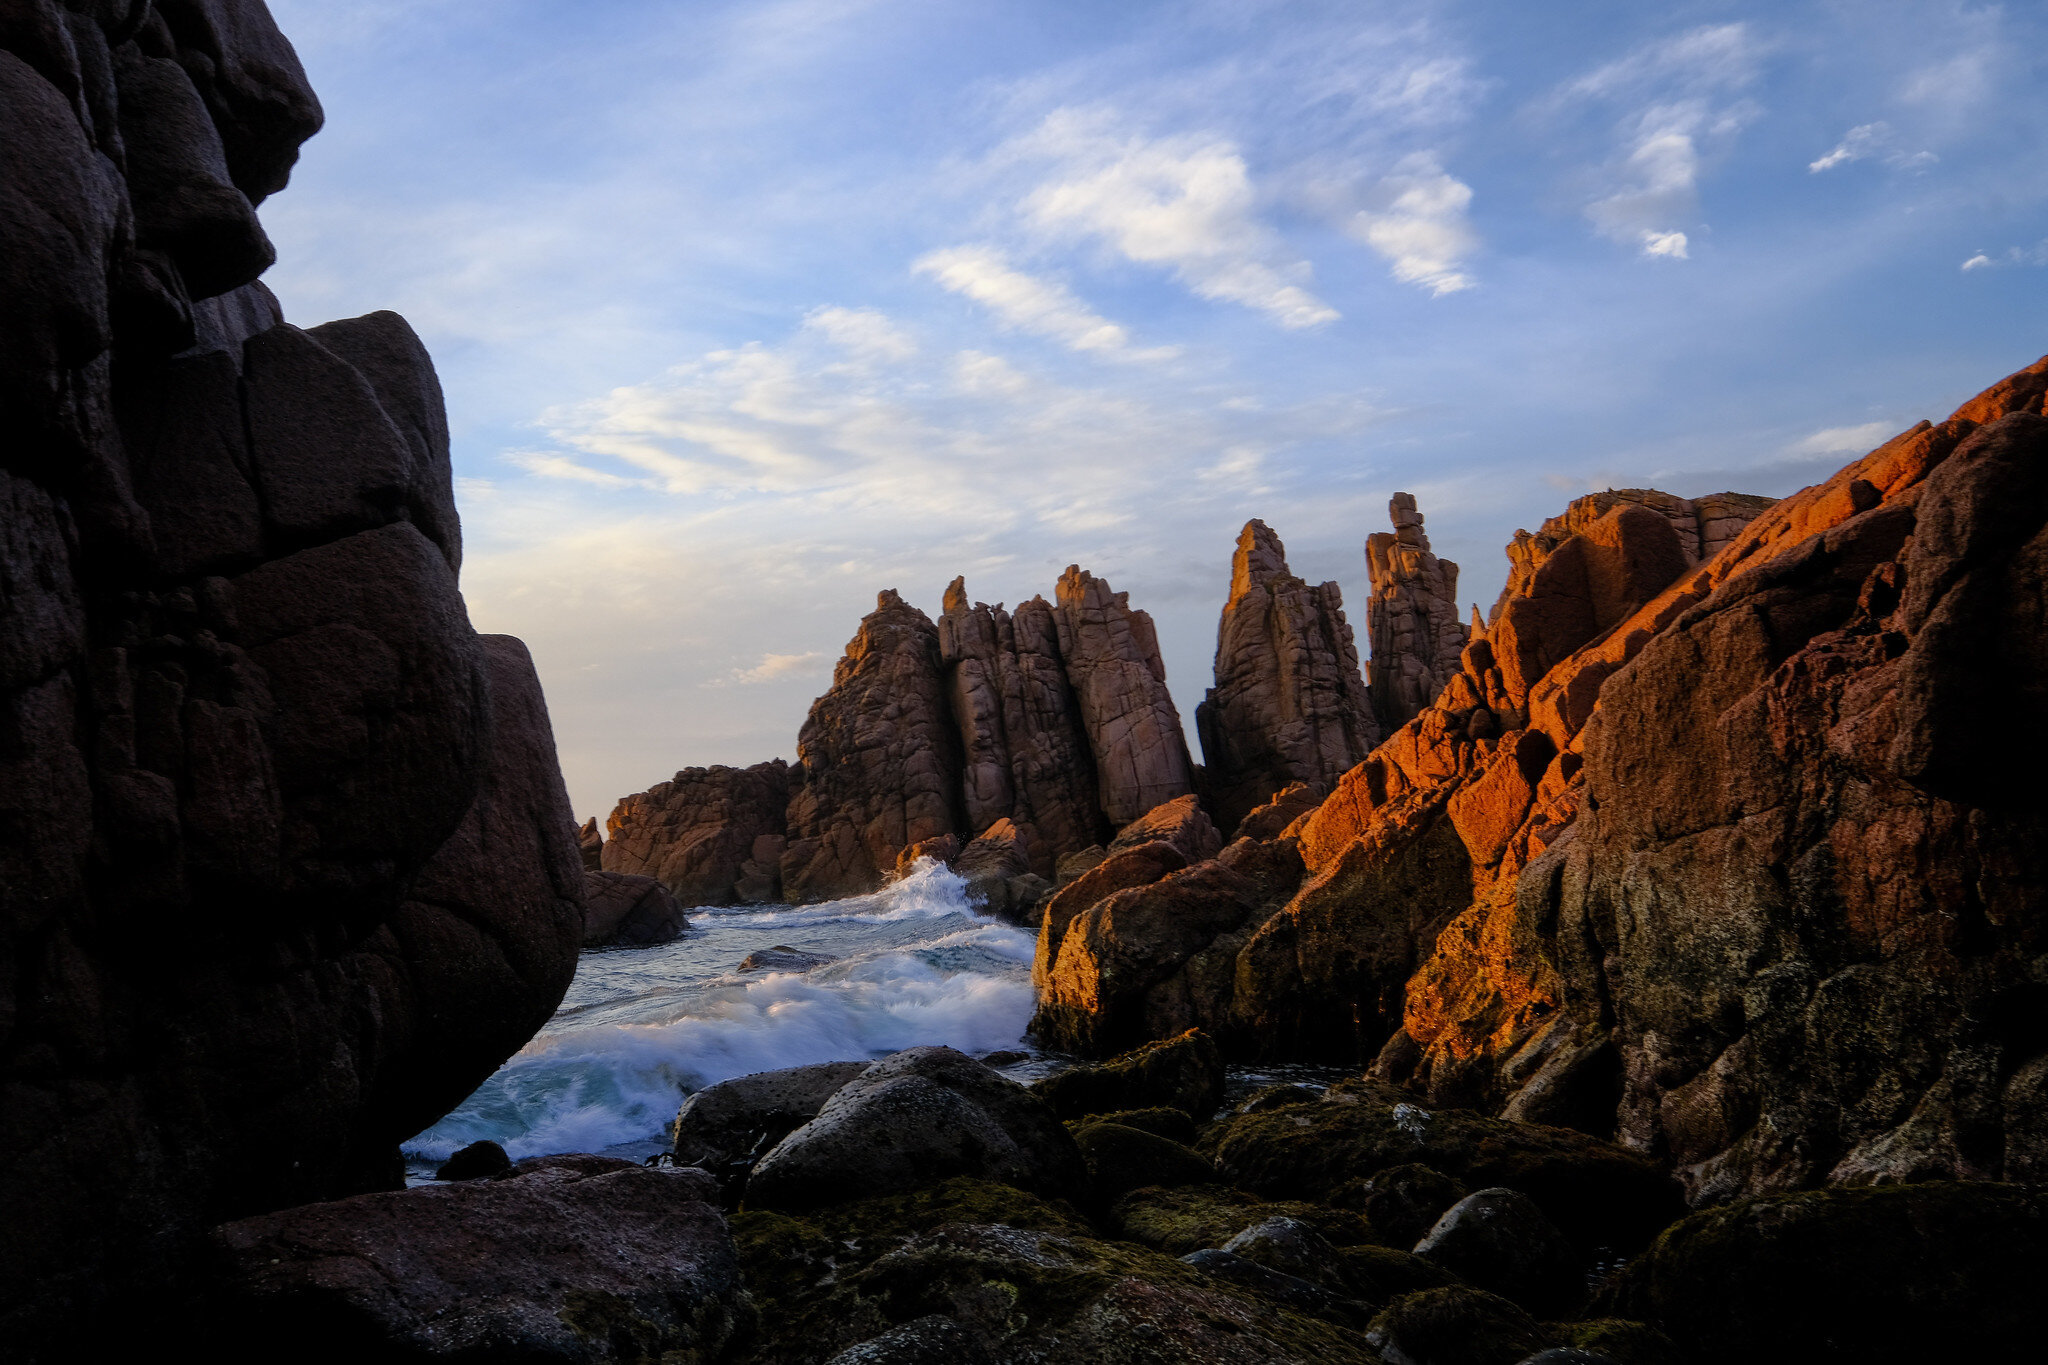
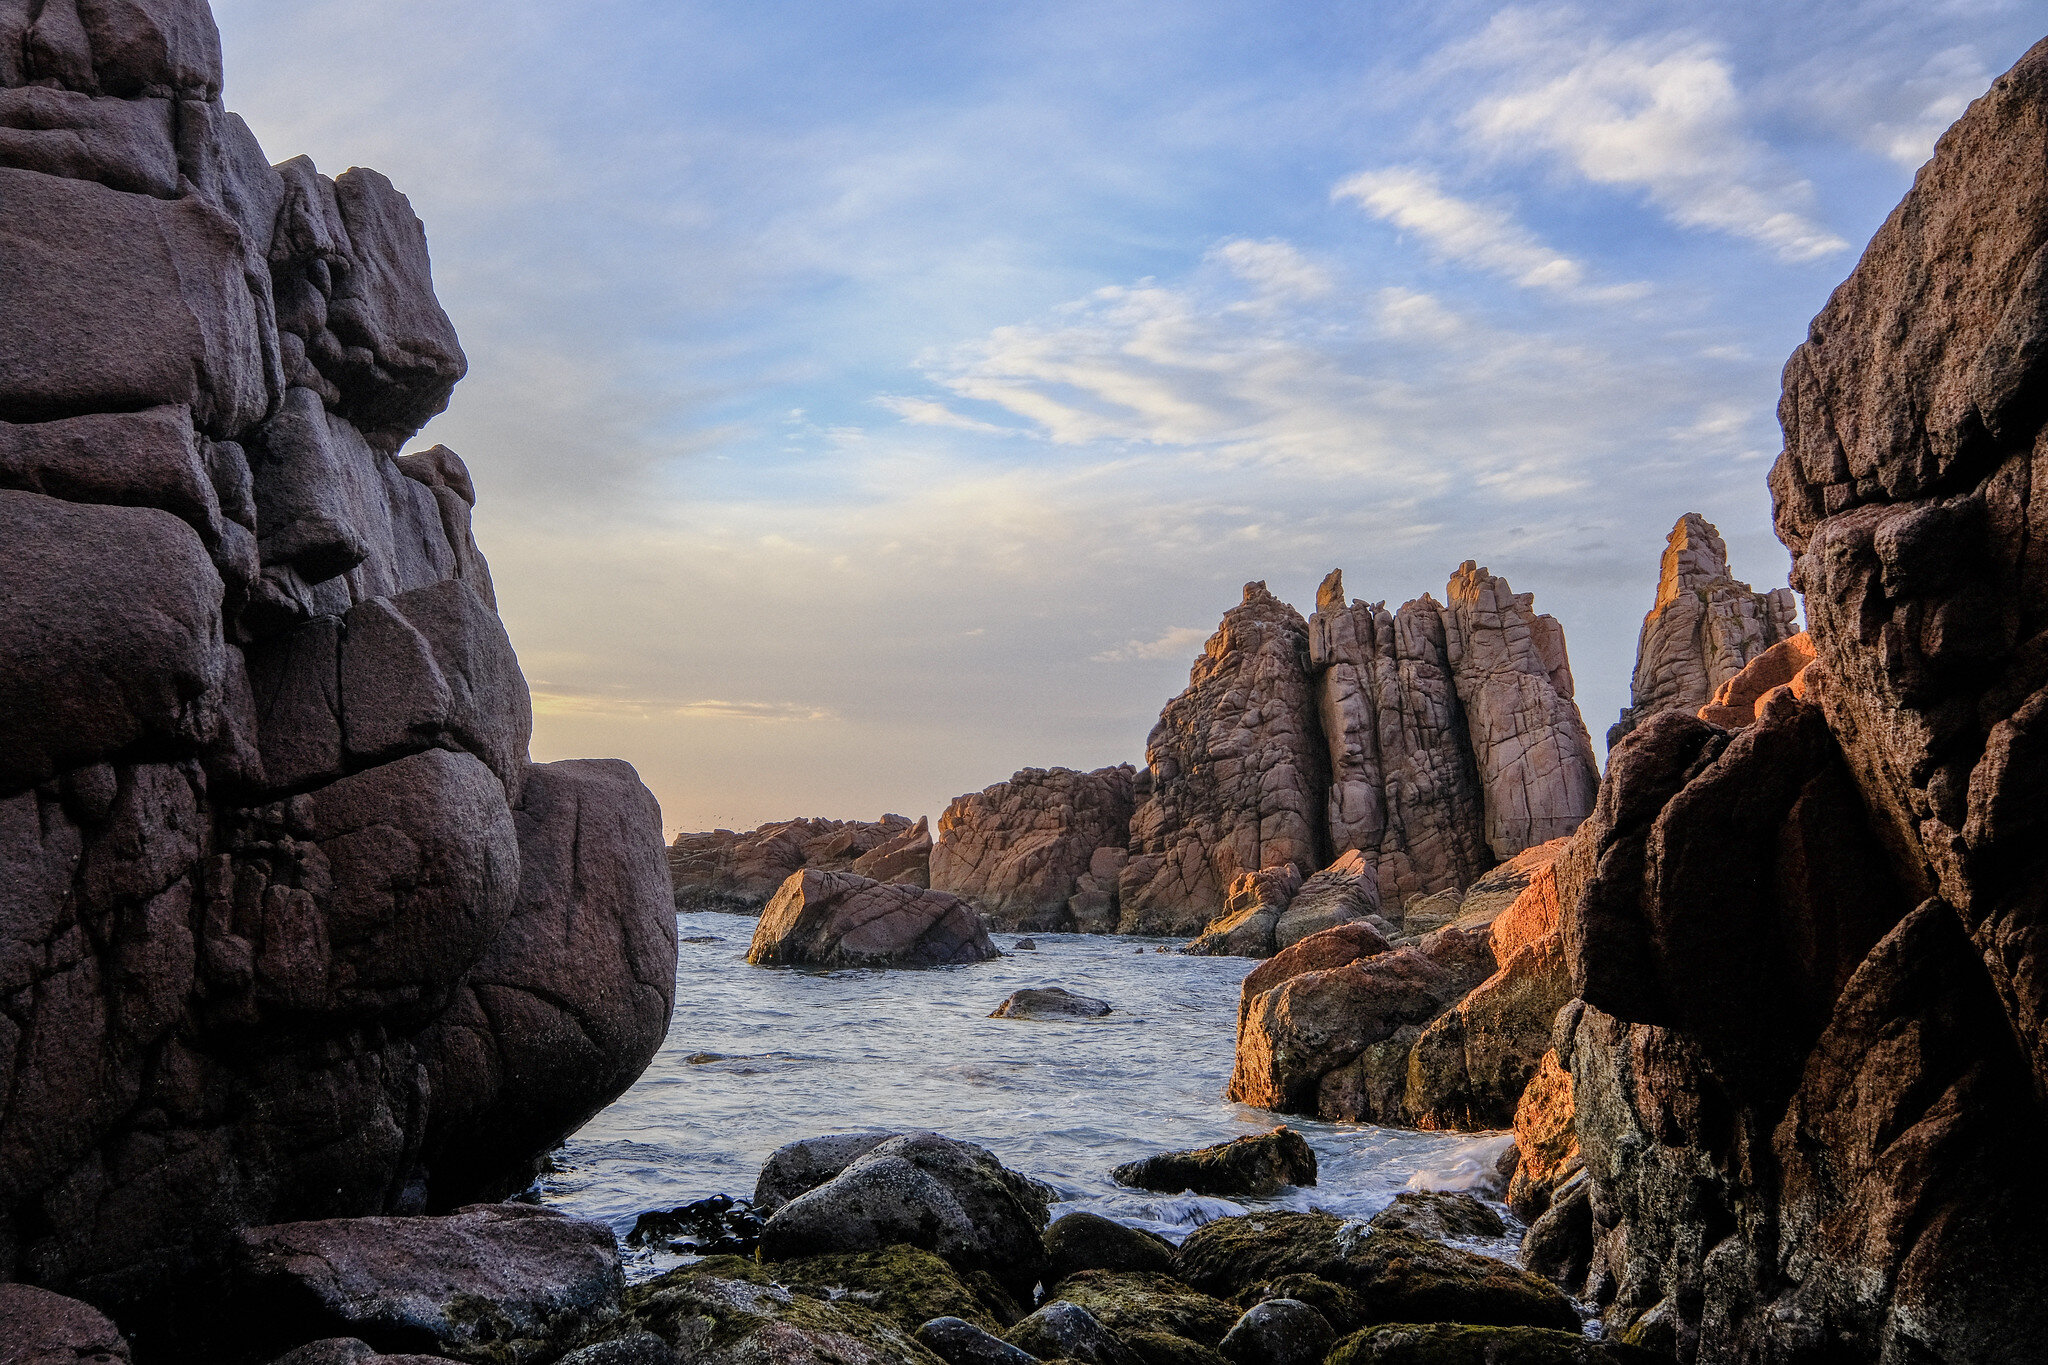
Comparing shots from a recent photography workshop got me to thinking about the JPG v RAW issue. I wasn't planning to write so many words but they just kept coming. Here are a few JPG and RAW comparisons so you get an understanding of what this article is all about. These were shot at The Pinnacles on Phillip Island Australia using my Kodak Ektar film simulation in camera. The RAW files were edited in Adobe Lightroom.

How do you shoot, do you save both JPG and RAW?

Buying Your First Film Camera - Dead Simple Guide to Get Started with 35mm by dale rogers

50516267232_6b10d5a753_k.jpg

Vintage is cool again. Old vinyl records and turntables, typewriters, bikes and film cameras are just a few of the items that are no longer manufactured in mass today but are surging in popularity. For photography, the use of vintage filters on digital images has been around a while with the likes of filters and apps like Instagram, VSCO, Huji and many others. These applications can add light leaks, grain and emulate some of our favourite film stocks.

While we can achieve a vintage look in digital it comes with perfection achieved through software manipulation and the vintage look is based on software algorithms and not through creative choice and chance.

There are thousands of film cameras to be found on eBay and second-hand market places. For photographers wanting to up their artistic game and return to film or try film for the first time, choosing a film camera may seem overwhelming.

Here are my recommendations for the best films cameras to consider for those just starting out. My recommendations are based on what is fairly affordable, easy to find and easy to start using based on your experience in digital. I have tried to steer away from cameras that are currently extremely popular with inflated price tags that reflect their popularity rather than performance. There are many more options but I have based these recommendations on economical price, availability and personal use. 

Point and Shoot

Point and shoot cameras are great for those who want ease and simplicity. Load the film and the camera does all the rest of the work. They are generally small and make great family cameras and indiscrete street shooters. I will admit I am not a point and shoot user so these recommendations come from the advice of my professional film shooting colleagues and checking current pricing on eBay and other secondhand market places. 

Canon Sure Shot Ace

Canon packed a lot of advanced features into this little late 1980’s inexpensive camera. It has a waist-level viewfinder as well as the standard viewfinder, a detachable remote control and a small pivot foot on the bottom to prop up the camera for perfect table selfies. Not the sharpest lens in the shed but a fun little run and gun film camera. Click here to check eBay for the best deal on a Canon Sure Shot Ace.

Image from eBay.com.au

Image from eBay.com.au

Olympus Infinity (USA) / AF1 

A great little forgotten camera that has the same lens as the overpriced and extremely popular Olympus MJU II, a 35mm f/2.8. This little camera is also waterproof but I’d be careful given it’s over 30 years old now. Check eBay for the best deal on an Olympus Infinity.

Image from EBay

Image from EBay

Pentax Espio AF Zoom

Pentax made heaps of Espio cameras in the 1990’s. They all are suitable for starting out with film photography but I choose this one because it has a very interesting double exposure function that could create some really cool shots and has a relatively decent lens for an inexpensive camera. Look for your own Pentax Espio on eBay now.

Image from EBay

Image from EBay

Nikon L35AF

The L35AF was Nikon’s first autofocus point and shoot in the early 1980’s. They did not skimp on the 35mm f/2.8 lens. It’s sharp, fast autofocus and an all round excellent point and shoot. Nikon L35AF on ebay.

Image from EBay

Image from EBay

Transition from DSLR

If you already shoot with a Canon, Nikon or Pentax DSLR, some of your lenses may already work on these cameras.

Canon EOS 650

Released in the early 1980s this was Canon’s first EOS film camera and it’s pretty chunky and built like a tank. They are dirt cheap second hand and sit above EOS entry-level film cameras. Most Canon EF lenses will work perfectly but not EFS lenses made for crop sensor Canon DSLRs. Check eBay for current prices on the 650.

image9.jpg

Canon ELAN II (USA)/EOS 55 (JAPAN)/EOS 50

I debated about whether to include the EOS 650 or the ELAN II in this article and went back and deleted one or the other a couple of times. In the end, here they both are. This is my personal favourite Canon EOS film camera. It’s a beautiful black and silver EOS camera with a nice sturdy metal lens mount. It was one of the last lines of the Canon film cameras in production. If you use a EOS digital this camera will feel right at home as it has most features of higher end EOS digitals including the back command wheel. It also remains a very affordable film camera in the prosumer Canon range. Find a Canon EOS 55 on eBay here.

The EOS 55 is one of my everyday film cameras. This one has a bottom battery grip attached.

The EOS 55 is one of my everyday film cameras. This one has a bottom battery grip attached.

Nikon n80 (USA) / f80

This Nikon was released in 2000 and has almost all the features of the Pro level F100 but about half the price tag. Your current Nikon FX mount glass will be right at home on this camera however DX lenses for crop sensor DSLRs may show vignetting. Here are some Nikon n80’s on eBay at the moment.

Image from eBay

Image from eBay

Pentax sFX/sF1

This is a 1987 special and has all the features any photographer could want including backwards and forward Pentax lens compatibility.. It has been called the ugliest camera ever made but I think it’s reminiscent of a camera Capt. Kirk of Star Trek would proudly use. It’s heavy and well made and much more dependable than many of the Pentax MZ series film cameras. Check for a sFX on eBay now.

image4.jpg

Manual Focus

If you are confident with using a camera and want a real vintage challenge, these are the cameras for you. They all use manual focus lenses and often have busted lightmeters as well as hard to find mercury battery replacements. Don’t let that deter you. With a little Sunny 16 knowledge, a handheld light meter or a light meter app on your phone, these cameras are a blast to shoot - with or without a battery.

Canon FTb QL

This 1971 FD mount Canon has everything you could want in a camera. In my opinion, it’s the perfect Canon manual focus camera. Easy to load, super shutter, bright viewfinder and a needle meter. Choose this camera over the overpriced and under specced Pentax k1000 anyday. Canon fTB prices on eBay.

My Canon FTb QL sporting a red soft release.

My Canon FTb QL sporting a red soft release.

Pentax/Honeywell (USA) Spotmatic SP/500/1000

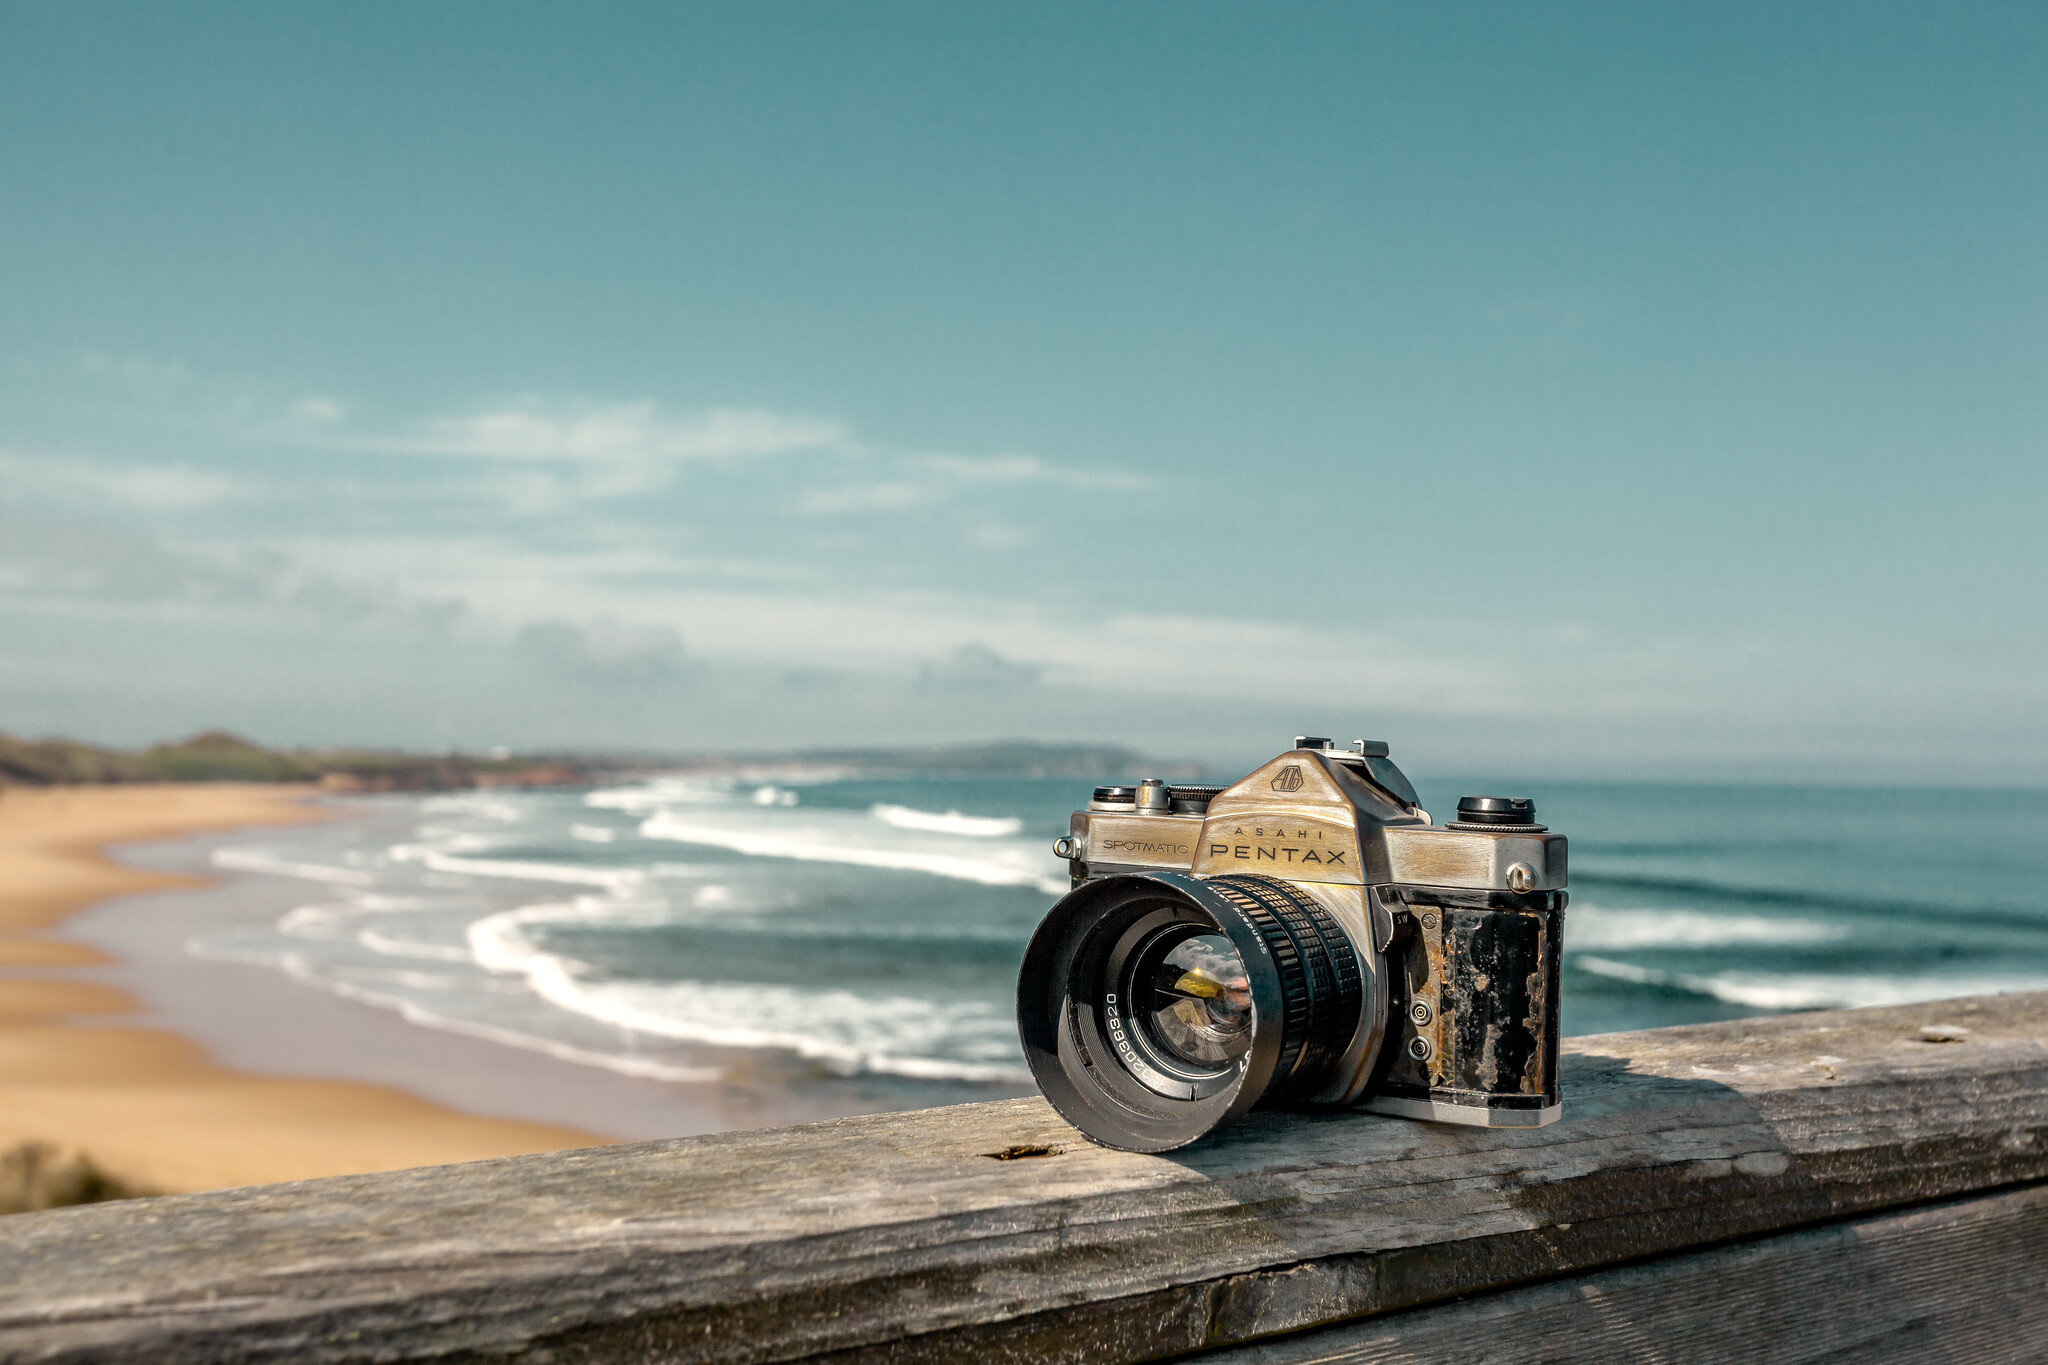
The Spotmatics are as basic as you can get with a camera. They are a sturdy metal box with a m42 screw mount. Almost indestructible and thousands of superb lenses available. I have about 4 or 5 Spotmatics all of them have broken light meters but that doesn’t stop me using them. Grab a Spotmatic now on eBay.

This old Spotmatic has been on many adventures. It has lost all the leatherette, been severely scratched up and has a broken light meter. Even with all its issues, I get great photos from it.

This old Spotmatic has been on many adventures. It has lost all the leatherette, been severely scratched up and has a broken light meter. Even with all its issues, I get great photos from it.

Nikon EM

Nothing really beats a Nikon manual focus camera with Nikon glass. They were the unparalleled leaders in professional SLR gear and their old manual focus cameras have stood the test of time. They also are the best at lens compatibility with their F mount not really changing much since 1959. That said, they are on the pricier end of my list of cameras here. Nikon EM prices today on eBay.

Image from eBay

Image from eBay

Olympus OM10

The Olympus OM cameras are an example of masterful design. They were the first of the SLRs to come in a more compact size adding internal lightmeters and extremely compact lenses. But beware, many others have cottoned on to the OM cameras and their price has been skyrocketing. The 1971 OM10 was a consumer version and they sold them by the truckloads meaning they remain one of the best priced and featured OMs available and worth picking up. Look up OM10 on eBay.

My Olympus OM10, one of the more fun manual focus cameras to shoot with.

My Olympus OM10, one of the more fun manual focus cameras to shoot with.

Rangefinder

Yashica Electro 35 GSN

The Electro 35 GSN came out in 1971. It’s solid, looks great and has an awesomely sharp Yashinon 45mm f/1.7. This was Peter Parker’s camera in the 2012 Spiderman movie. If it was good enough for Peter, I reckon it’s good enough for me. eBay deals for an Electro GSN 35.

This is one of my Yashica Electro 35 GSN cameras with a red filter on len lens.Very handsome indeed!

This is one of my Yashica Electro 35 GSN cameras with a red filter on len lens.Very handsome indeed!

Canon Canonet QL19 GLiii

If you can find one of these at a decent price, pick it up. The QL 19 GLiii was exactly the same as the top end rangefinder from Canon, the QL 17 GLiii, but had a slower f/1.9 lens. That’s not really slow in anybody’s book and is an awesomely fast lens on a rangefinder. Try finding a bargain on eBay for a Canonet.

Image from eBay

Image from eBay

Zorki 4

I couldn’t list rangefinders without throwing in a 50+ year old Soviet made model. The Zorki 4 was a Russian copy of the Leica II manufactured between 1956-1973, it even uses Leica M39 mount lenses. While not nearly as smooth as a Leica, this vintage beauty looks great and has a character all its own. One thing that’s important to remember with this camera, always cock the shutter before changing shutter speeds. Otherwise, the changing shutter speeds may damage the silk shutter curtain. Look into Zorki 4 cameras for sale on eBay.

Image from eBay

Image from eBay

Ricoh 500G

This was Ricoh’s 1972 pocket rocket rangefinder. There’s nothing special in it’s specs to say it’s better than its contemporaries but I appreciate the ability to shoot in aperture priority or manual mode which many rangefinders of the time did not have this option. It fits in the pocket and has a nice accurate meter. It’s an undiscovered gem in my opinion and I suspect that before long it’s price will start to skyrocket once others discover it’s sheer simplicity and function. See if you can find a 500g on eBay.

The Ricoh 500G hanging at the beach with his mates.

The Ricoh 500G hanging at the beach with his mates.


You can’t go wrong with any of these cameras as a first film camera. Choose one that seems right for you. Remember that these cameras are all vintage and may experience electronic failures, stuck mirrors, light leaks or any number of mechanical issues. Don’t be dismayed, this is part of the fun and excitement of shooting with old equipment. Some issues may be repaired, some you may decide to live with while others may require you to source another camera. Continue learning, shooting and enjoy your film adventures.


Vintage Is Cool Again! by dale rogers

Vintage is cool again. Old vinyl records and turntables, typewriters, bikes and film cameras are just a few of the items that are no longer manufactured in mass today but are surging in popularity. For photography, the use of vintage filters on digital images has been around awhile with the likes of filters and apps like Instagram, VSCO, Huji and many others. These applications can add light leaks, grain and emulate some of our favourite film stocks.

While we can achieve a vintage look in digital it comes with perfection achieved through software manipulation and the vintage look is based on software algorithms and not through creative choice and chance.

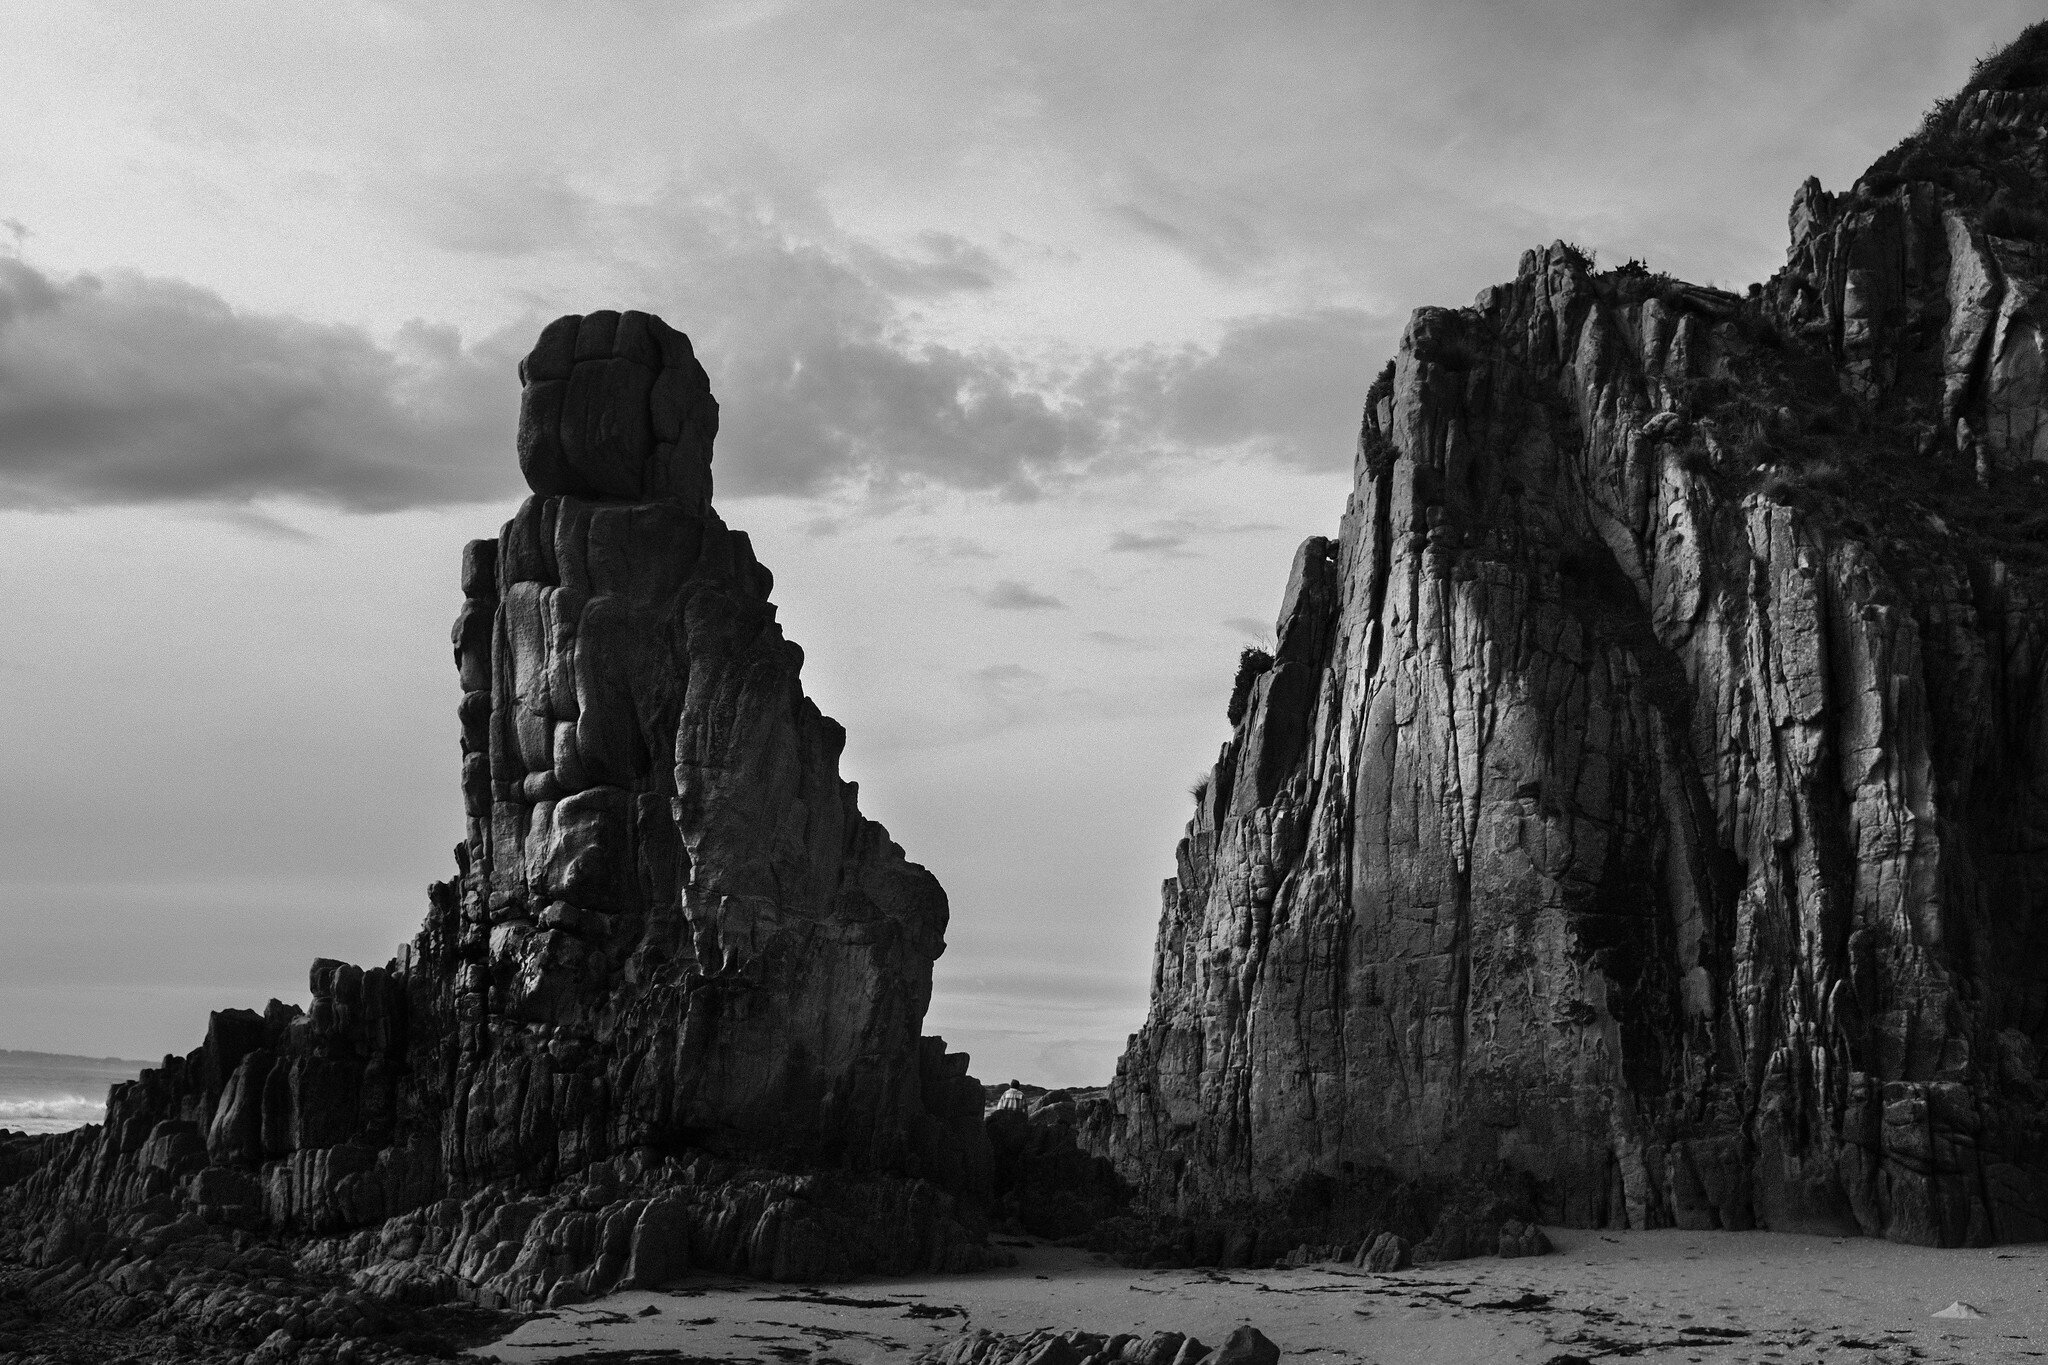
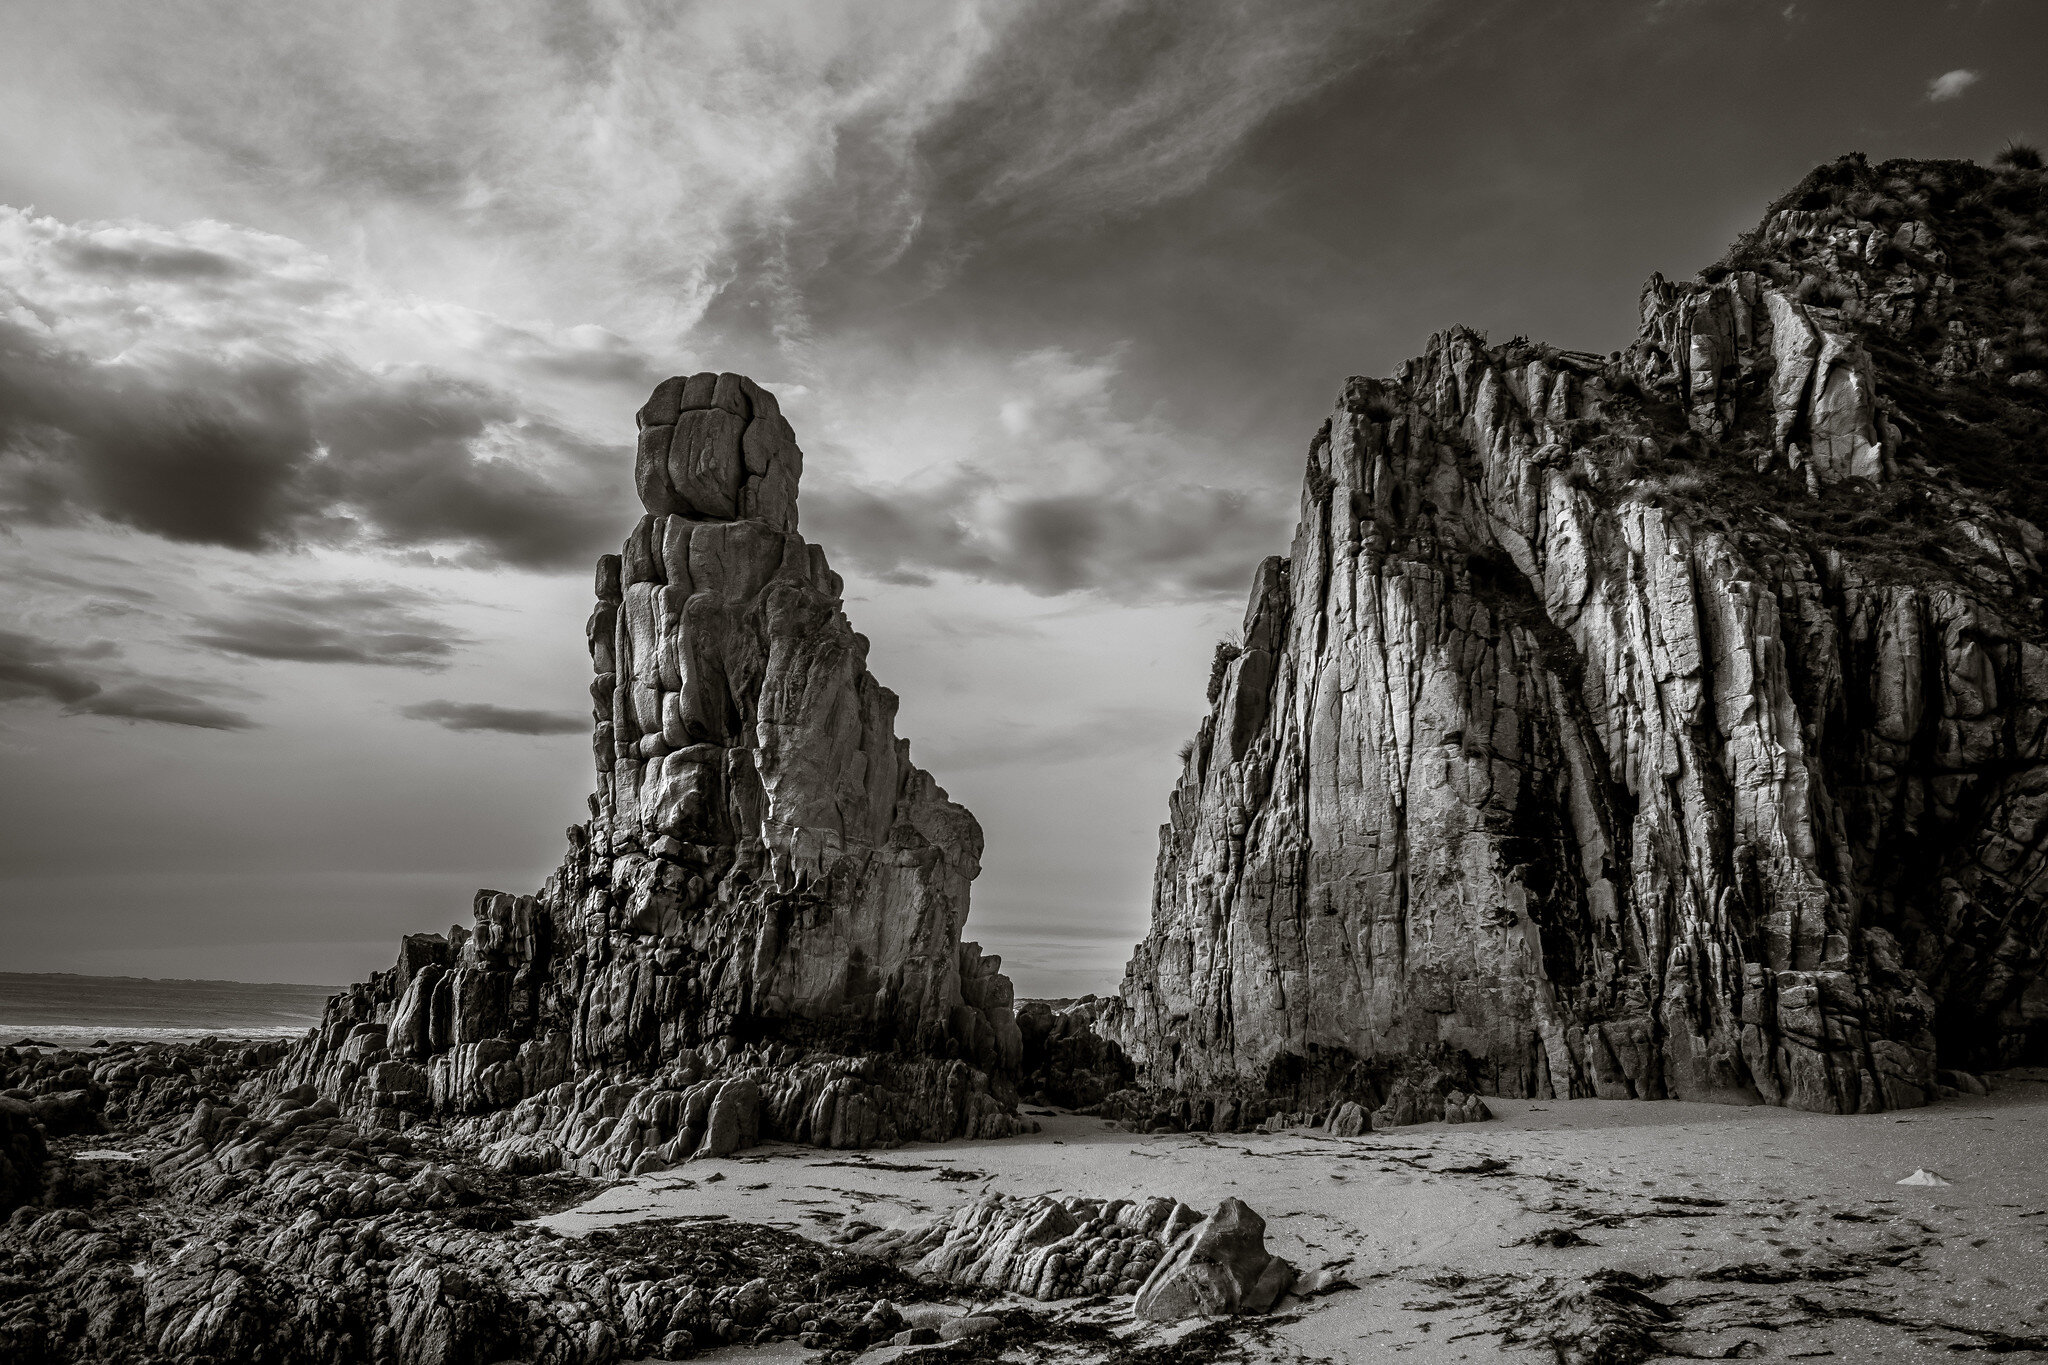
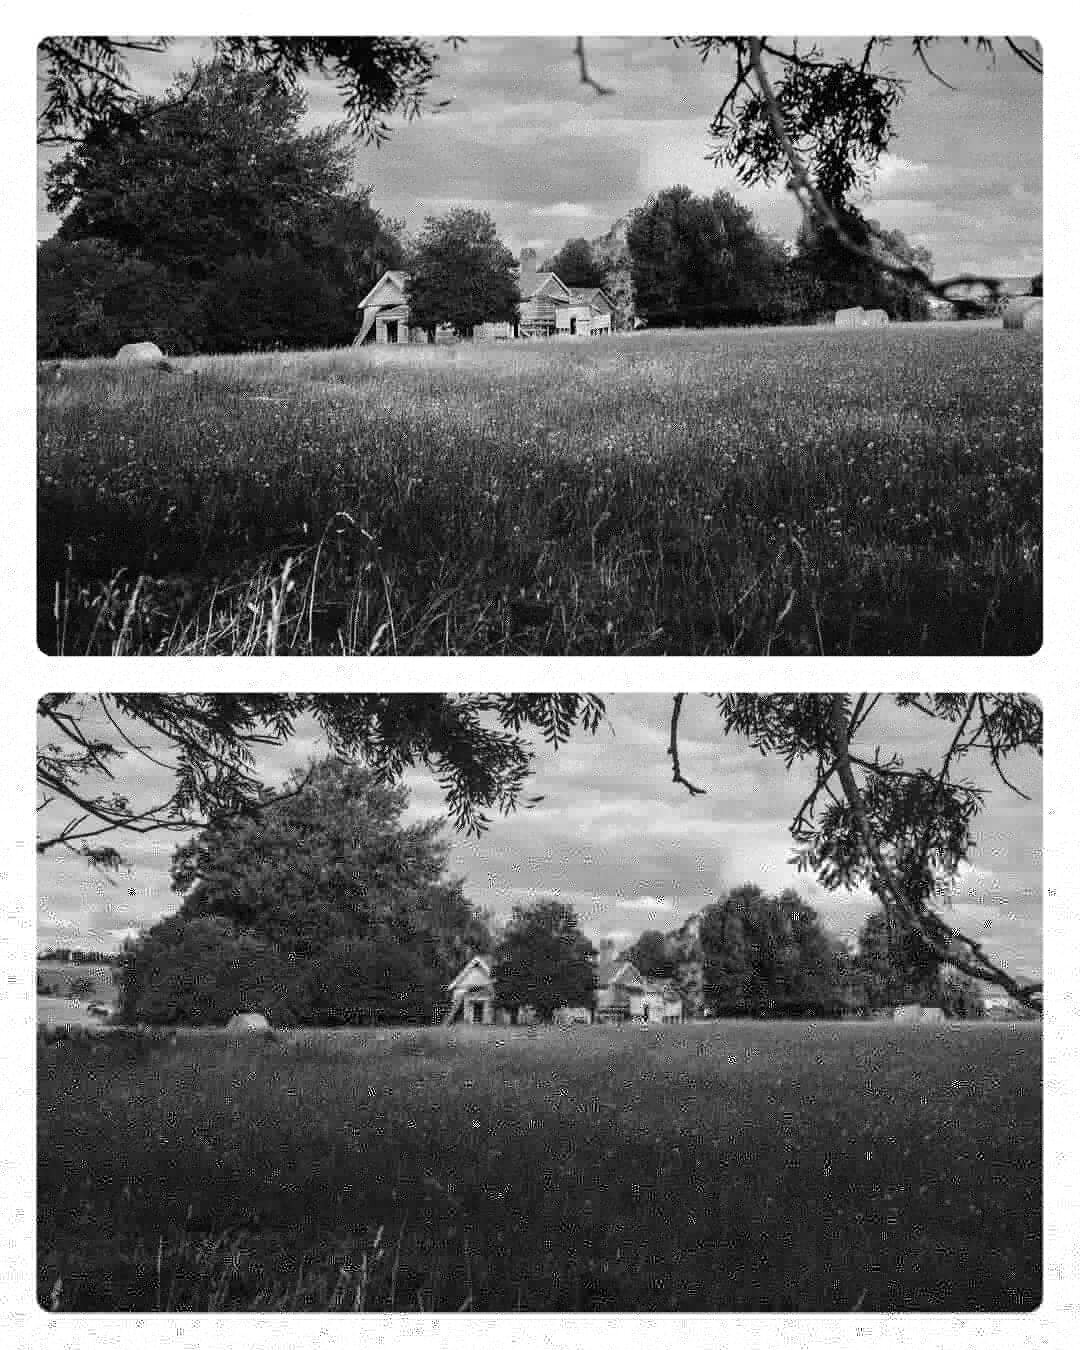
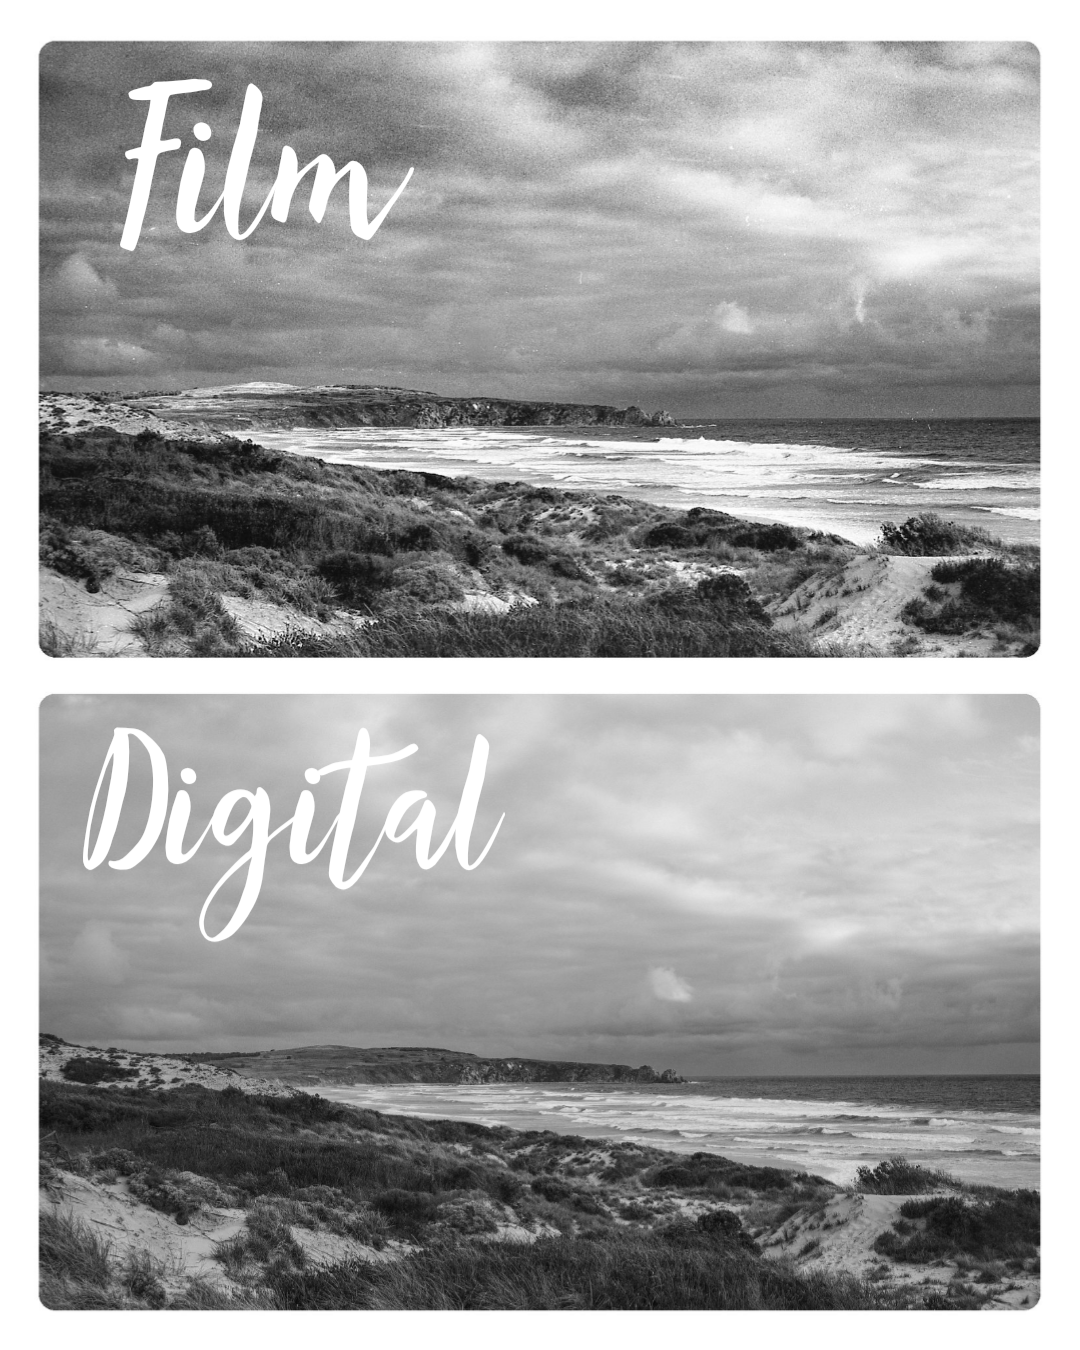
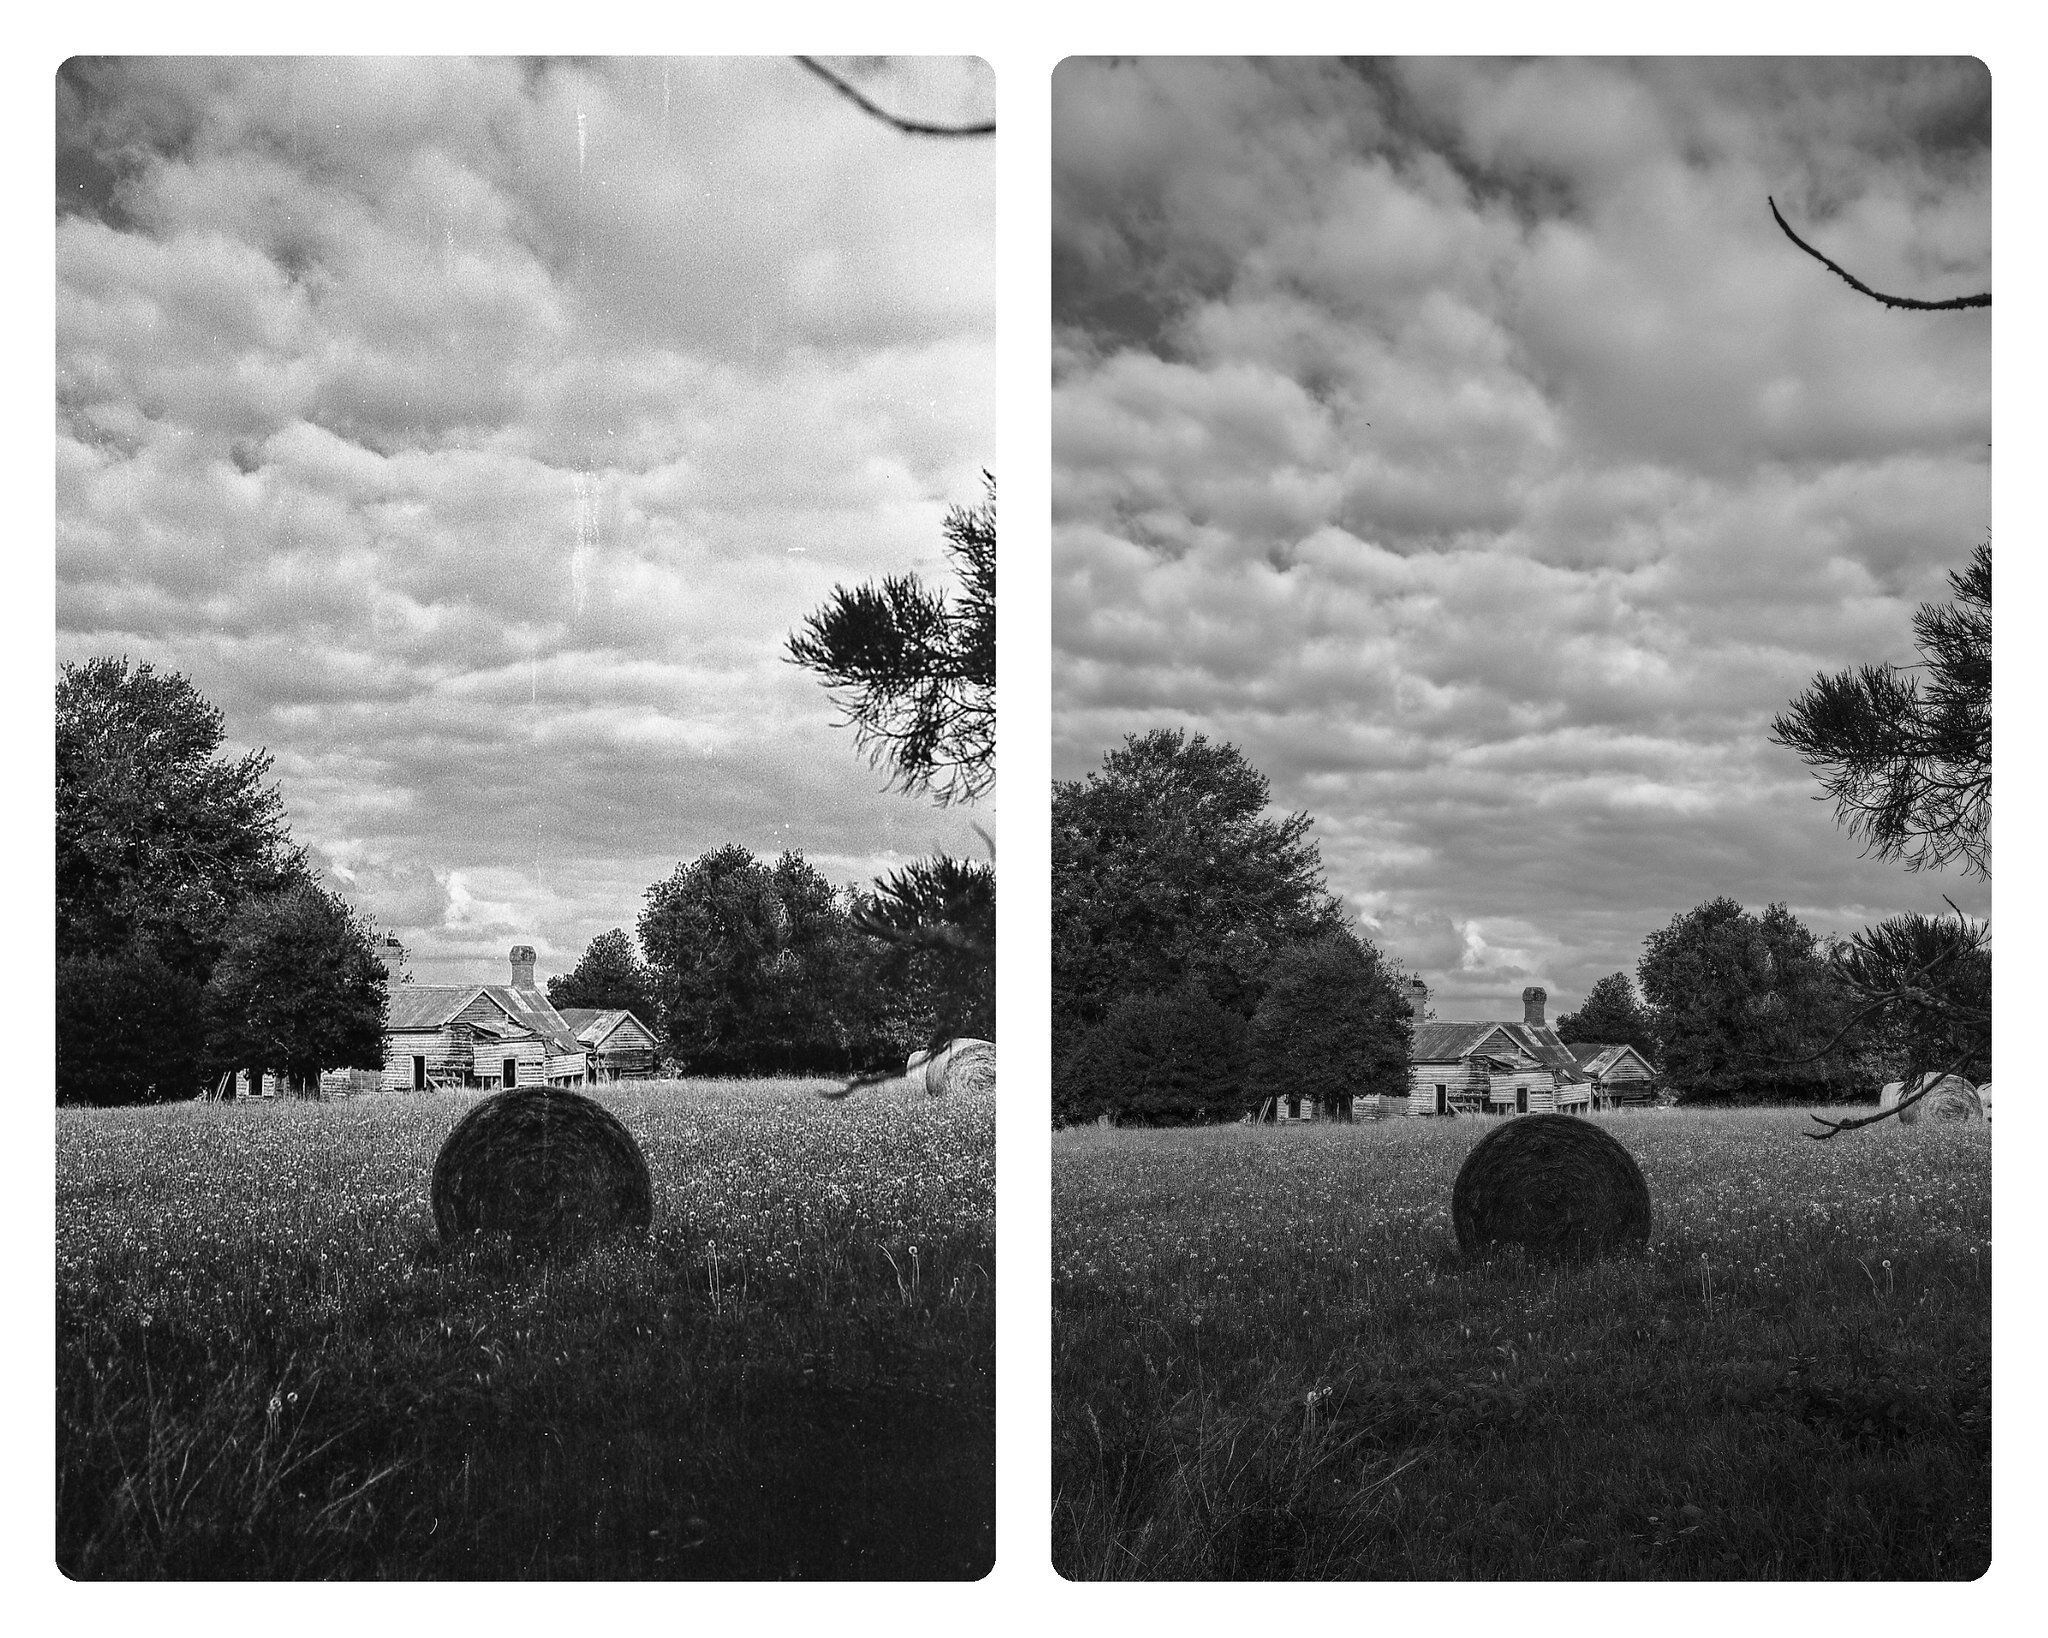
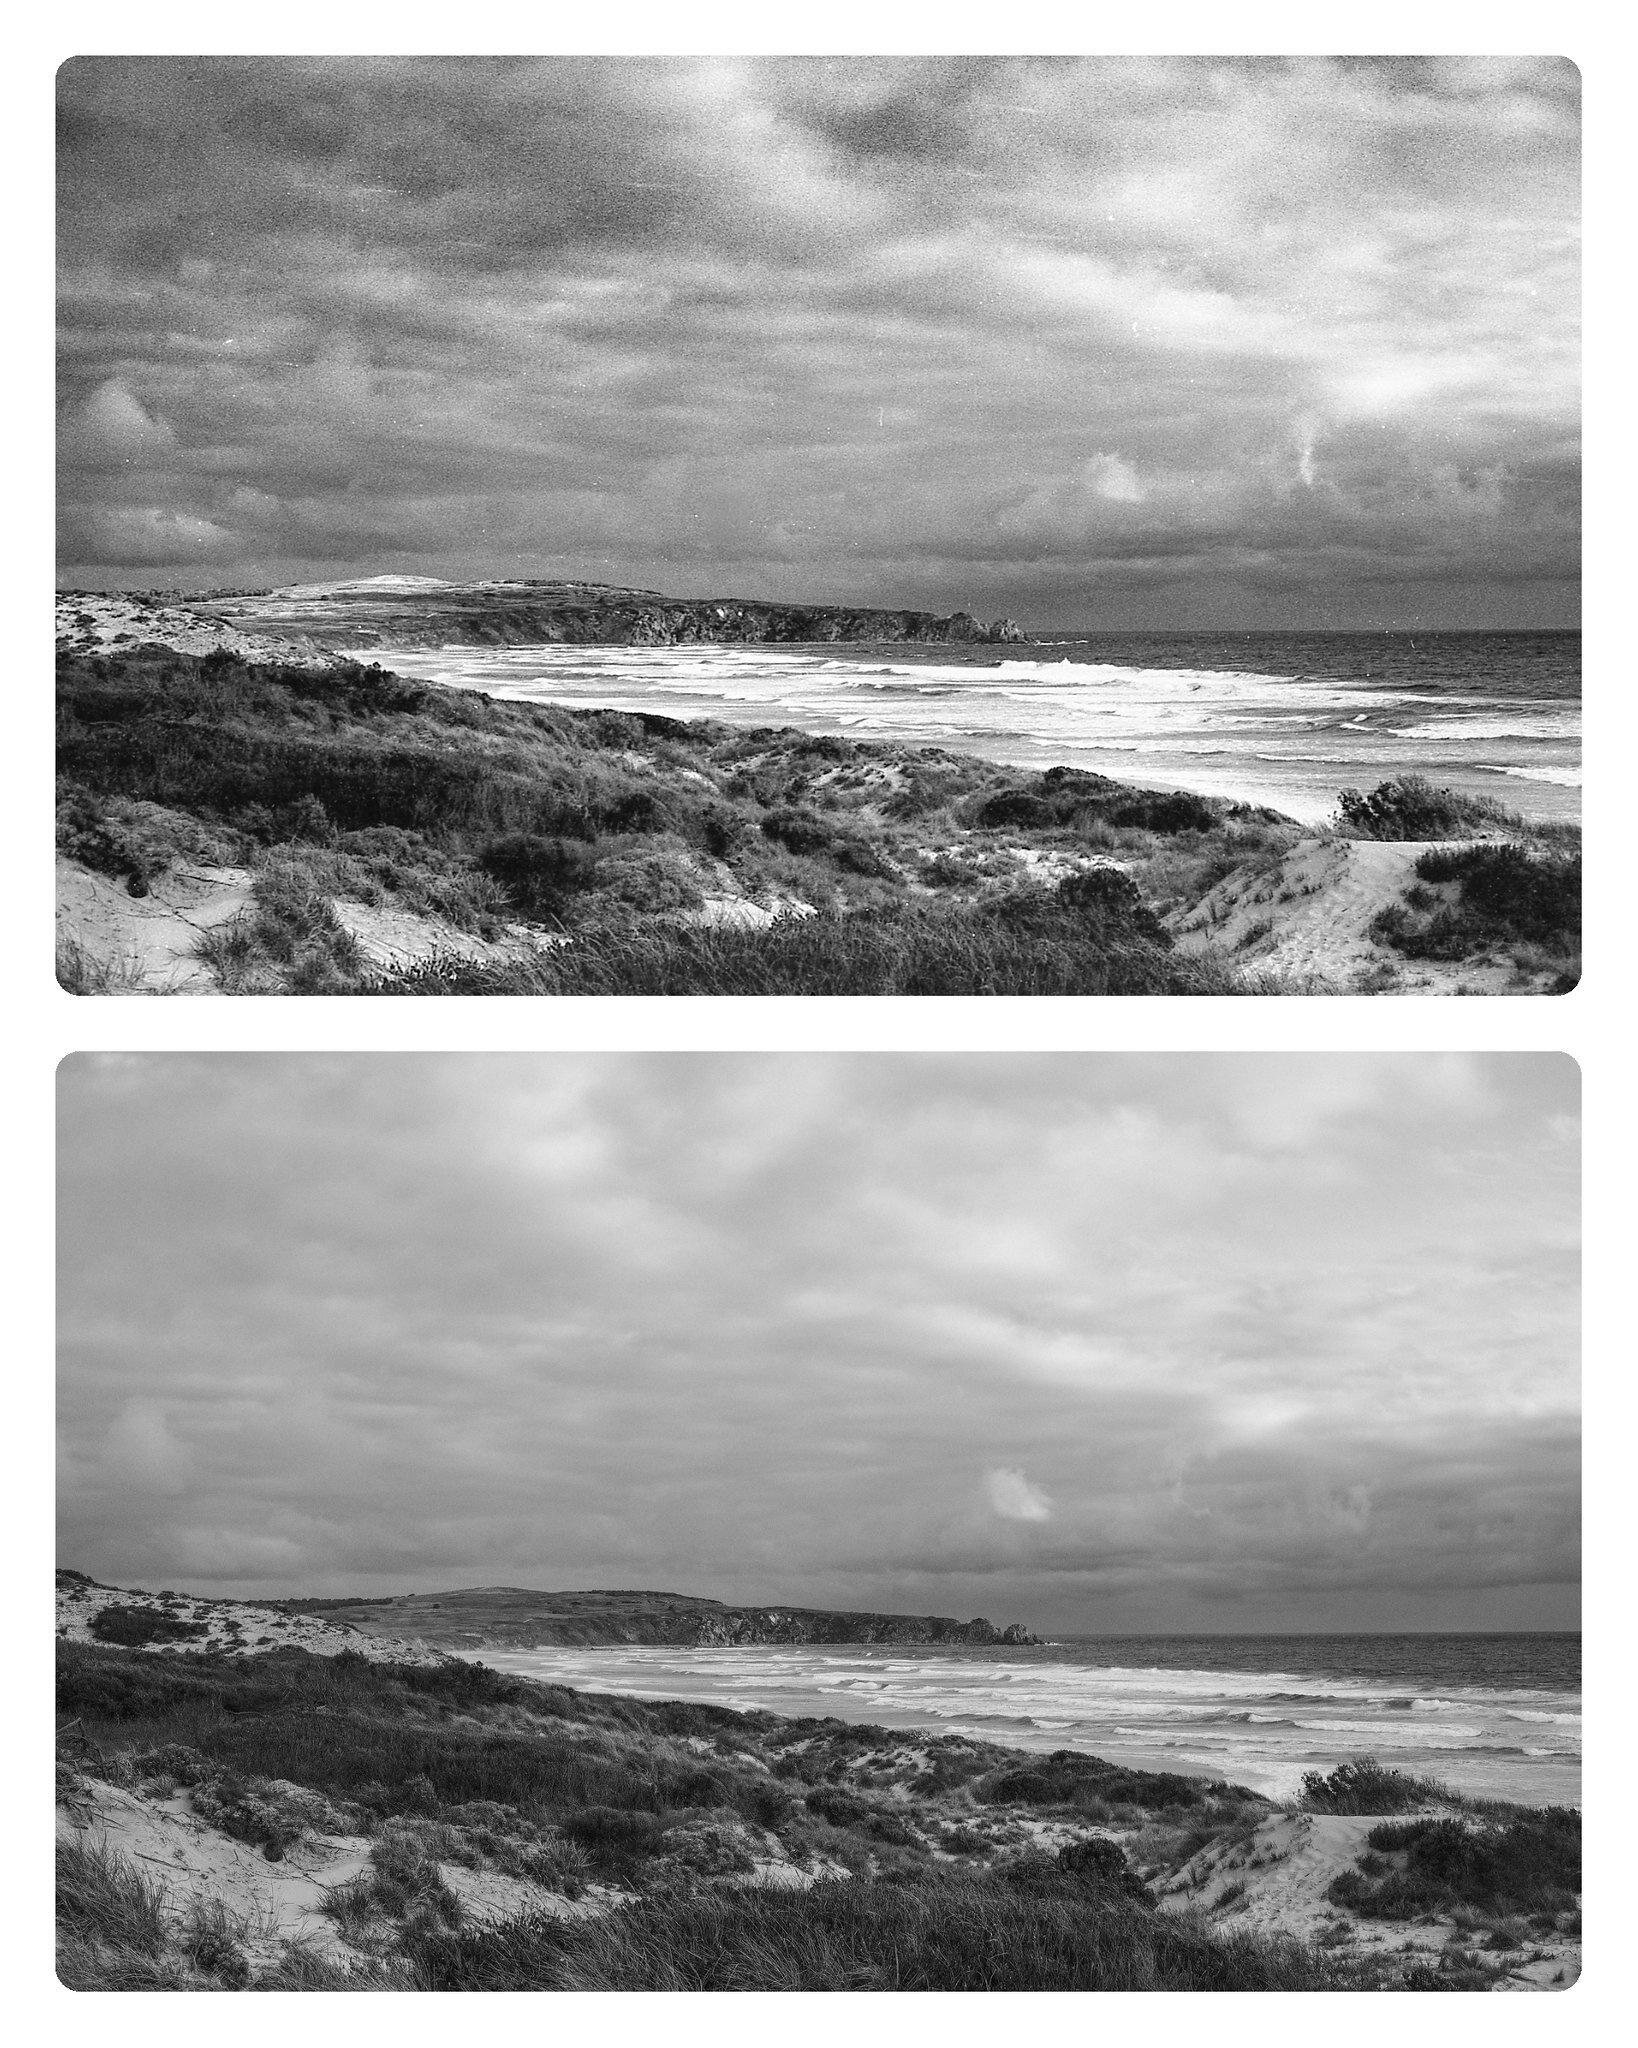
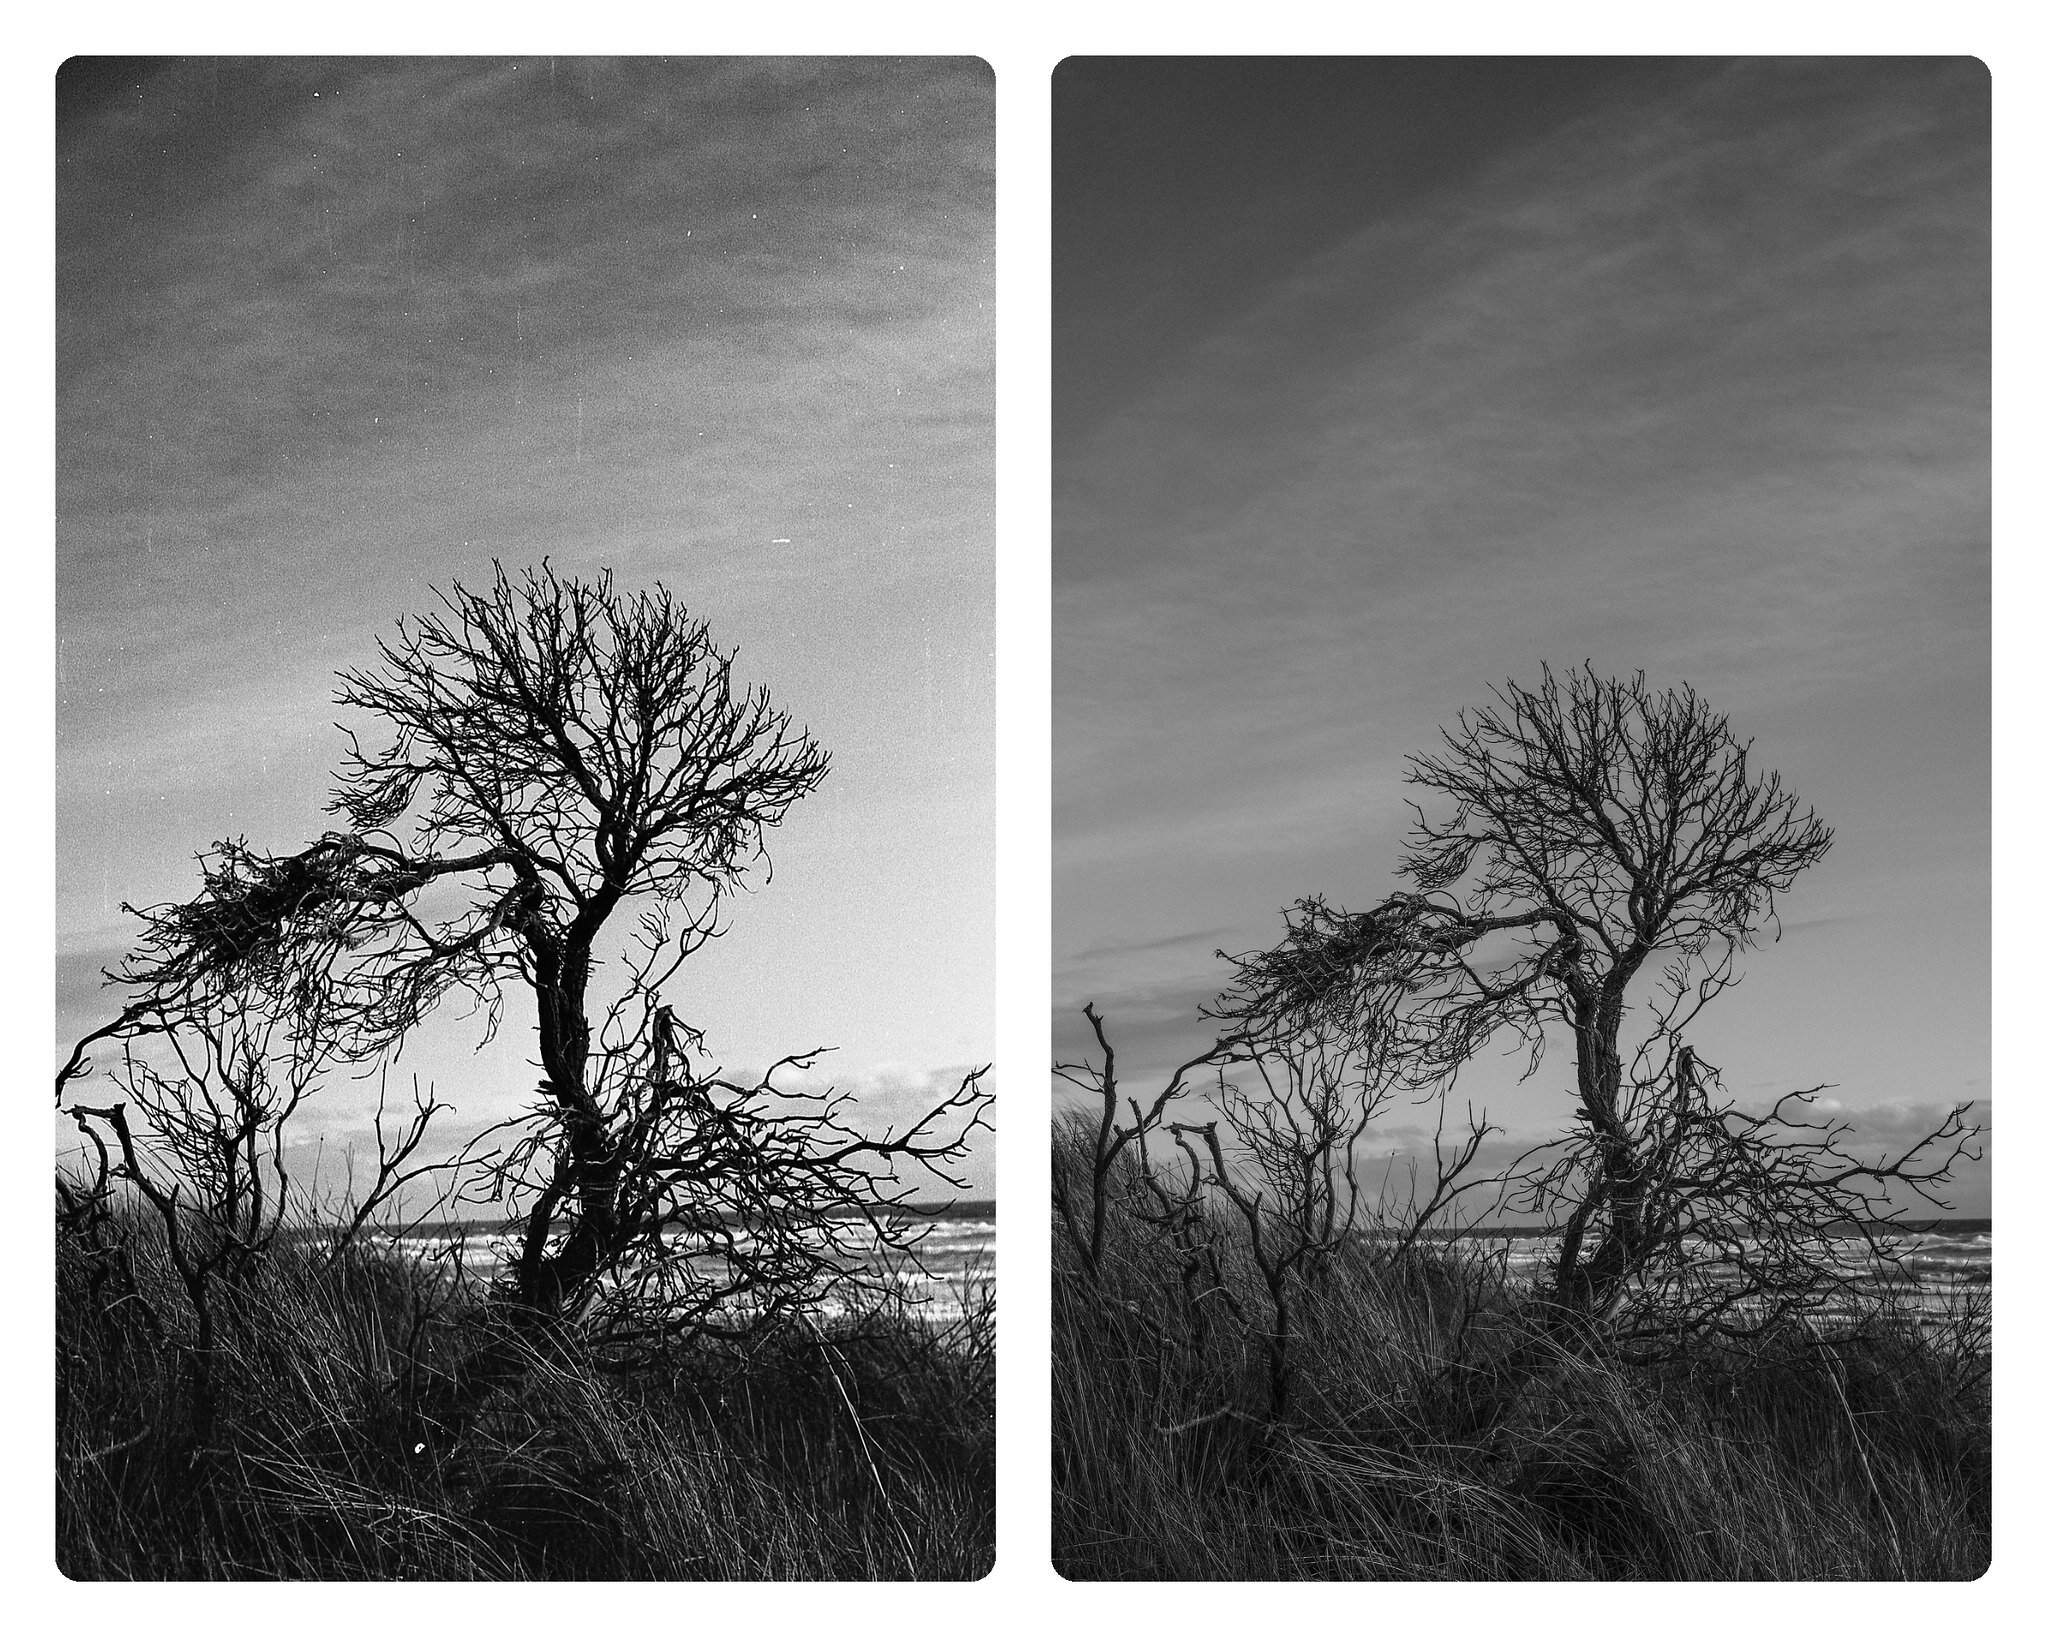
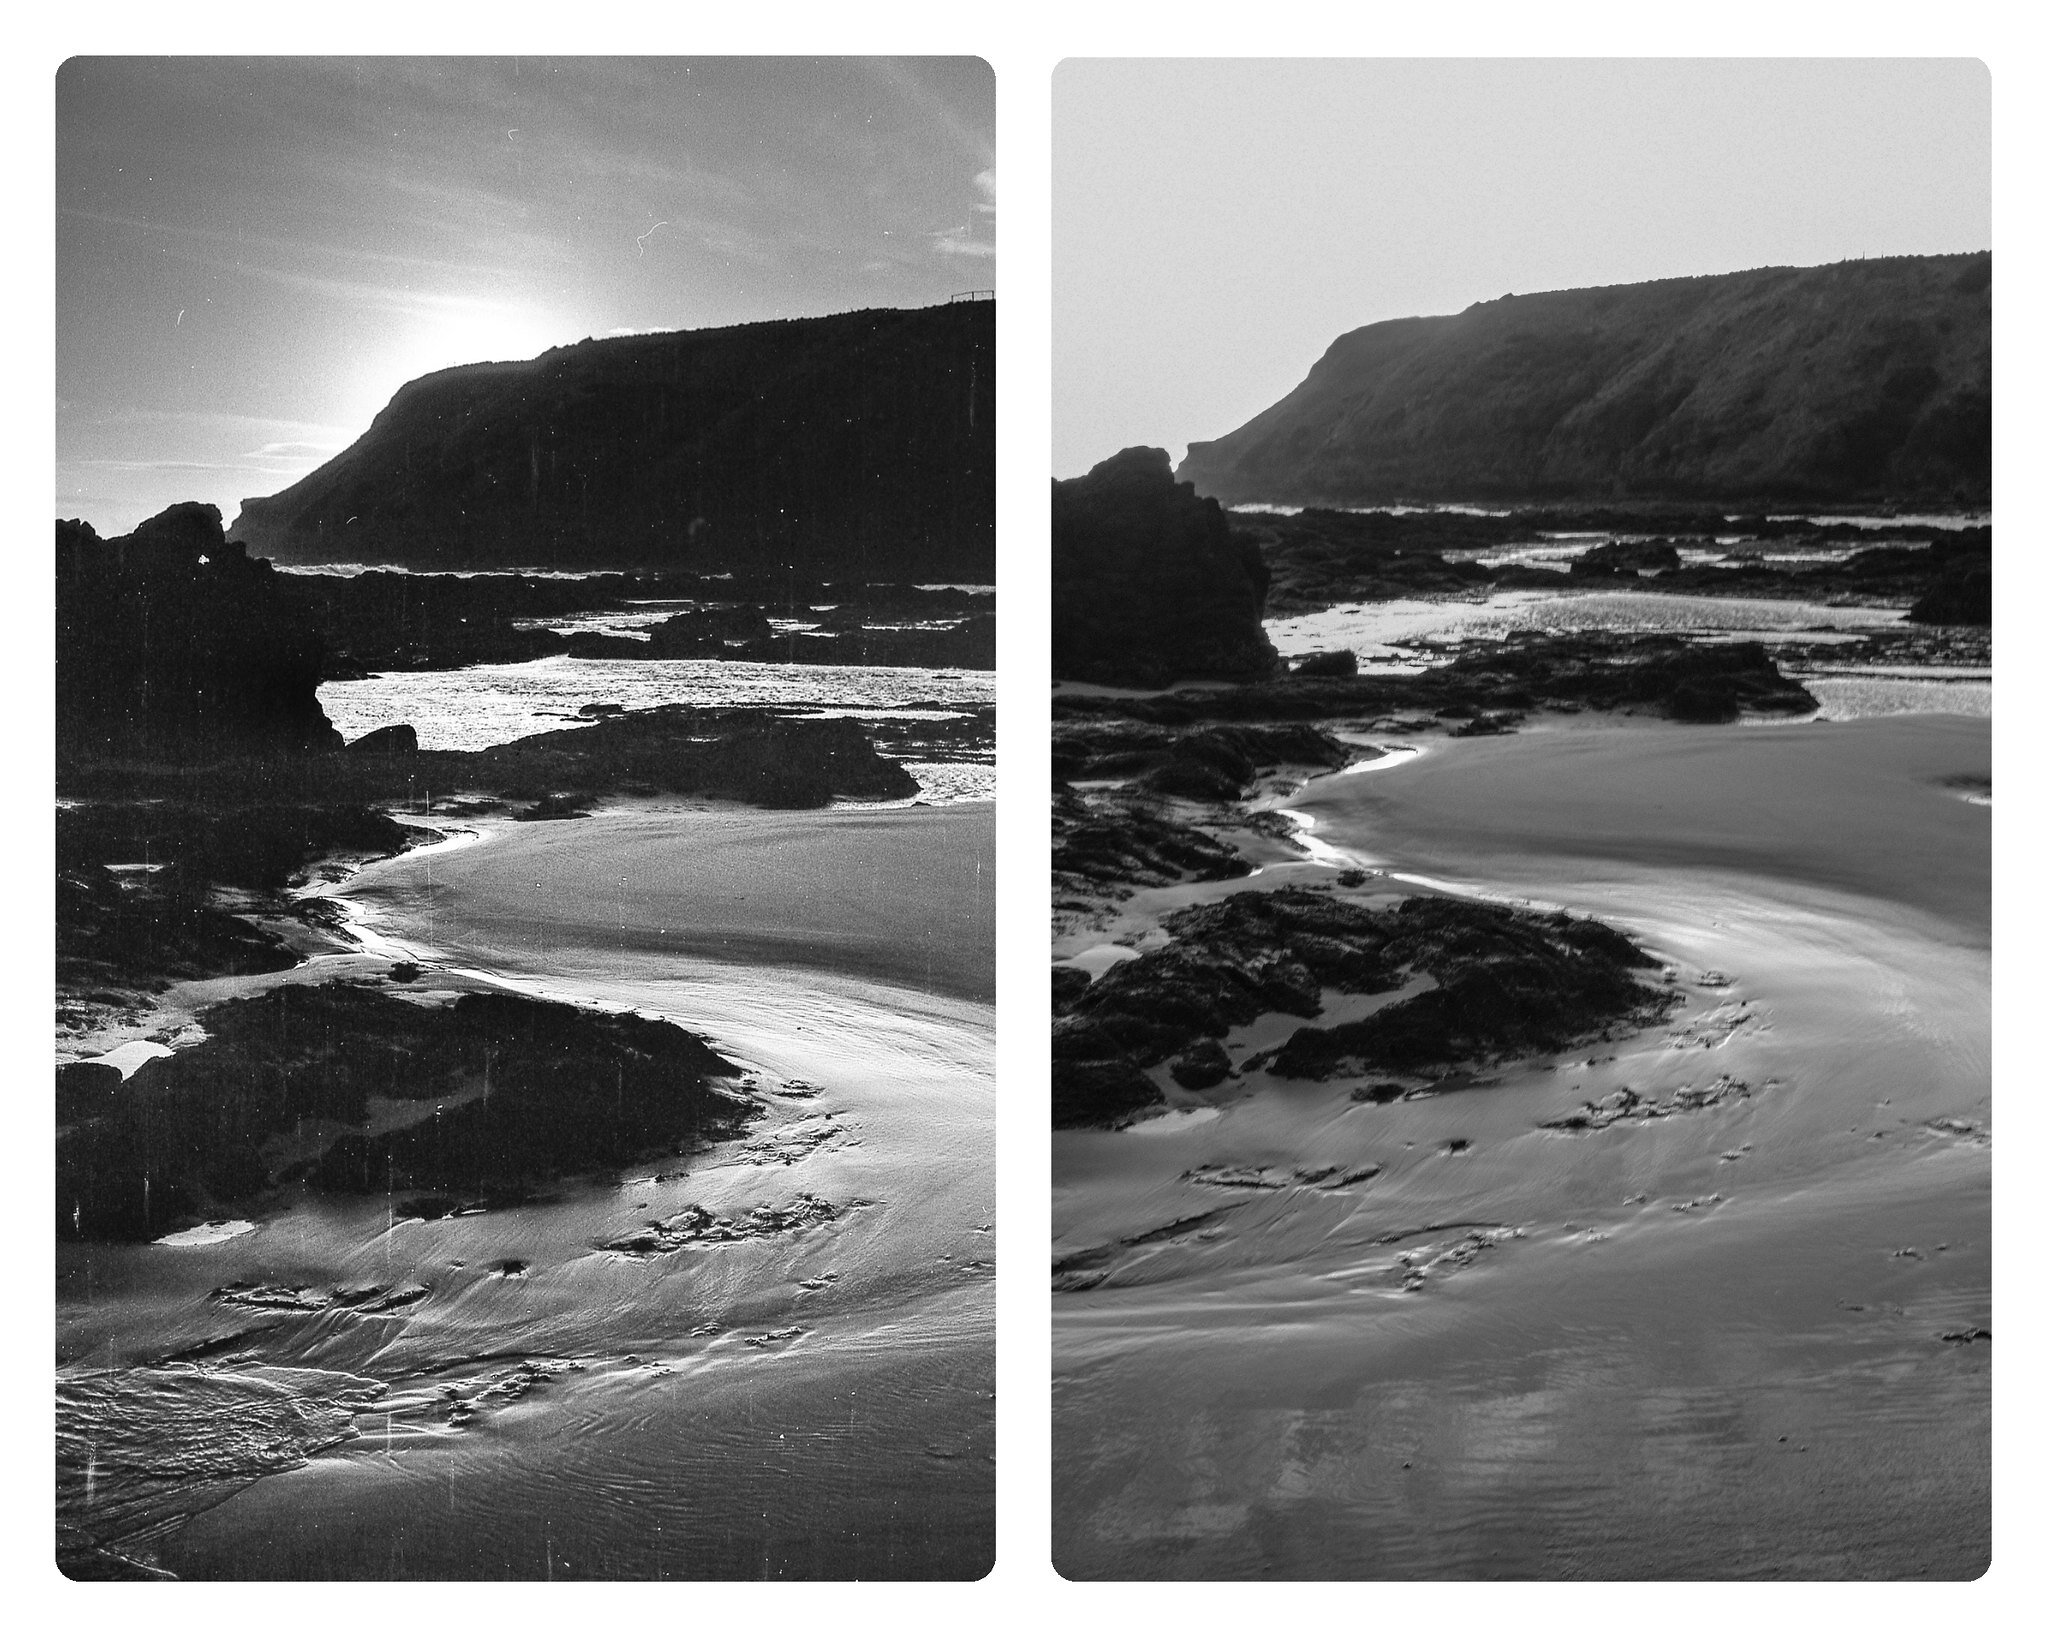
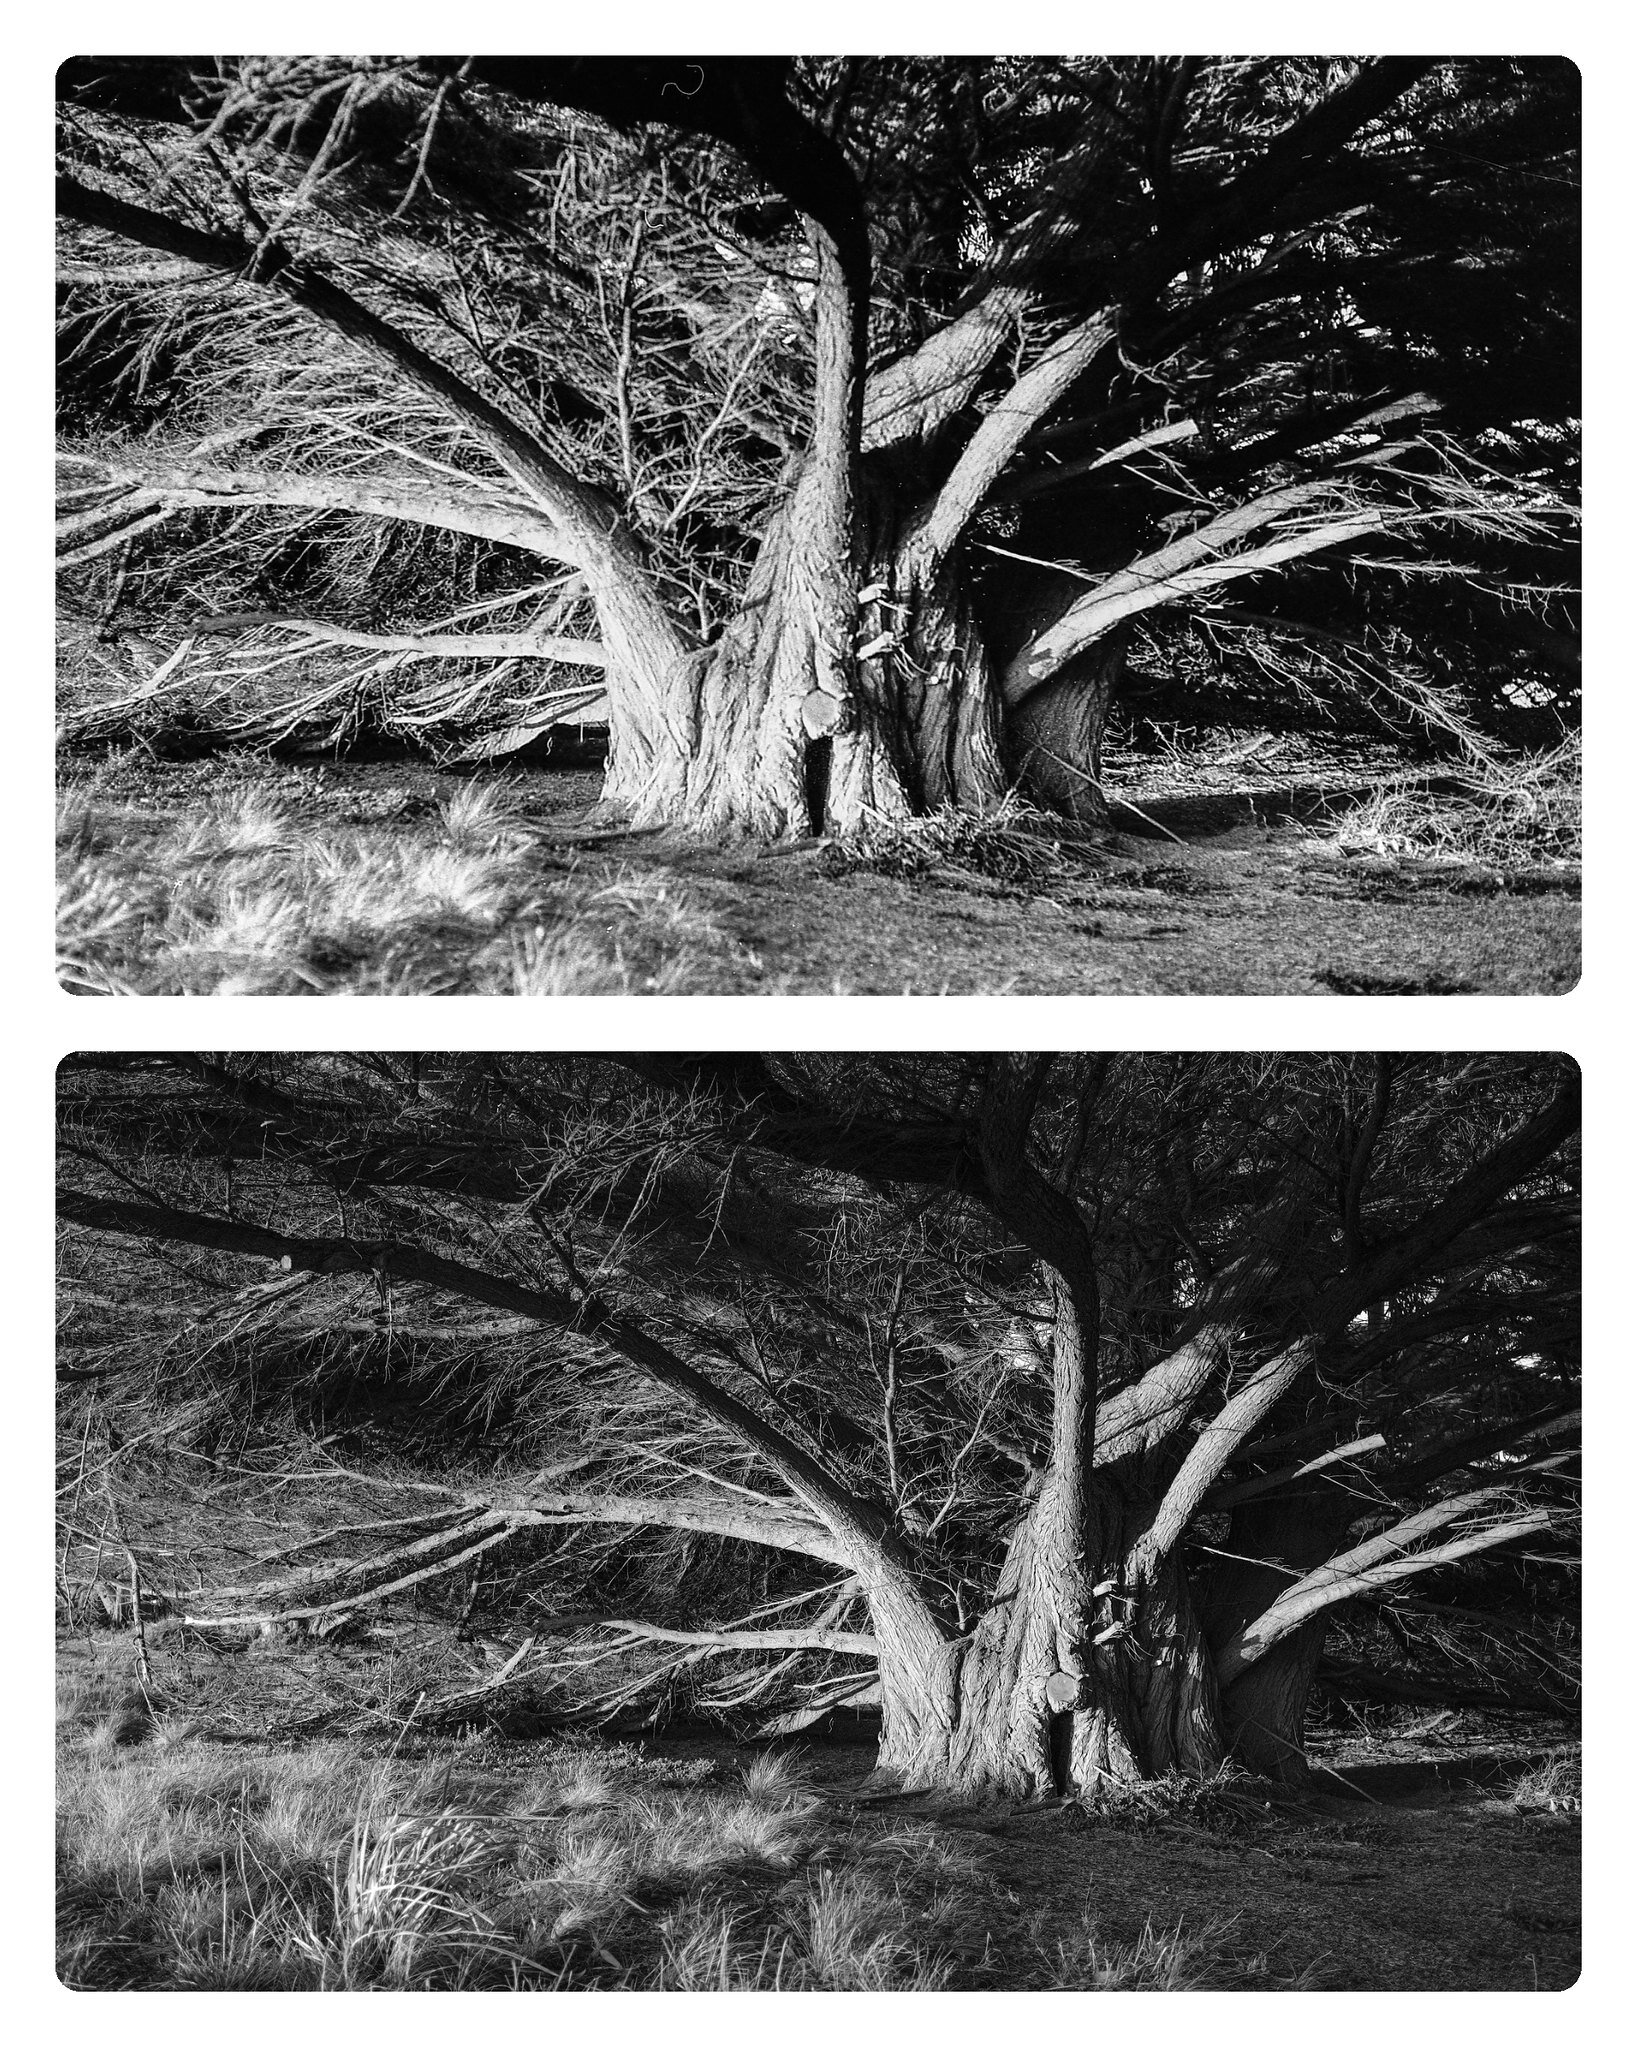
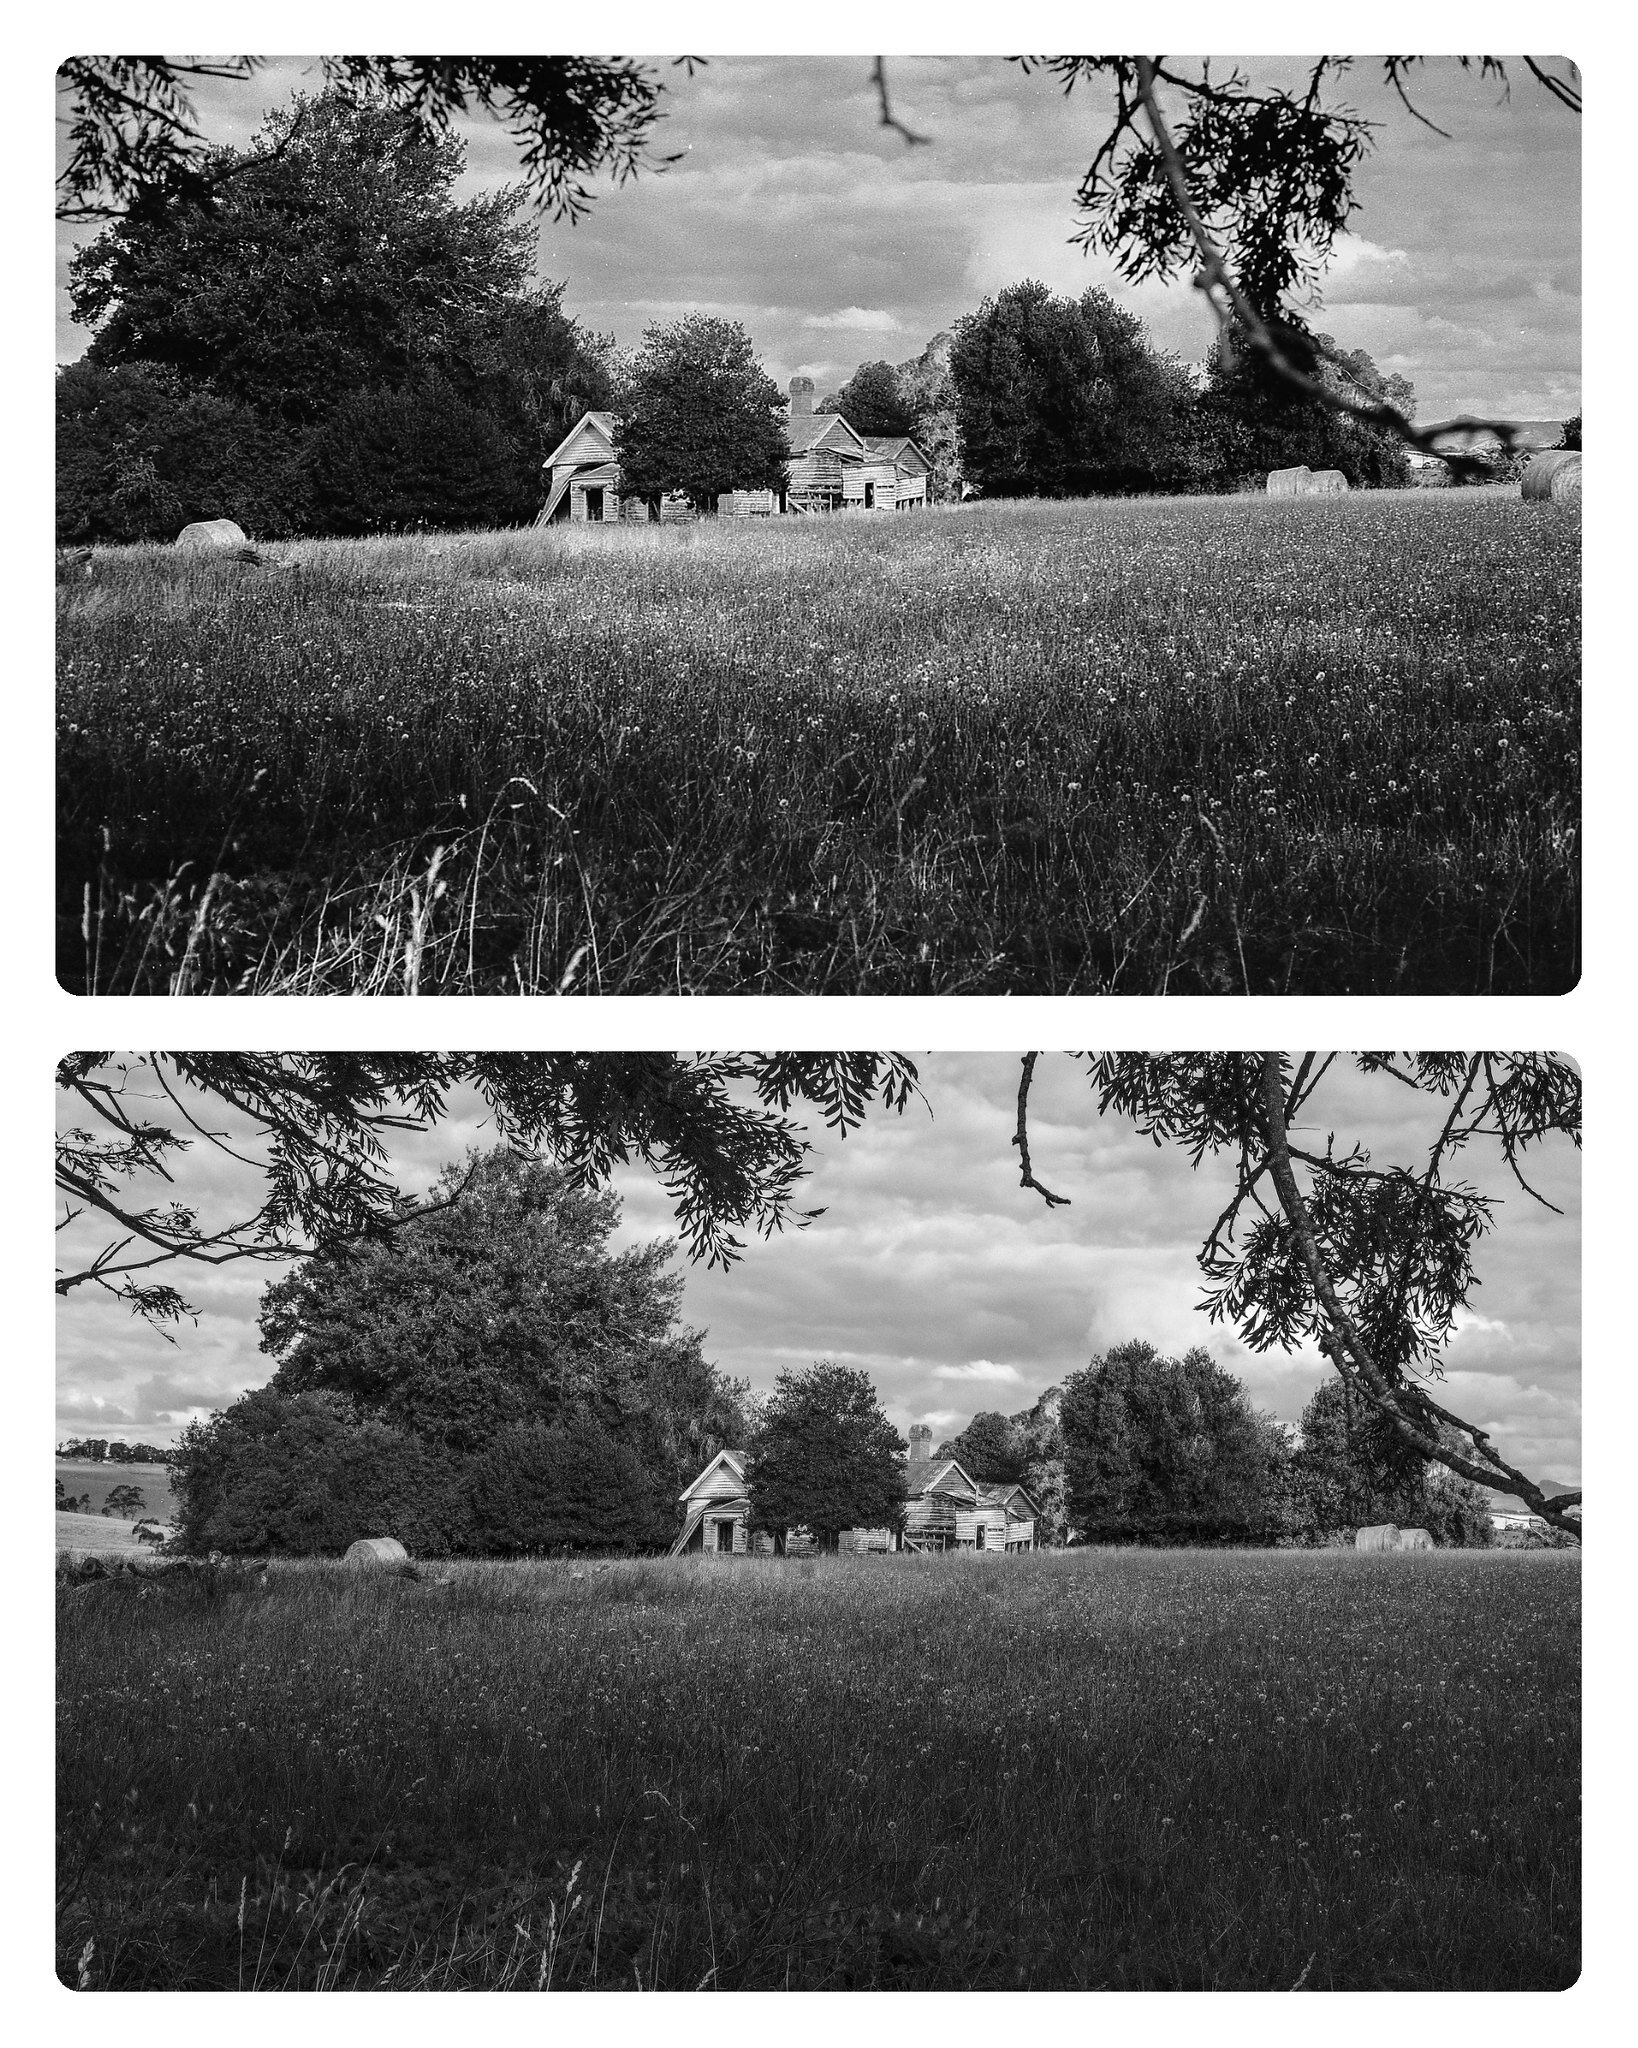
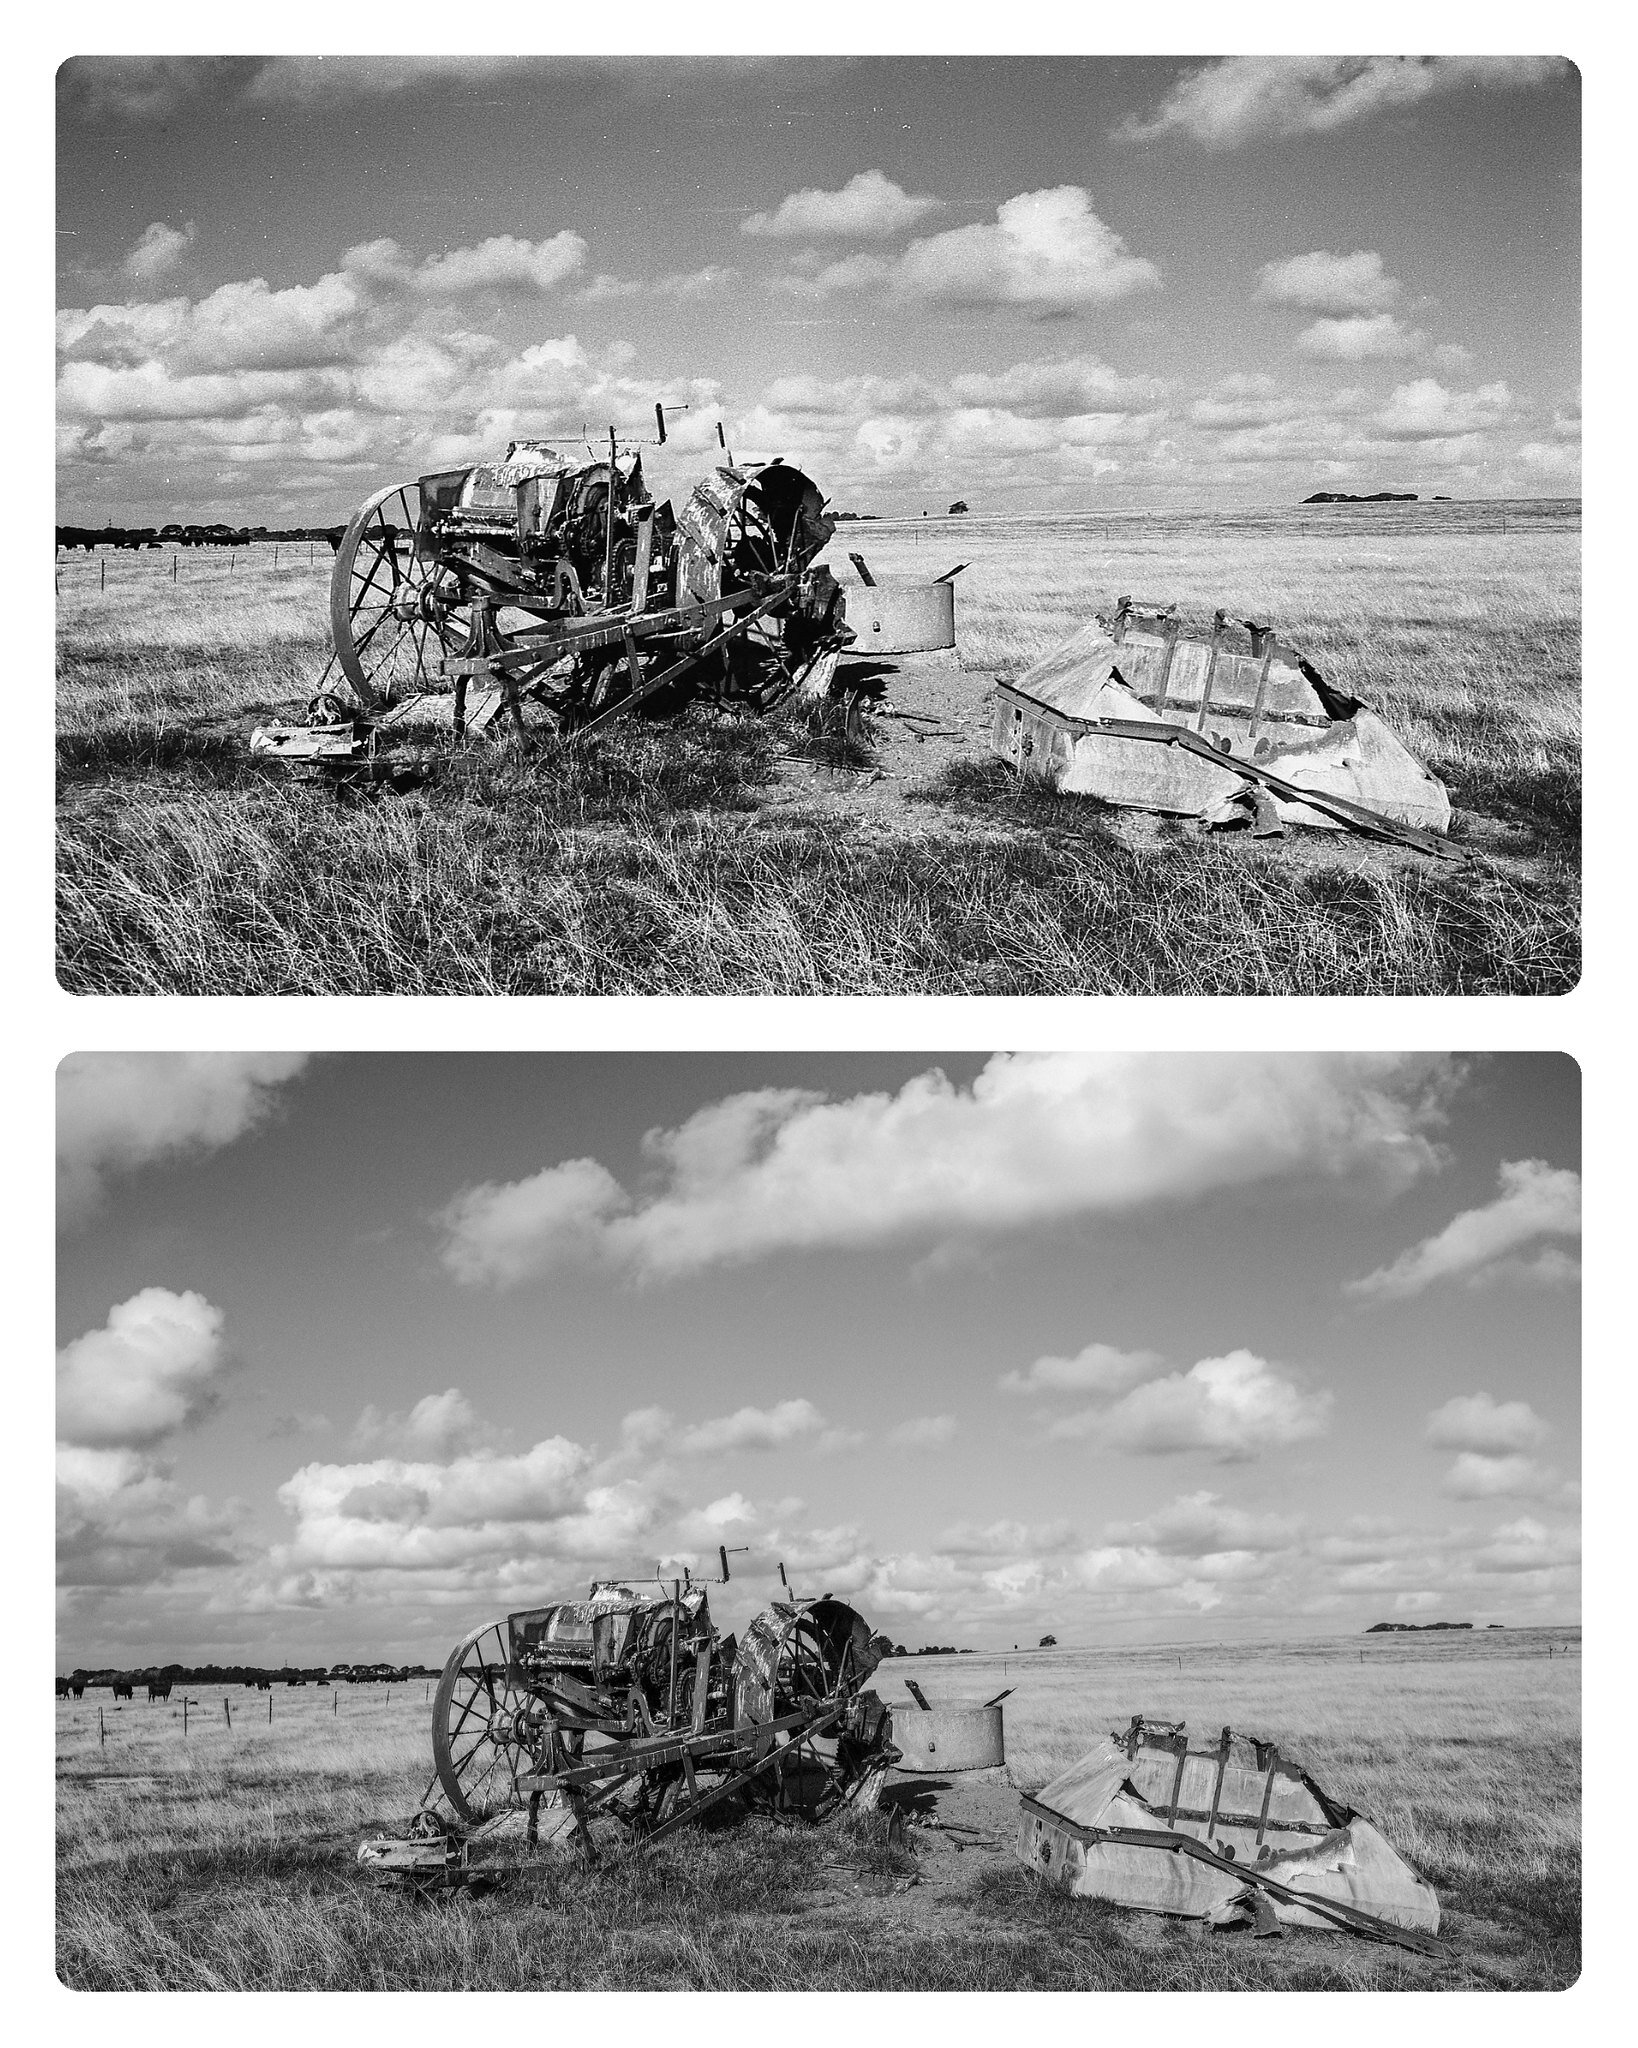
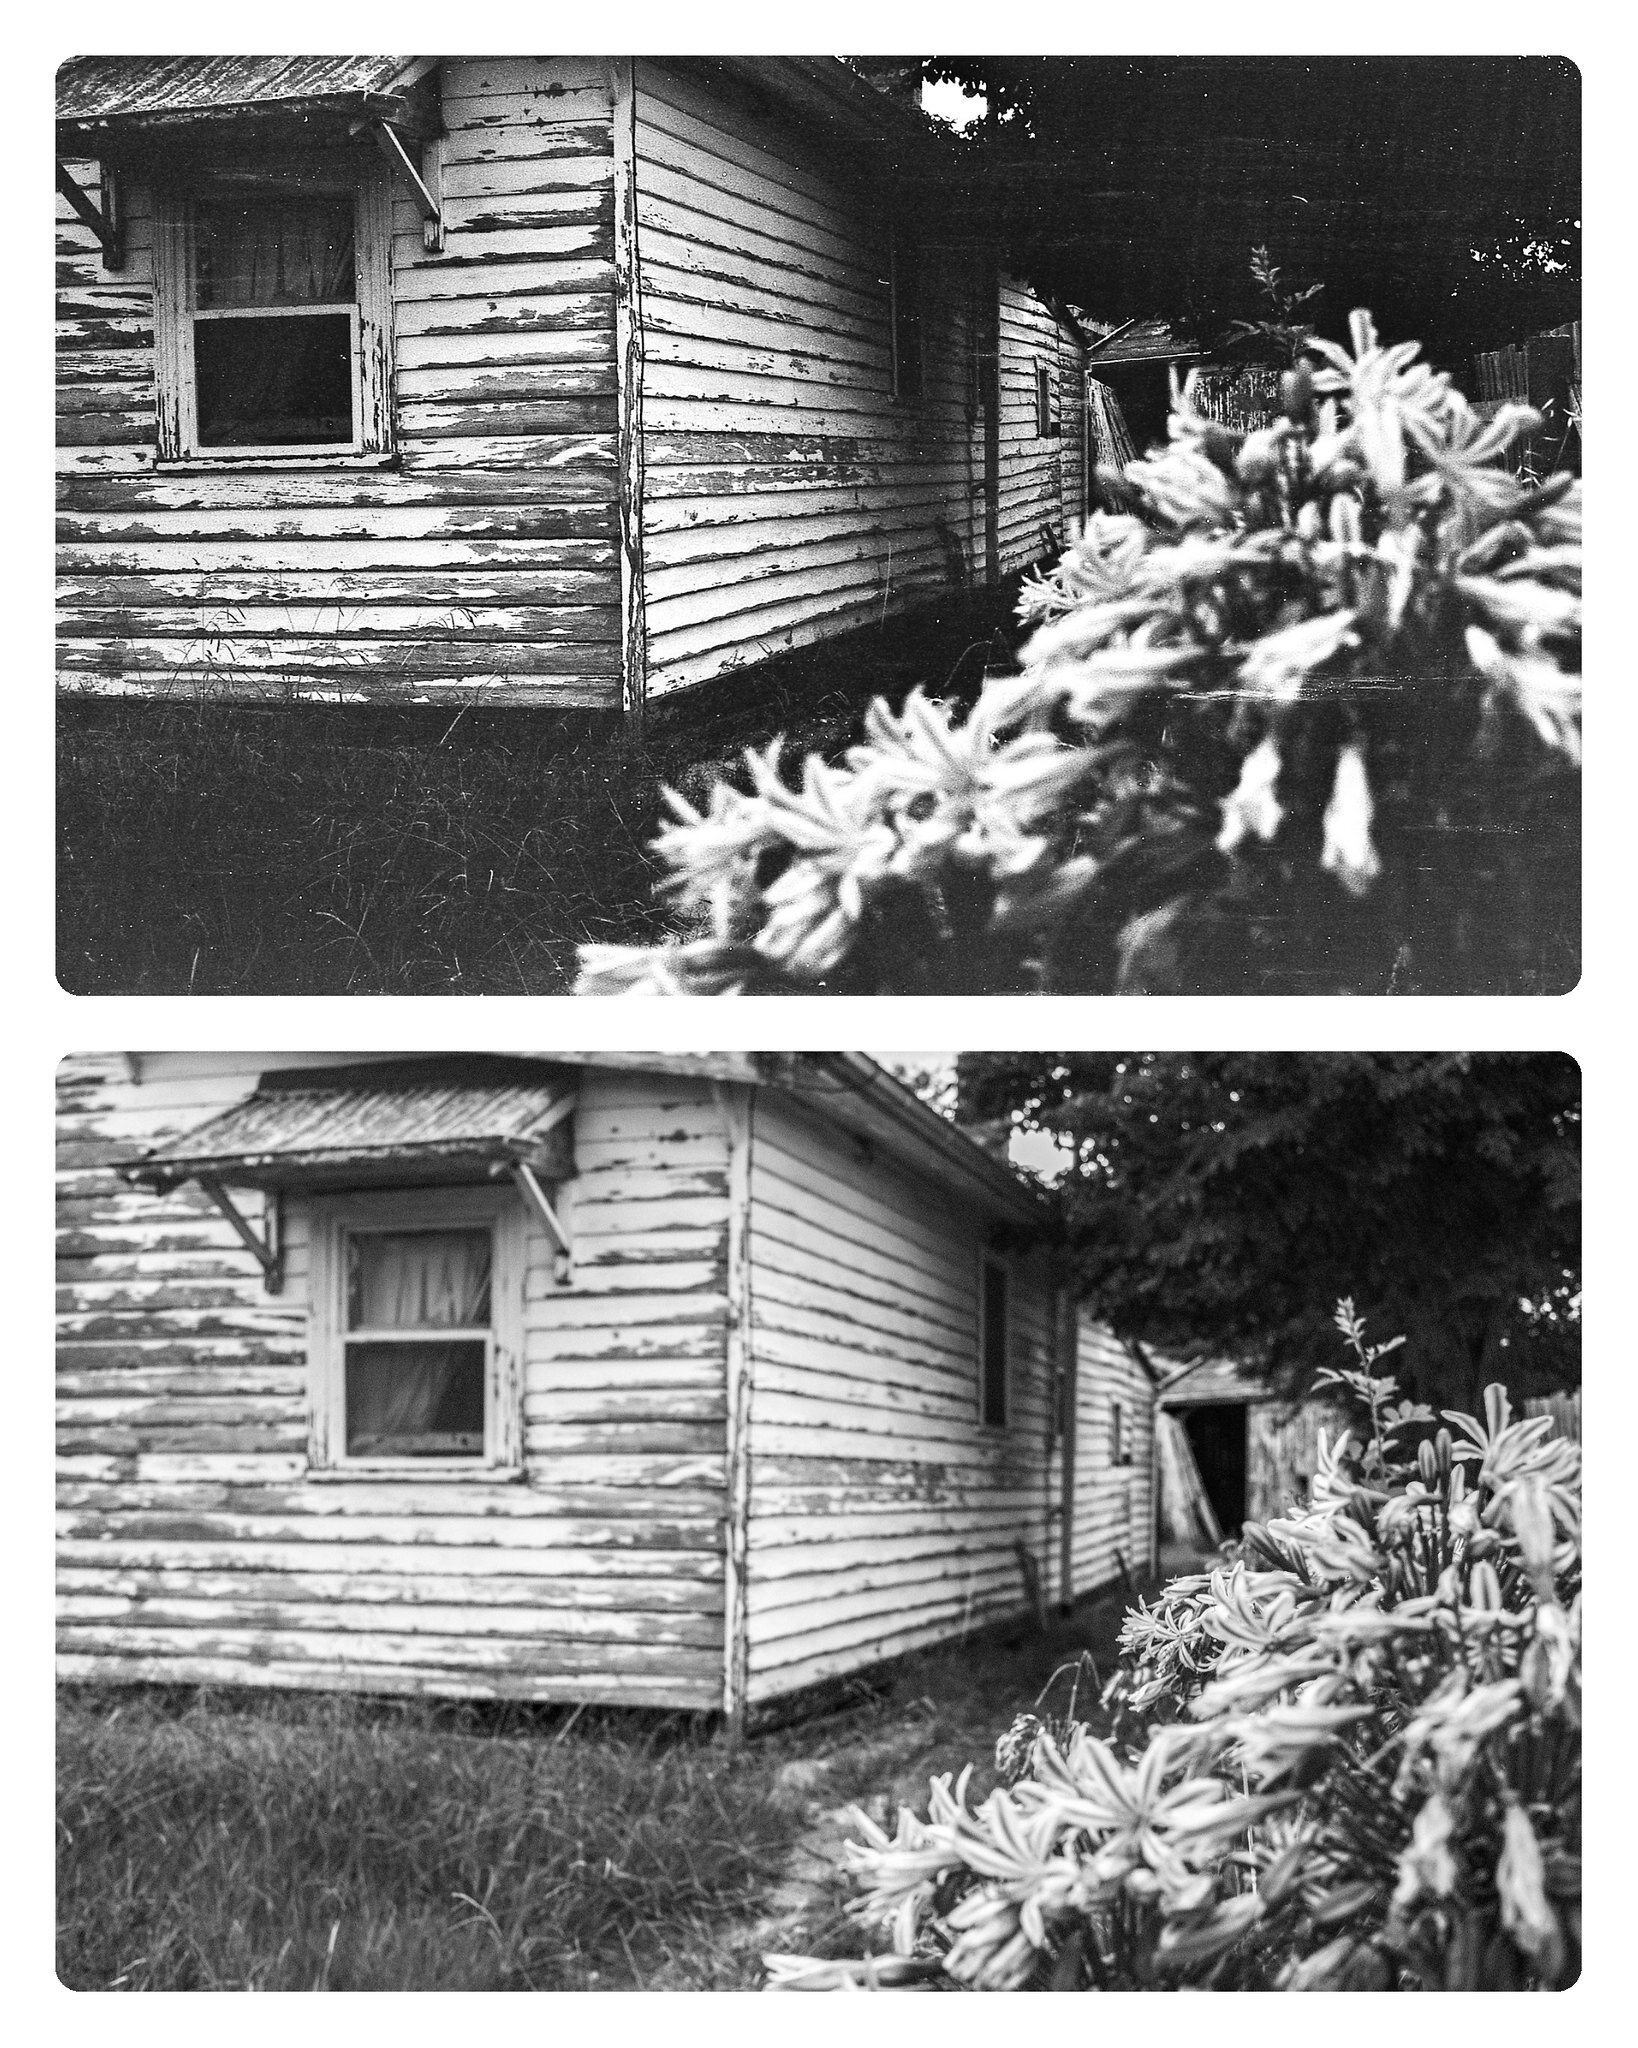
Photo Rangers are offering a new One 2 One Workshop teaching Black and White 35mm photography (camera and film supplied) AND in the field negative development plus quick scanning on a smartphone. If you want to rediscover the best medium for striking, artistic images, book your workshop now. We are available most any day in October for regional Victorians. These photos were taken at the same time on a Yashica Electro GSN 35mm camera with Fujifilm AcrosII 35mm film and on a Fujifilm XPro3 digital camera with an Acros film simulation.

Age, Wisdom, or Disillusionment? by dale rogers

Many photographers are tech-nerds or gear heads including myself. I've judged cameras based on ISO performance, frames per second, focus speed, image quality and dynamic range in the past. When an updated model or a new camera appears on the market I check the specs and, if worthy, work towards upgrading my gear with the new tech.

 But the COVID funk has settled in. I have been in some form of isolation and government restrictions since April and it's now almost October.  My work has all been from home eliminating 4 hours total commute time. I find myself with much more time for reflection and contemplation. I sit all day in virtual meetings surrounded by my camera gear. Between digital and film cameras I reckon there are over 100 camera bodies and even more lenses on my shelves and around my desk.

 I passively scroll through photos posted on social media and have a sickening feeling. I realise that most of the photos look the same or have the same elements. There is an unwritten social media code that all photos should follow to gather praiseworthy likes - pretty sunsets, long exposure, good composition with a fetching foreground, a Milky Way arching over a piece of old farm equipment - all in all, they are epic photos. Common images, or at least the ones coming up in my social media feed are almost all calendar worthy thanks to the increase in the technology of our tools but also to the increased speed of learning offered by the instant feedback of digital cameras and online learning opportunities. Today’s popular images are epic photos of yesteryear but now ersatz.

 Looking back at those words ‘epic photos of yesteryear but now ersatz’ I wonder, have I become a curmudgeon? Am I just entering the cranky bastard phase of my life? I don’t know and really don’t care (you’re betting on cranky bastard now I know!). My photography is evolving and I am seeking a fresh perspective. I want something beyond the ersatz. Something I like and that I am proud of. I want images that are more than the cumulation of technical achievement and pander to the social media ‘code’. I am looking to put the fun and art back into my photography.

 Good photography has occurred over the decades. Last decade award-winning photographers were using 10mp cameras with a top ISO of 3200. Further back than that they were using film, and before that manual focus lenses and so on and on. 

 So, I challenged myself. I’ll use old gear to take photos and see what happens. Film cameras, 12mp digital cameras, autofocus, manual focus and etc. I will stretch myself and look for the best way to make the most of whatever camera I am using. I will try and breath new life into some really old gear and see what stories they tell. I will use this older technology to force me to see the world differently and break out of the social media mold.

 Packed away on the back of a shelf, under other cameras sat this Pentax Spotmatic film camera - very dusty and without a working light meter. This camera has no battery anymore and no working electronics. It’s a metal brick of a camera. I cleaned it up, screwed on a vintage Russian 37mm f/2.8 lens, loaded it with expired Fujifilm Superia 400 35mm film and went to see if it still worked.

Here are a few photos from the roll. These won’t get many likes on social media but I like them. I’m thrilled with the results and will take her for a spin another time. 

DIY Film Negative Scanning by dale rogers

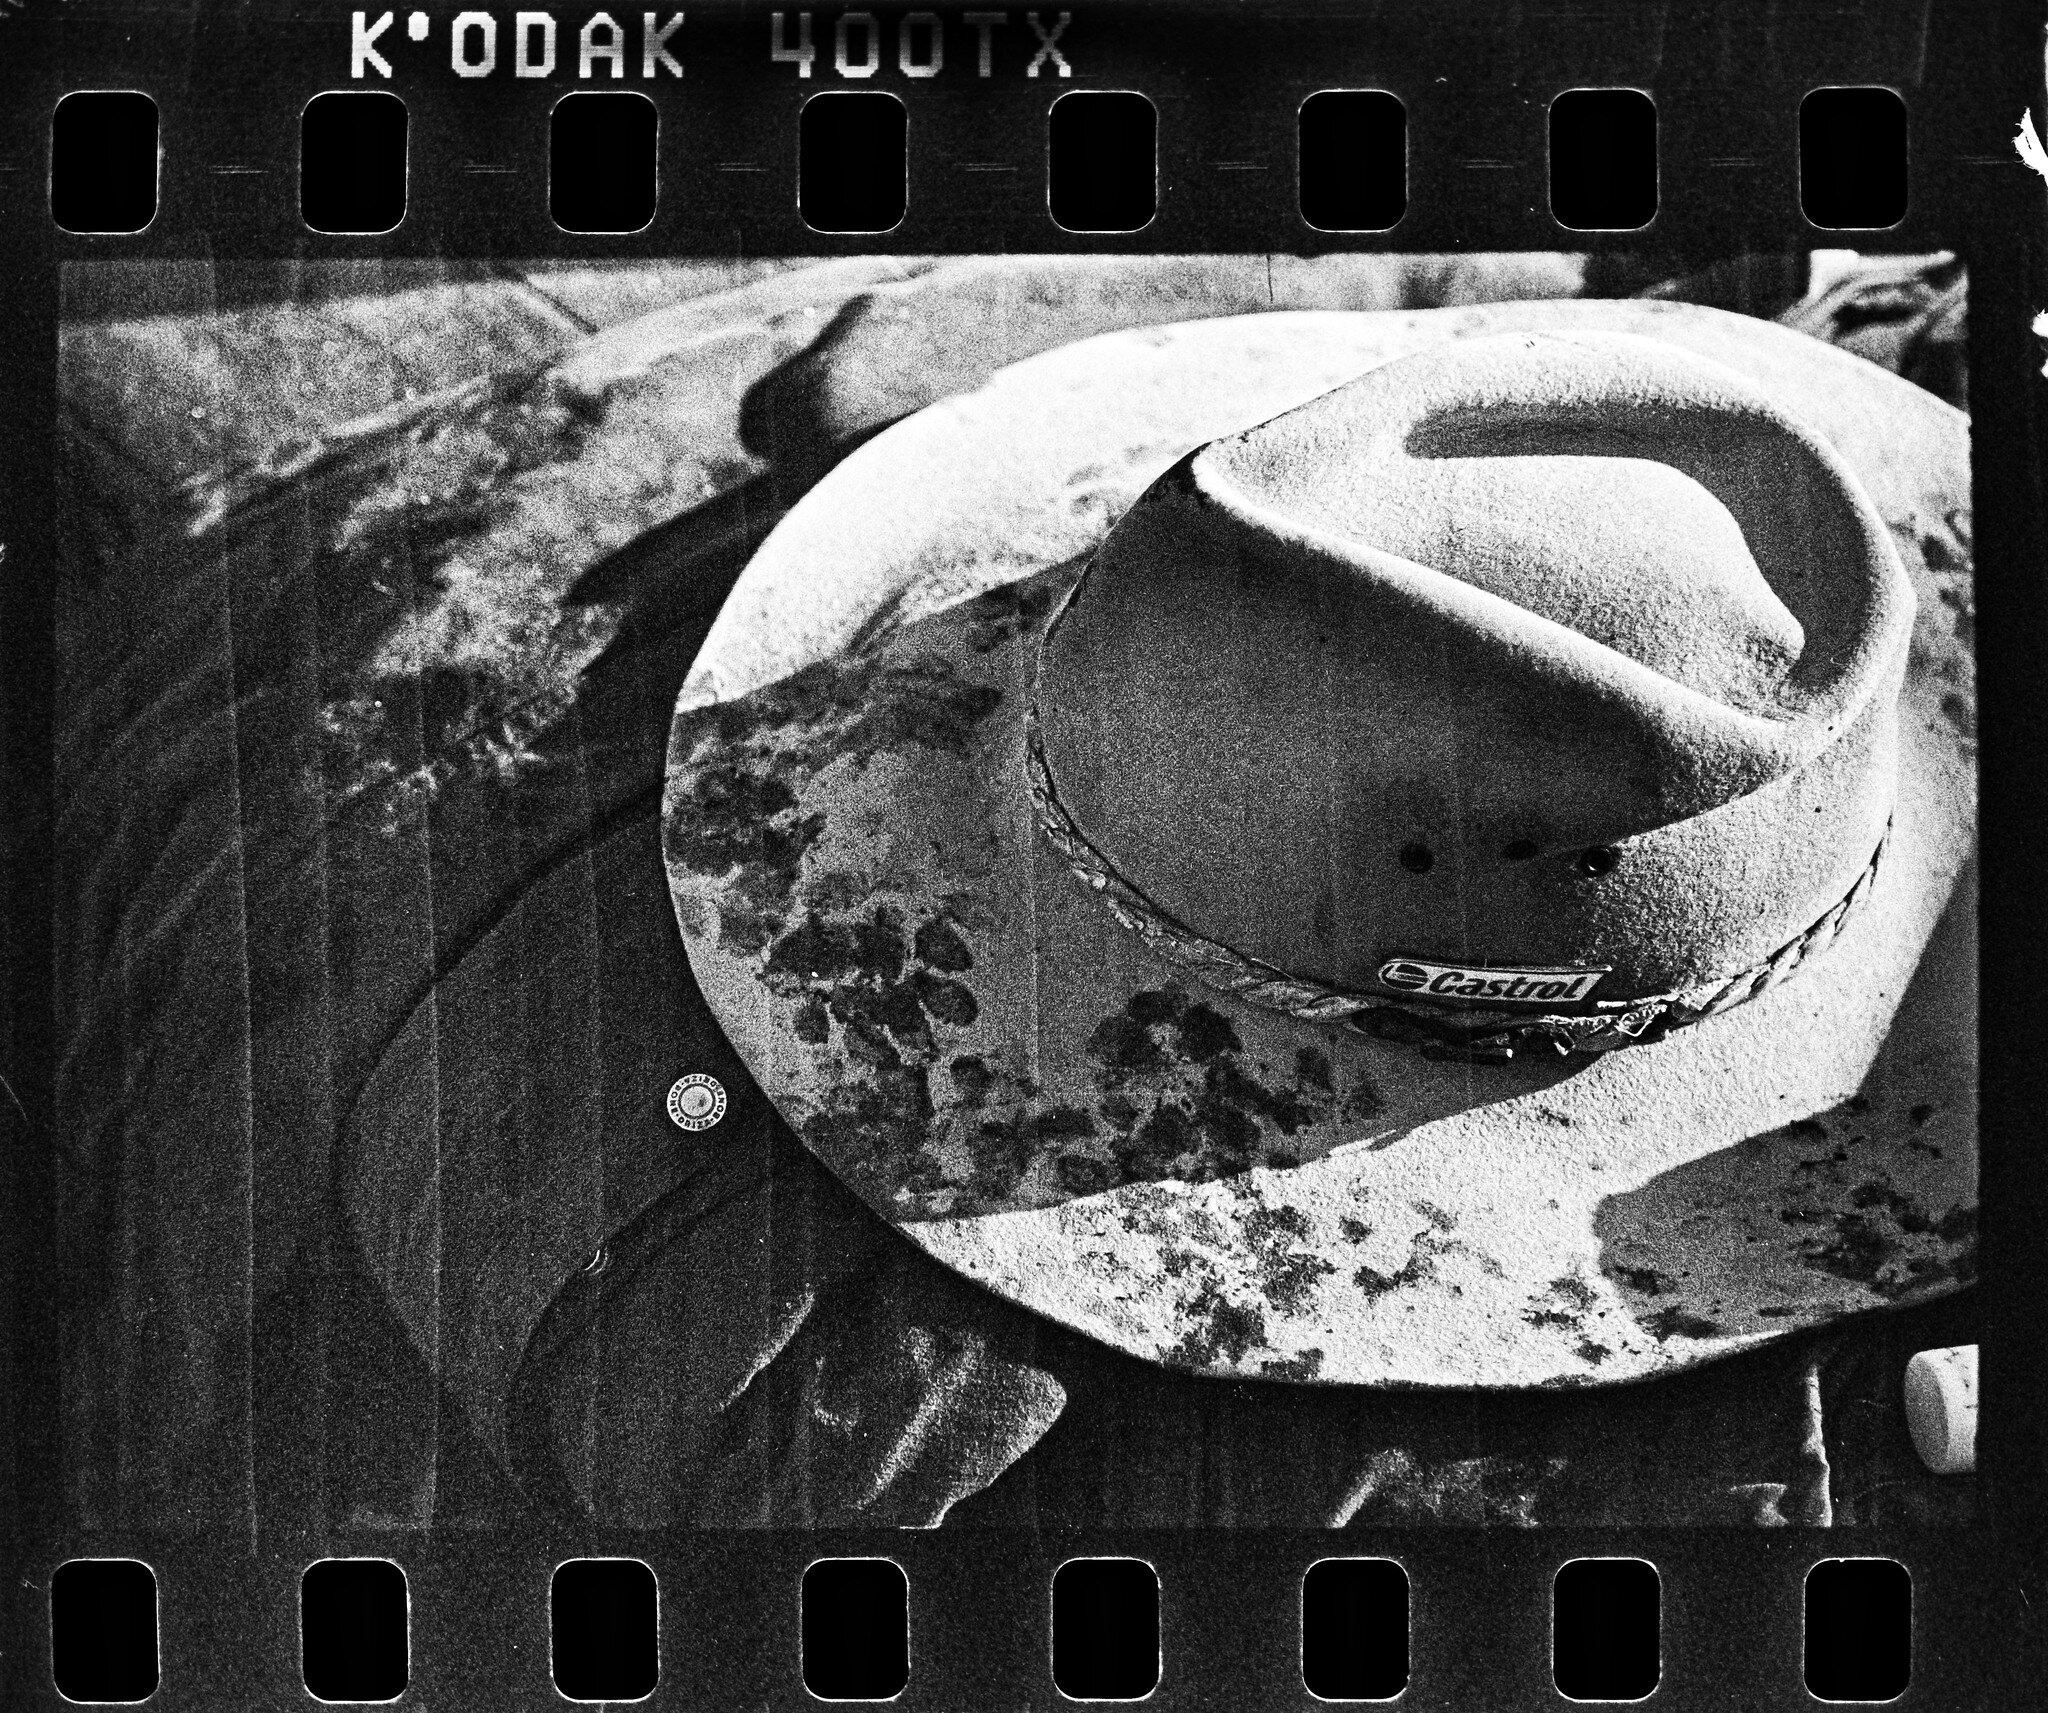
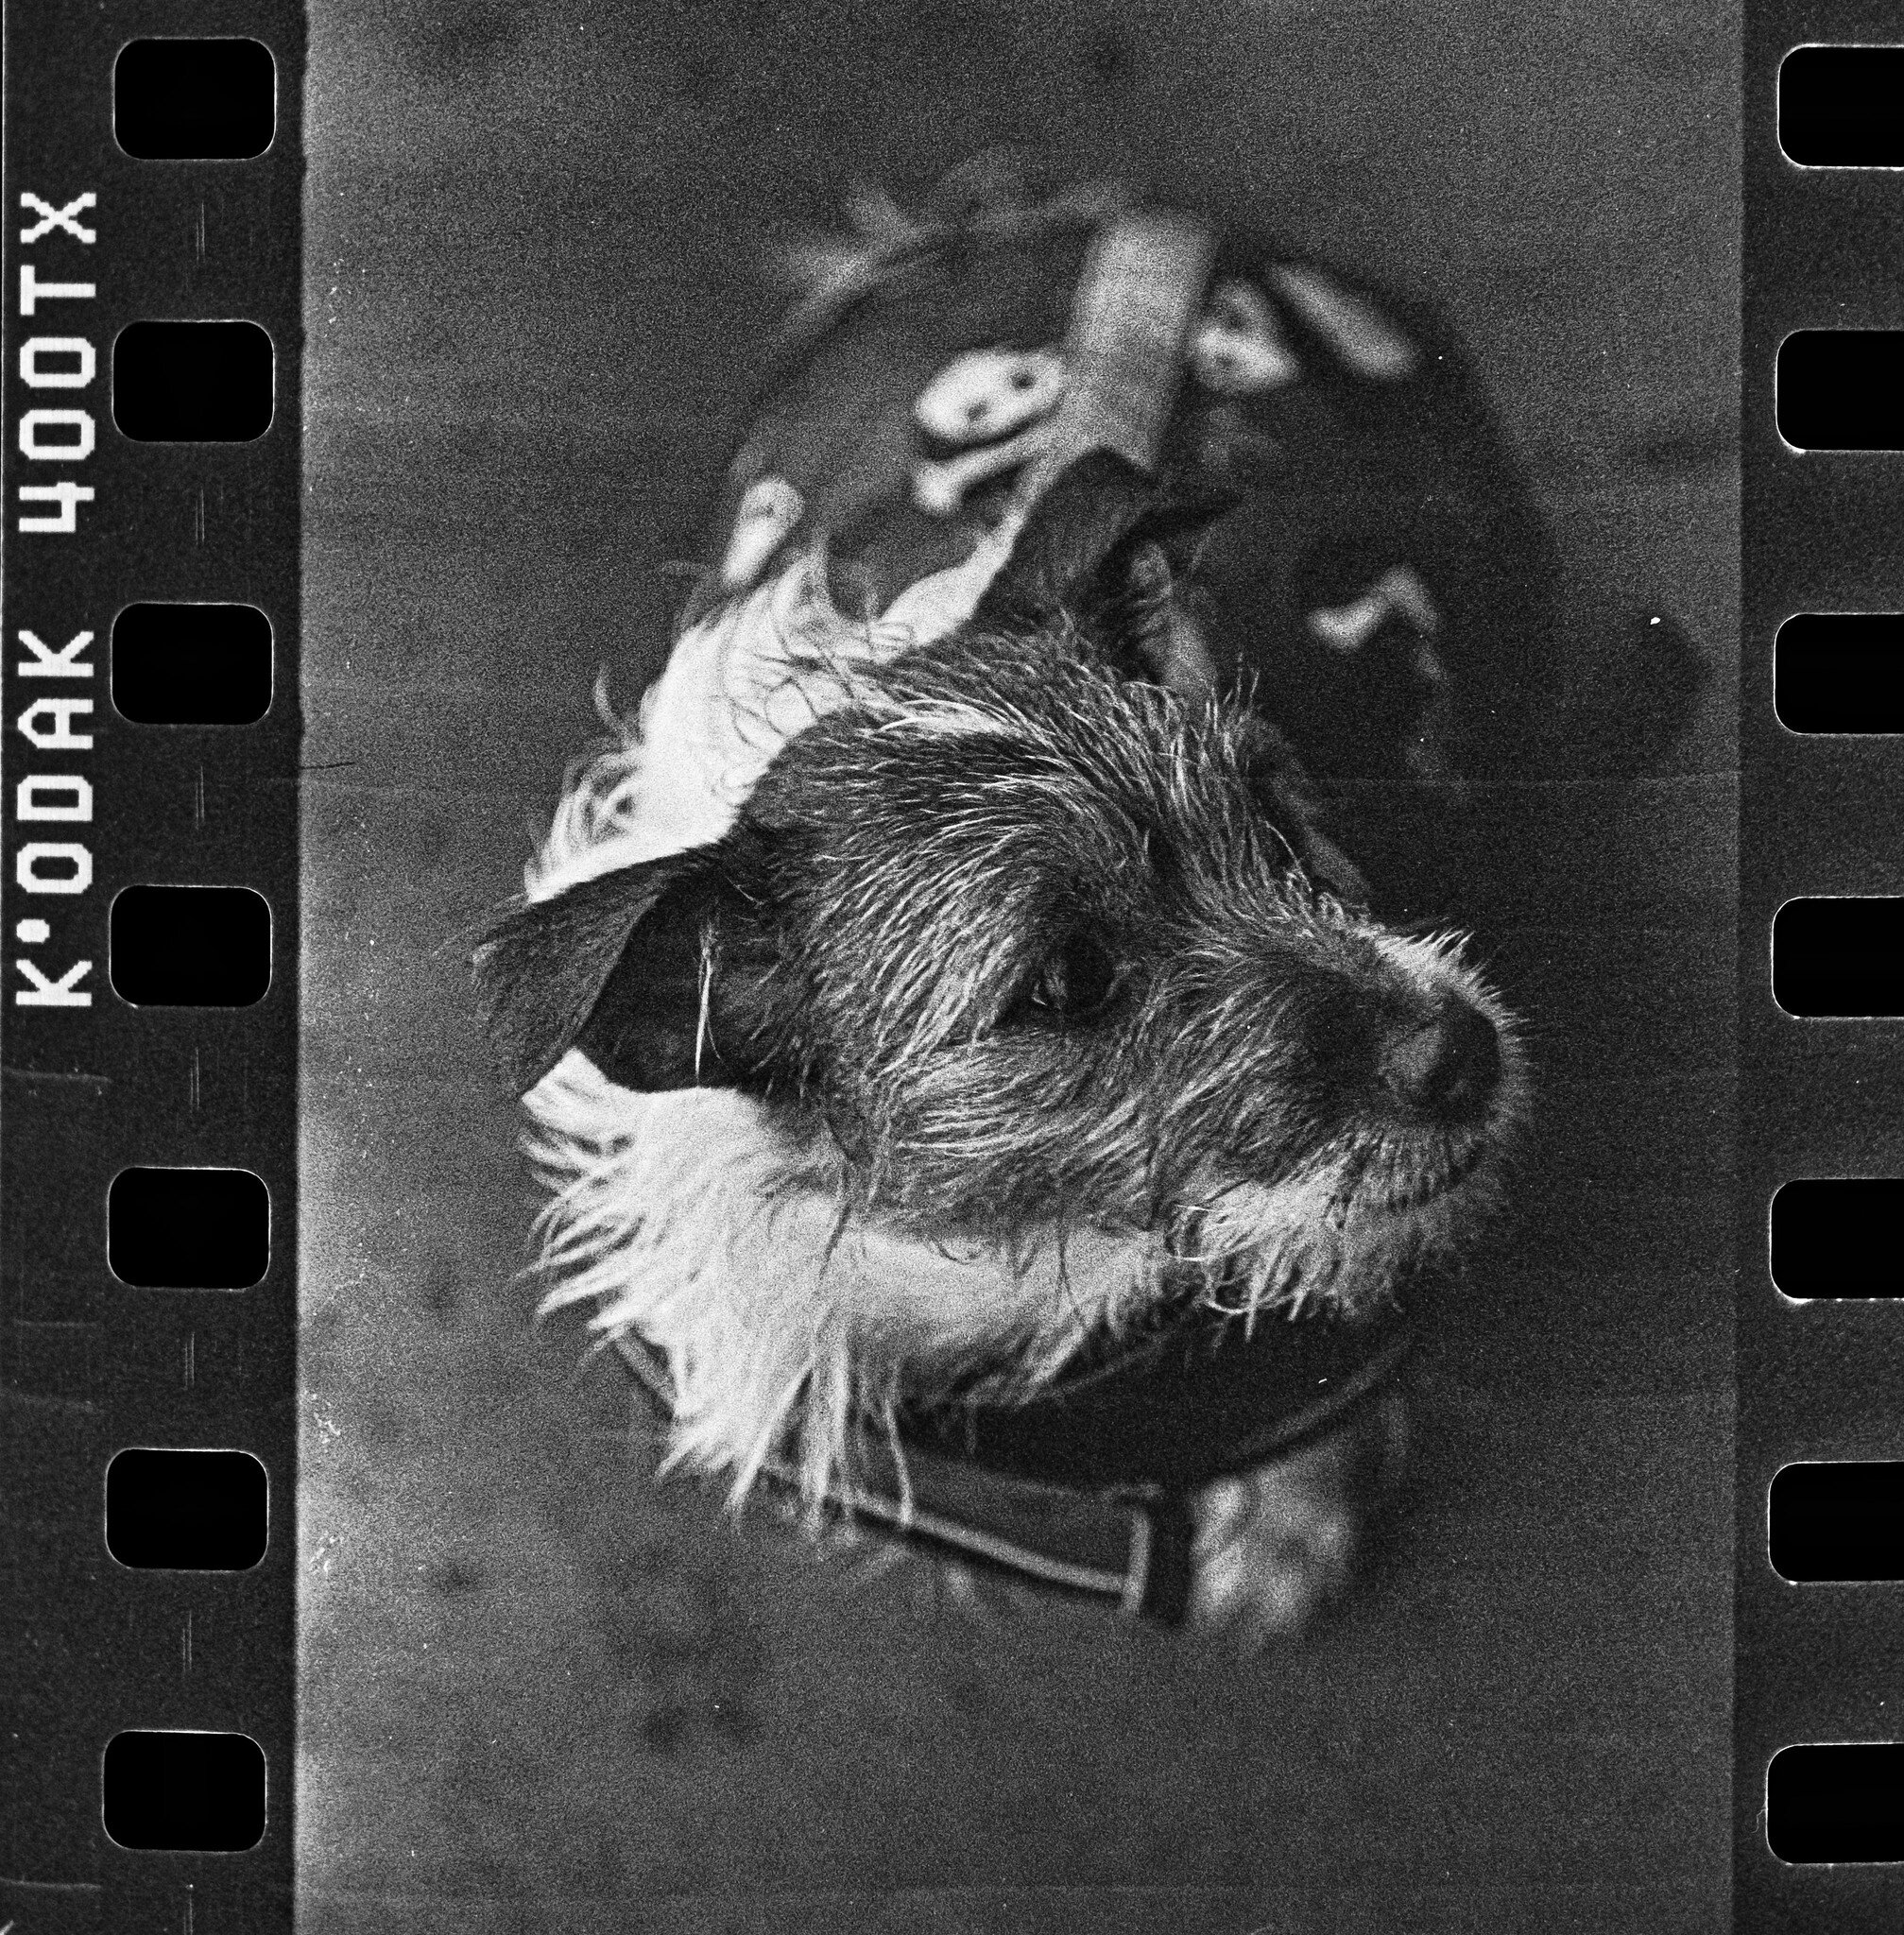
Last week I developed three rolls of very old and expired Kodak 400TX black and white film. Once the negatives were good and dry, I connected my Epson v550 scanner and began to scan and process the first roll. Very quickly I realised my scanner had gone haywire and on some serious drugs. I was getting abstract, nonsense scans. I deleted and reinstalled the drivers and scanning software a few times to try and resolve the issue. After a couple of hours, I was resigned to the fact that my scanner had permanently gone walk-a-bout. It was never going to spit out decent negative scans again.

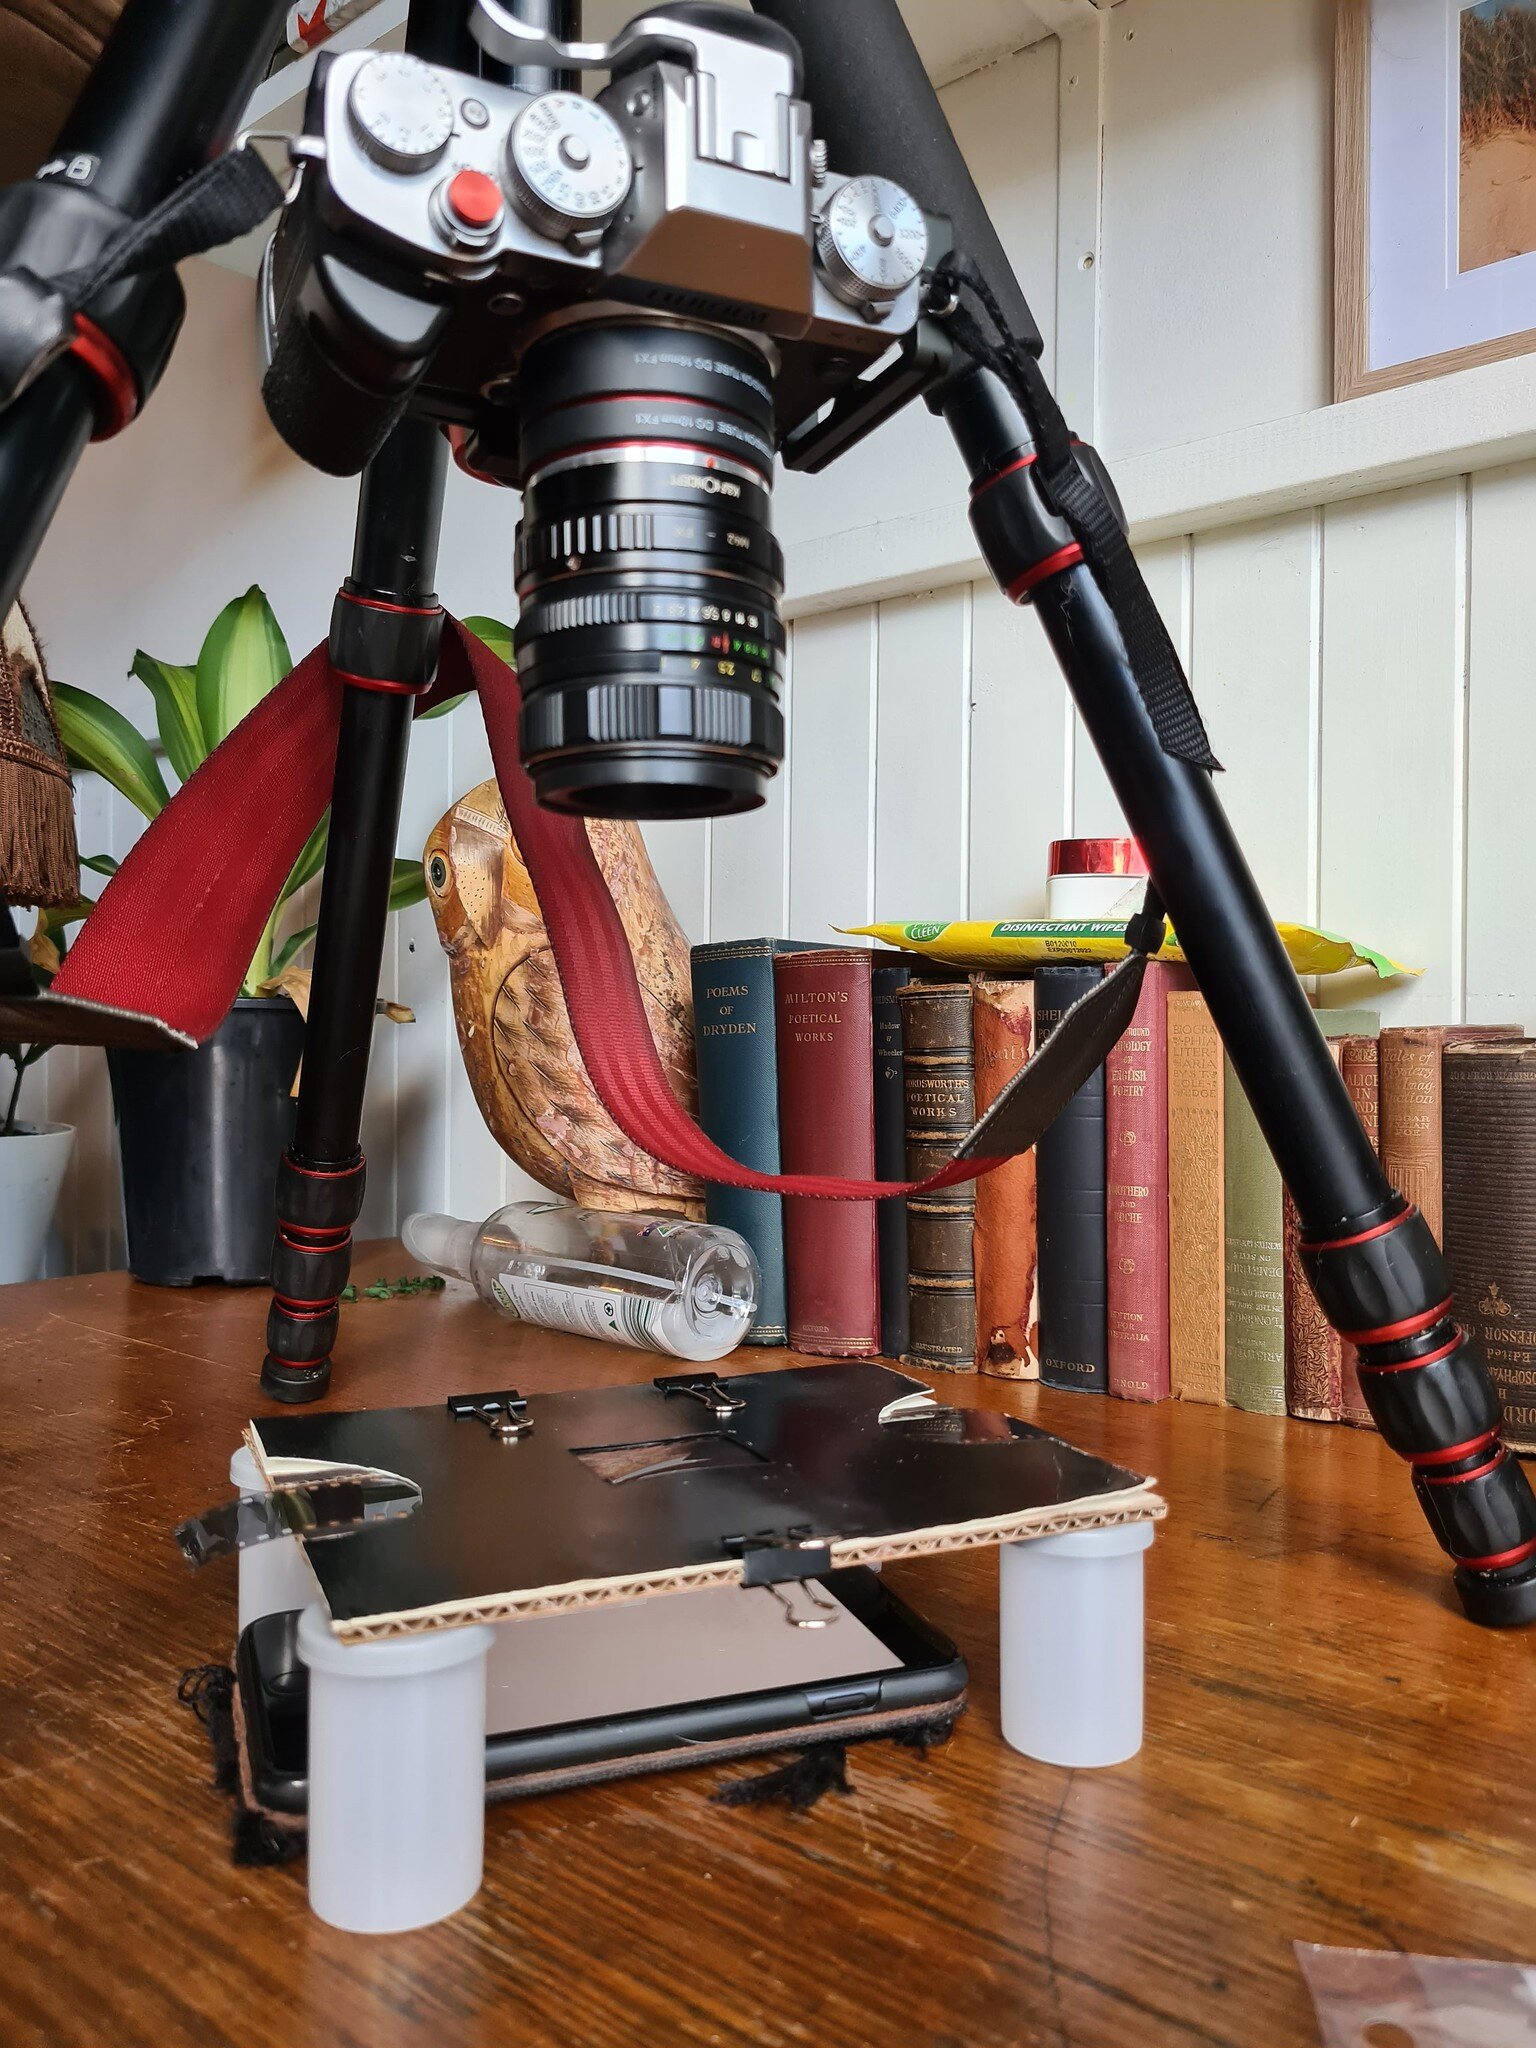
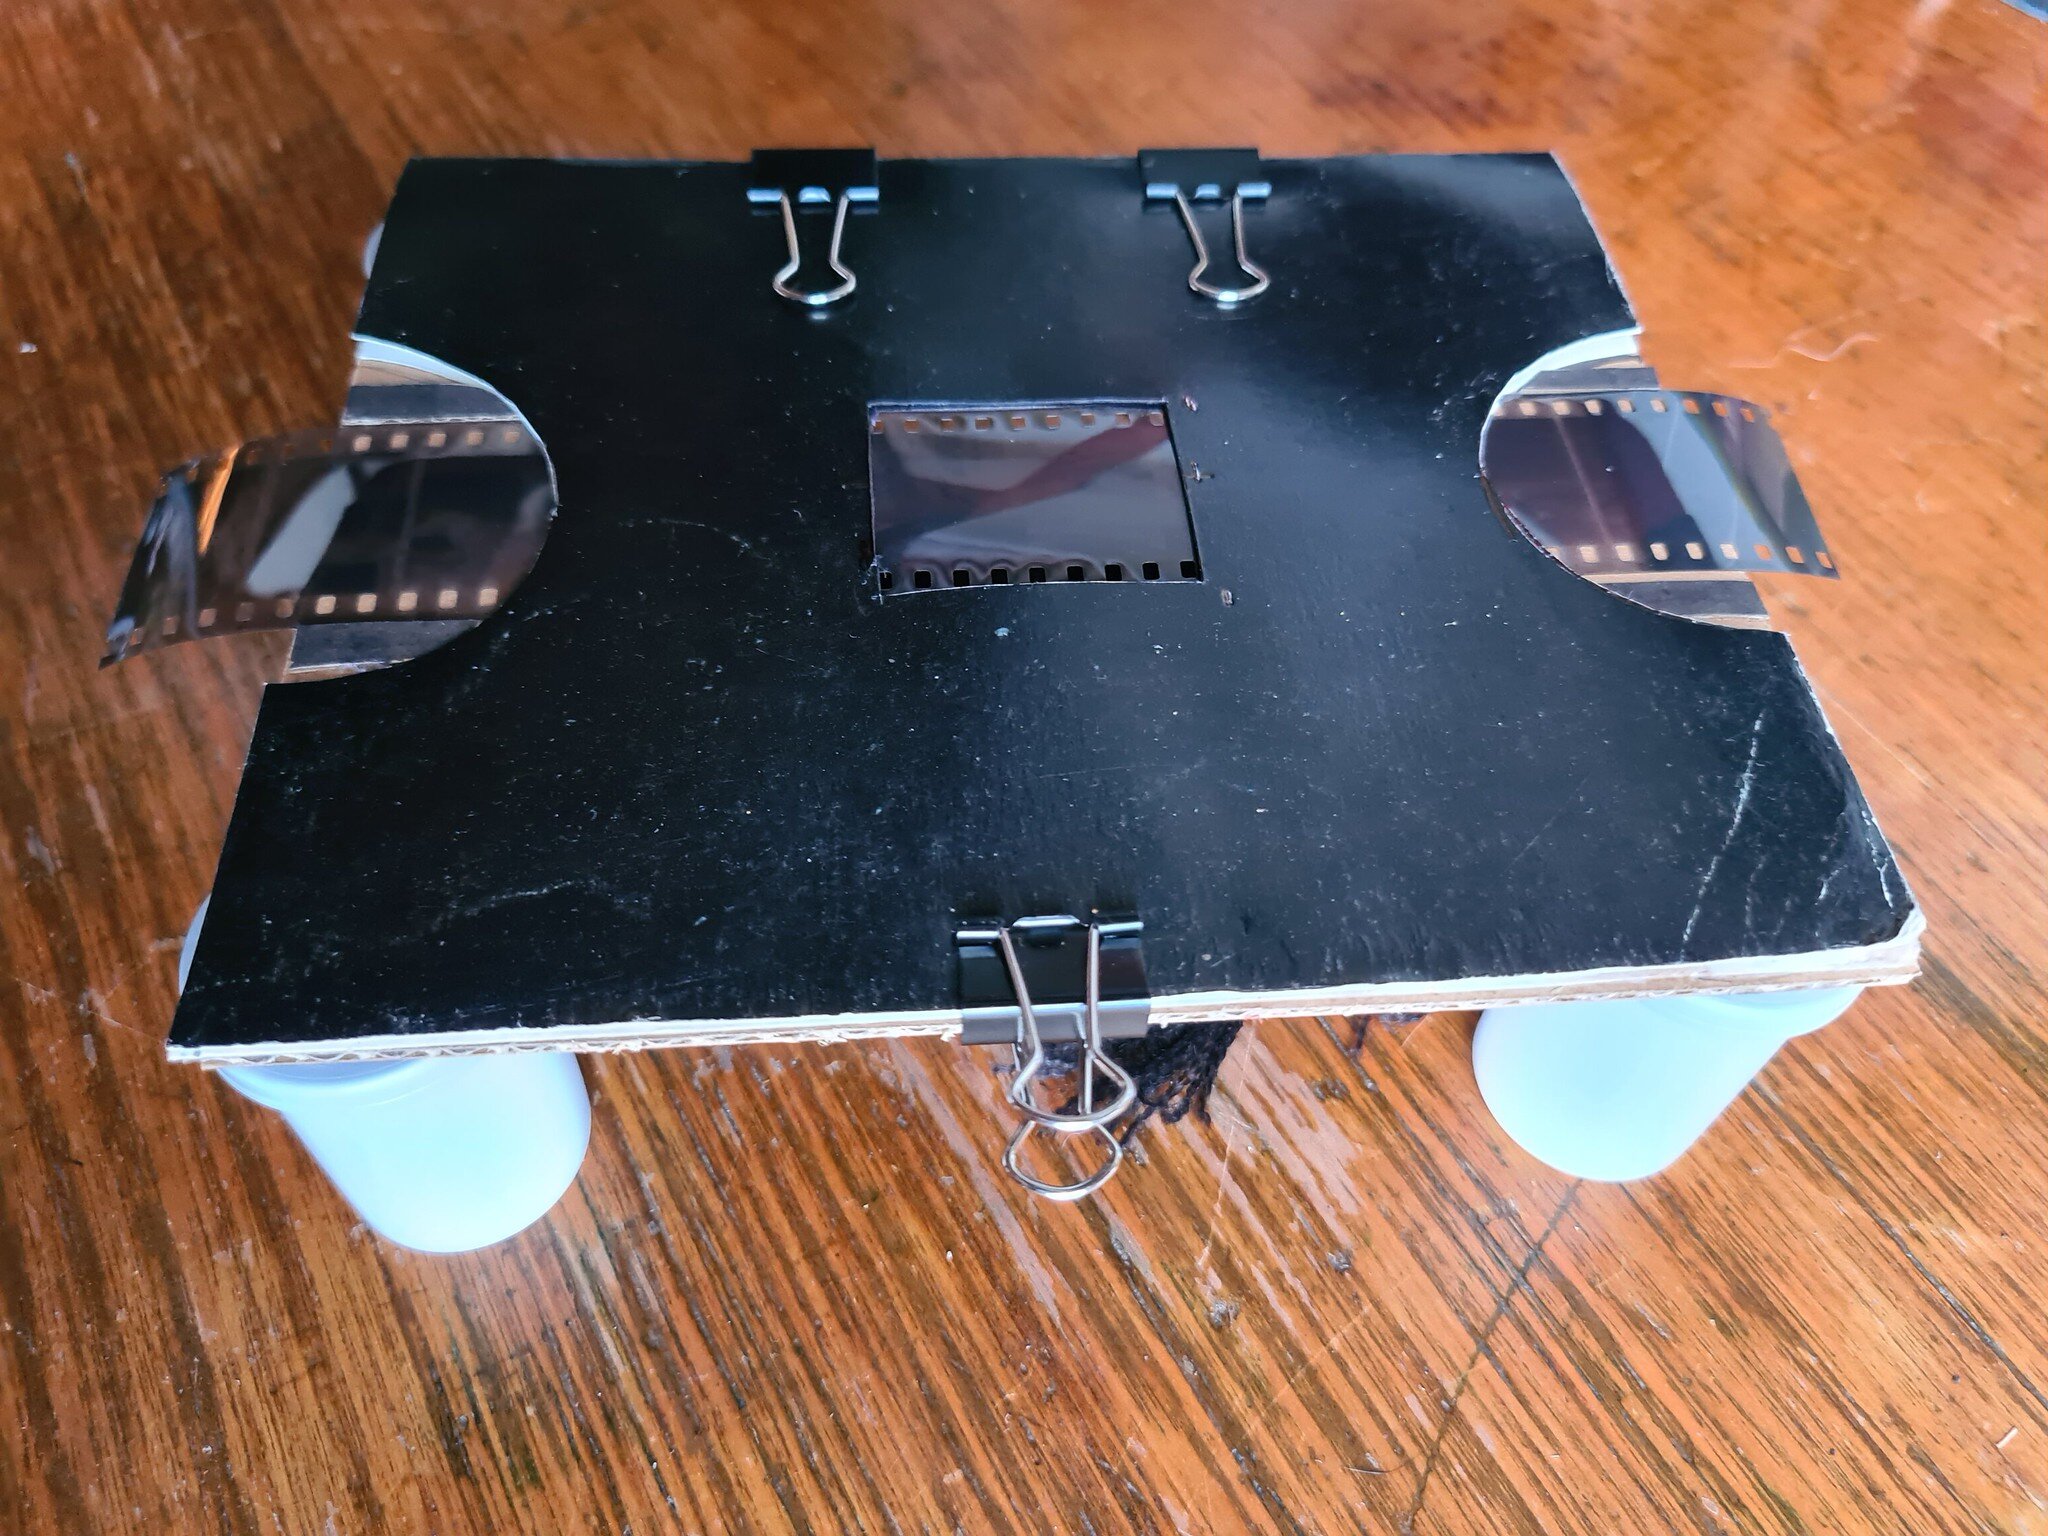
Good quality film scanners are expensive and I was loath to lay out several hundred dollars for another one. I decided to attempt to scan my negatives with my Fujifilm XT3 and process the negative RAW file images into positives in Adobe Lightroom. Using materials around the house I designed and built a film holder out of cardboard, glue and 4 empty film canisters that would hold my negatives flat while allowing light from my Samsung S20+ to stream from underneath.

I experimented with various lenses and found an old Russian Helios 44M-4 58mm f/2.8 lens with a couple of extension tubes attached and adapted to my Fujifilm camera as the best combination to allow me to get close to the negative and fill the frame with the film image.

In the Epson scanner, the negative holders cover the film sprocket holes and they are not included in the resulting scans. With my DIY film holder, I cut a light window just large enough to fit one 35mm film frame including the sprocket holes. I wanted to have the choice of whether I included the sprockets in the image or not.

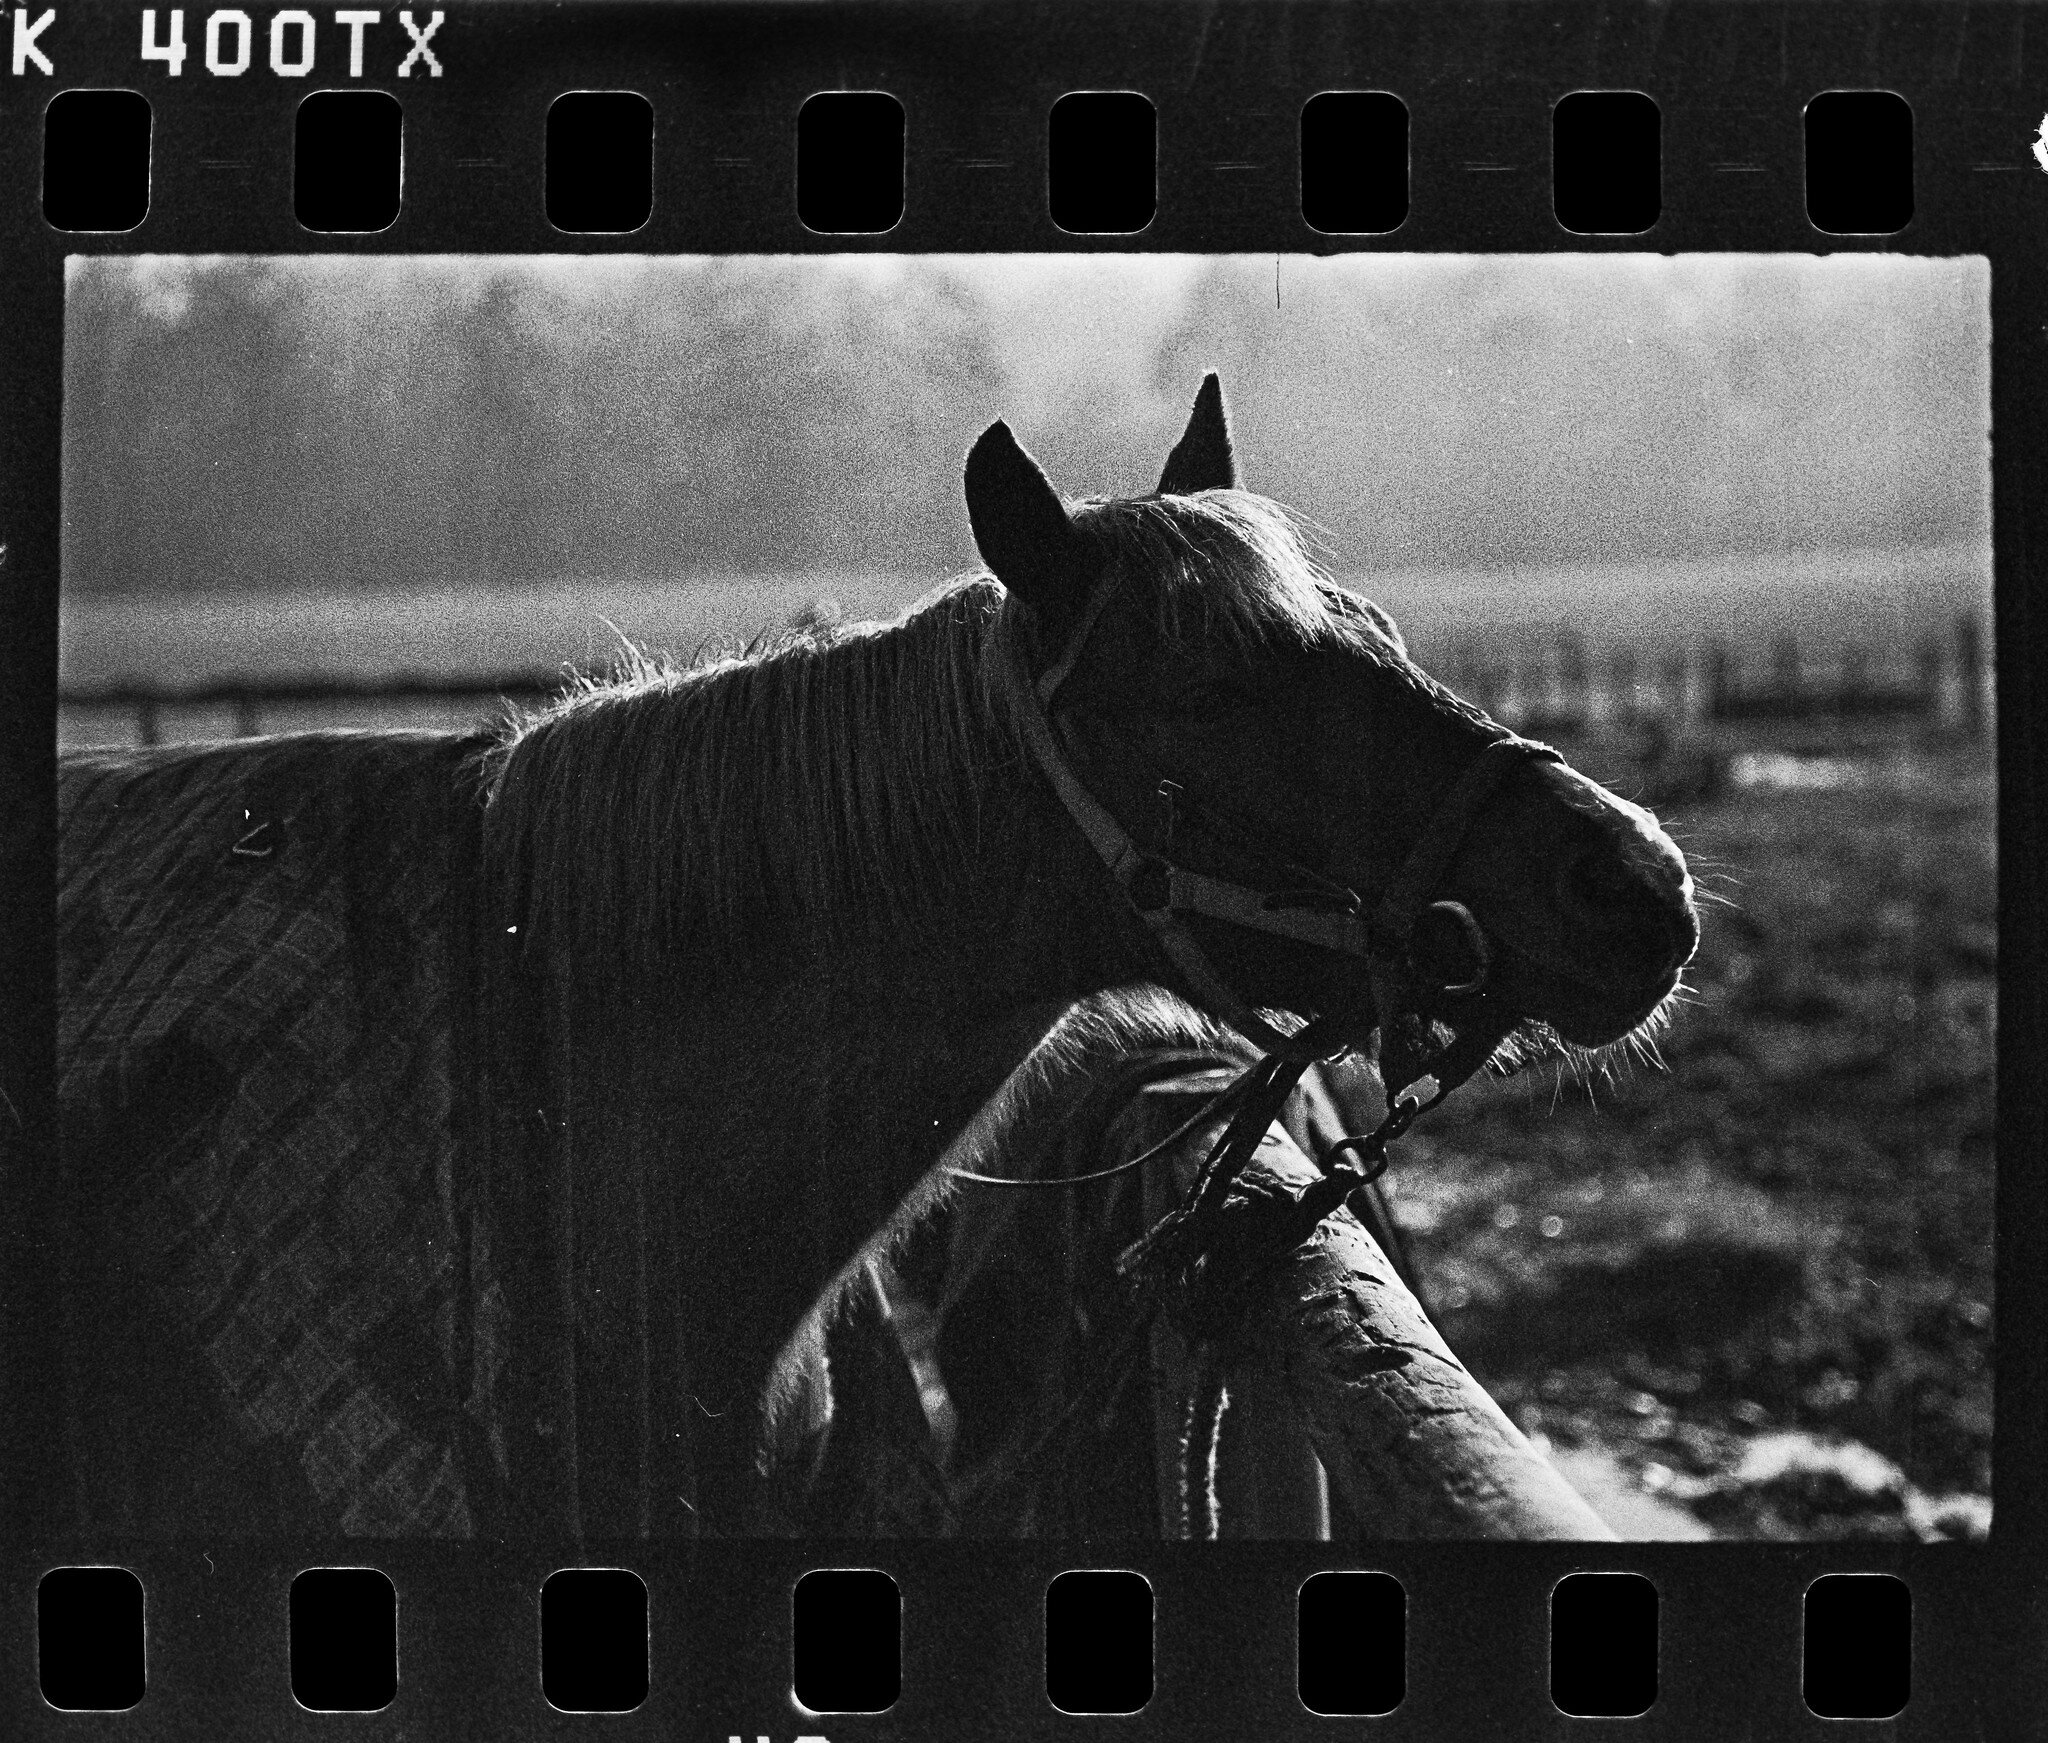
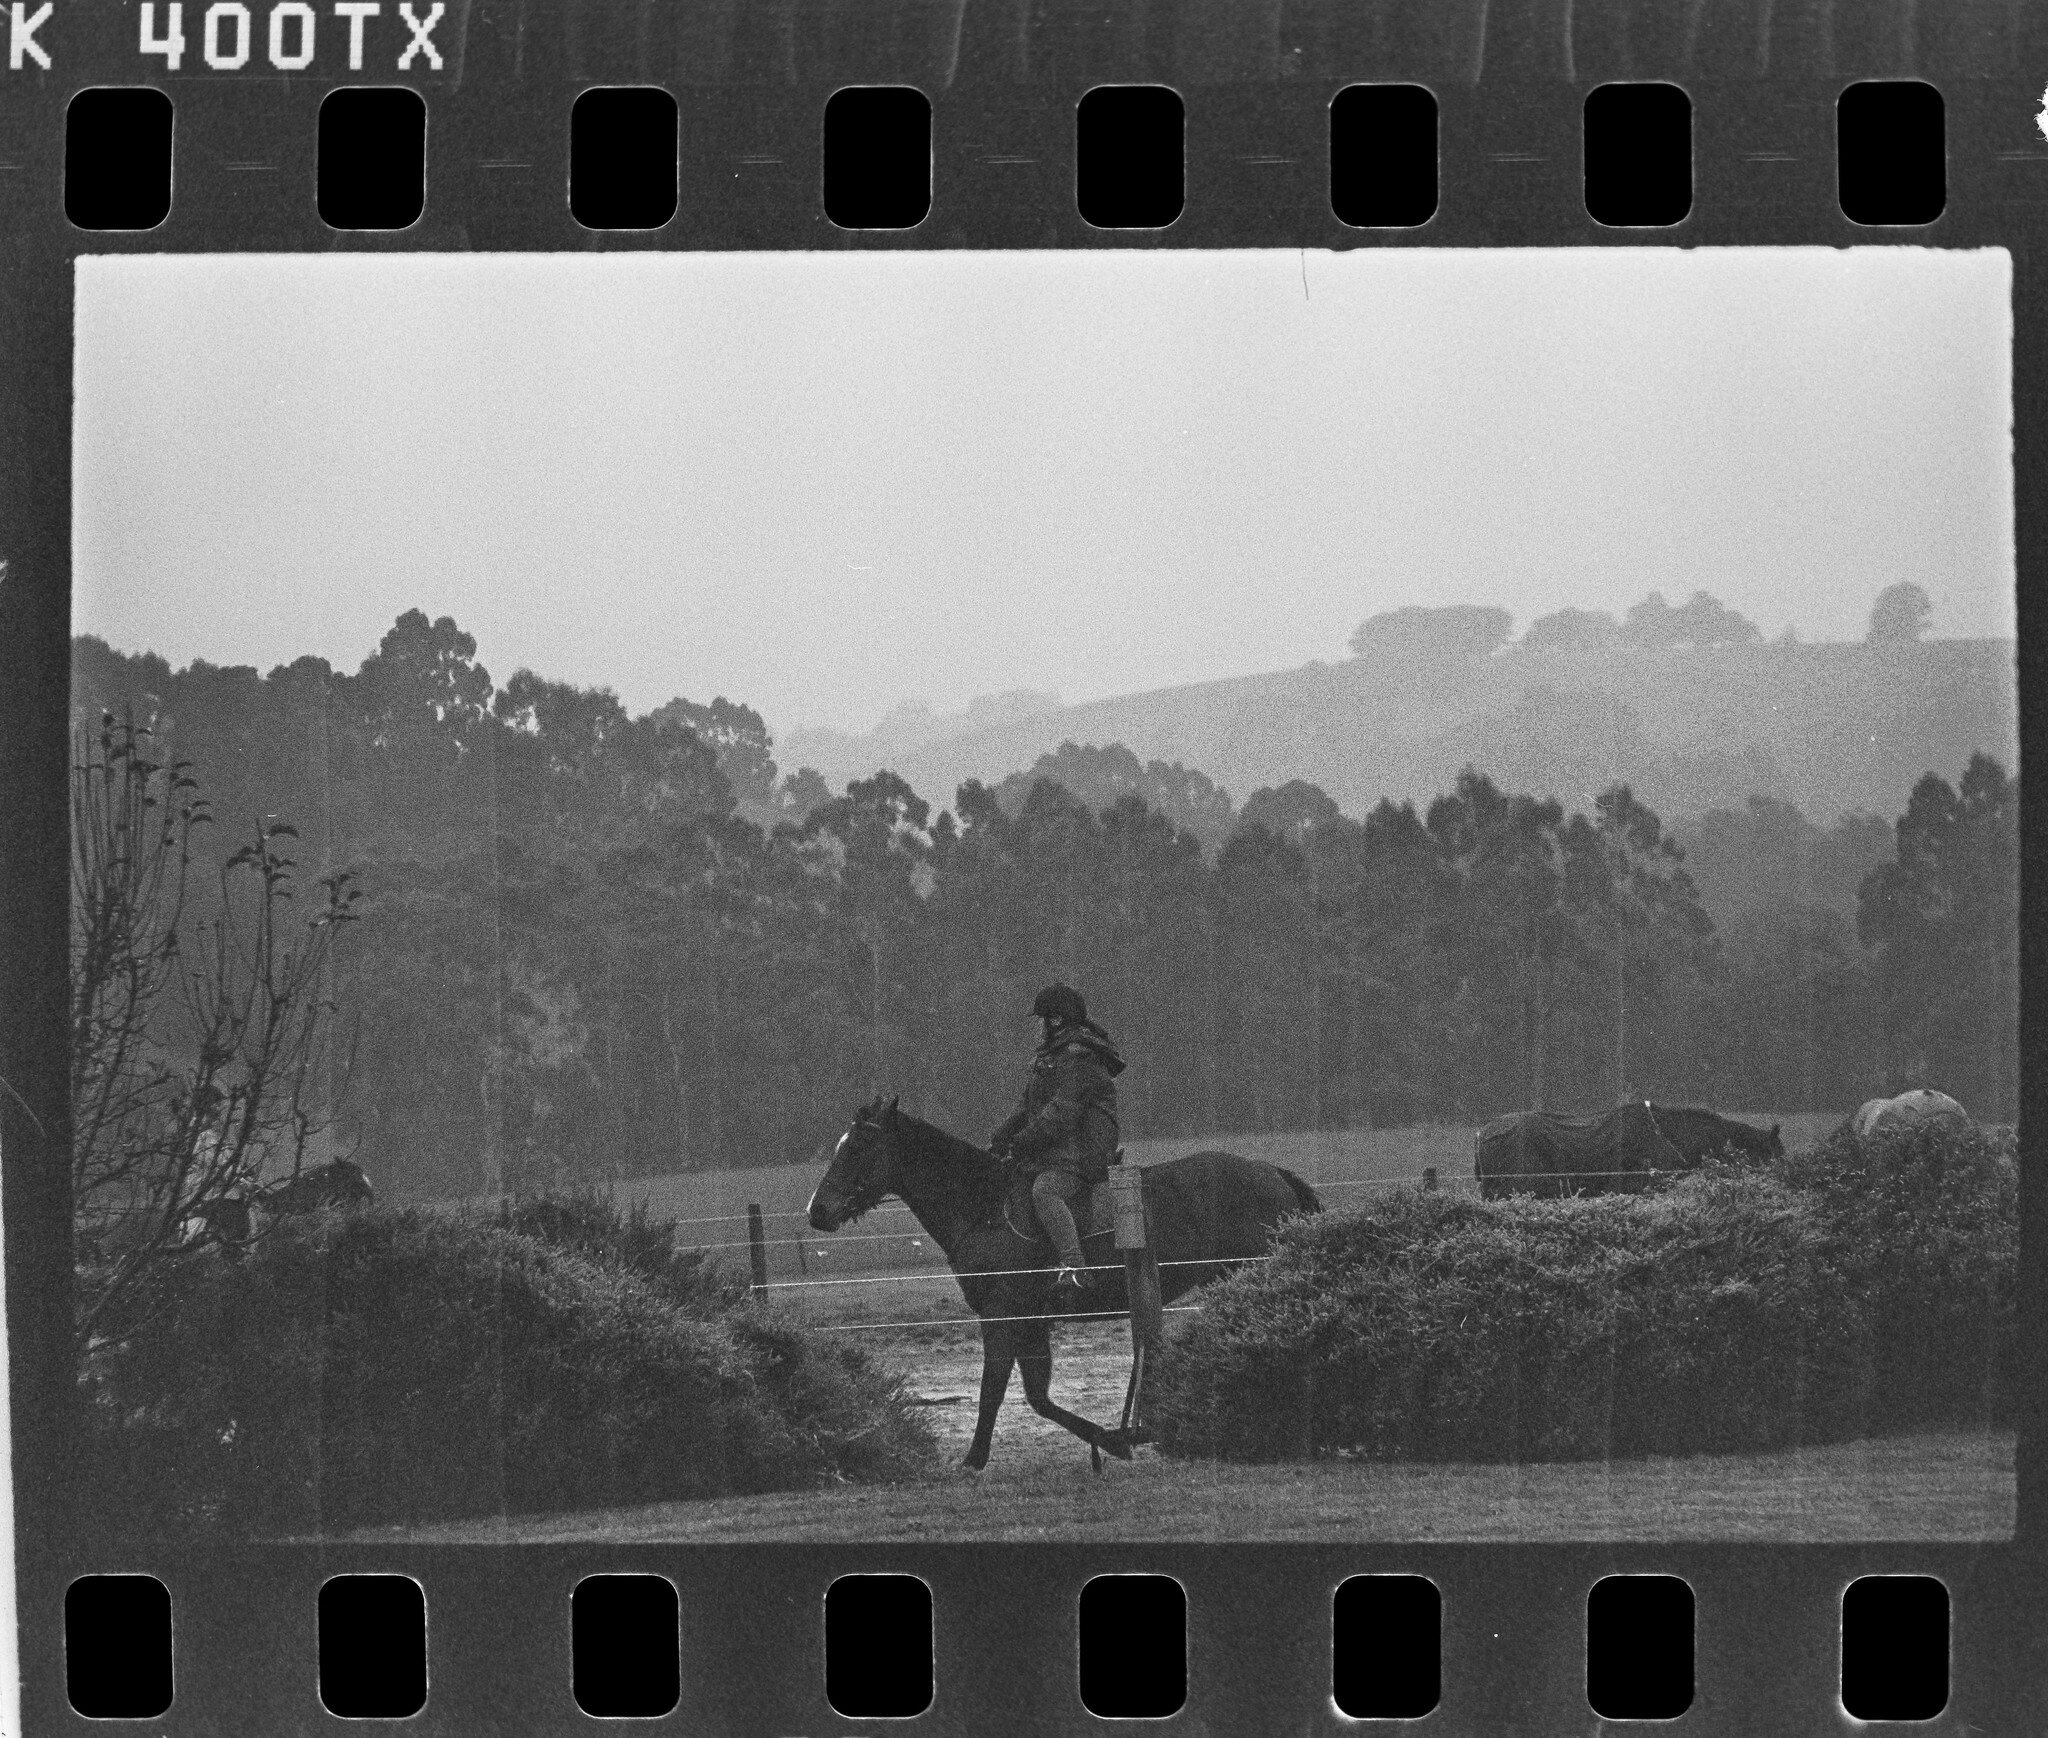
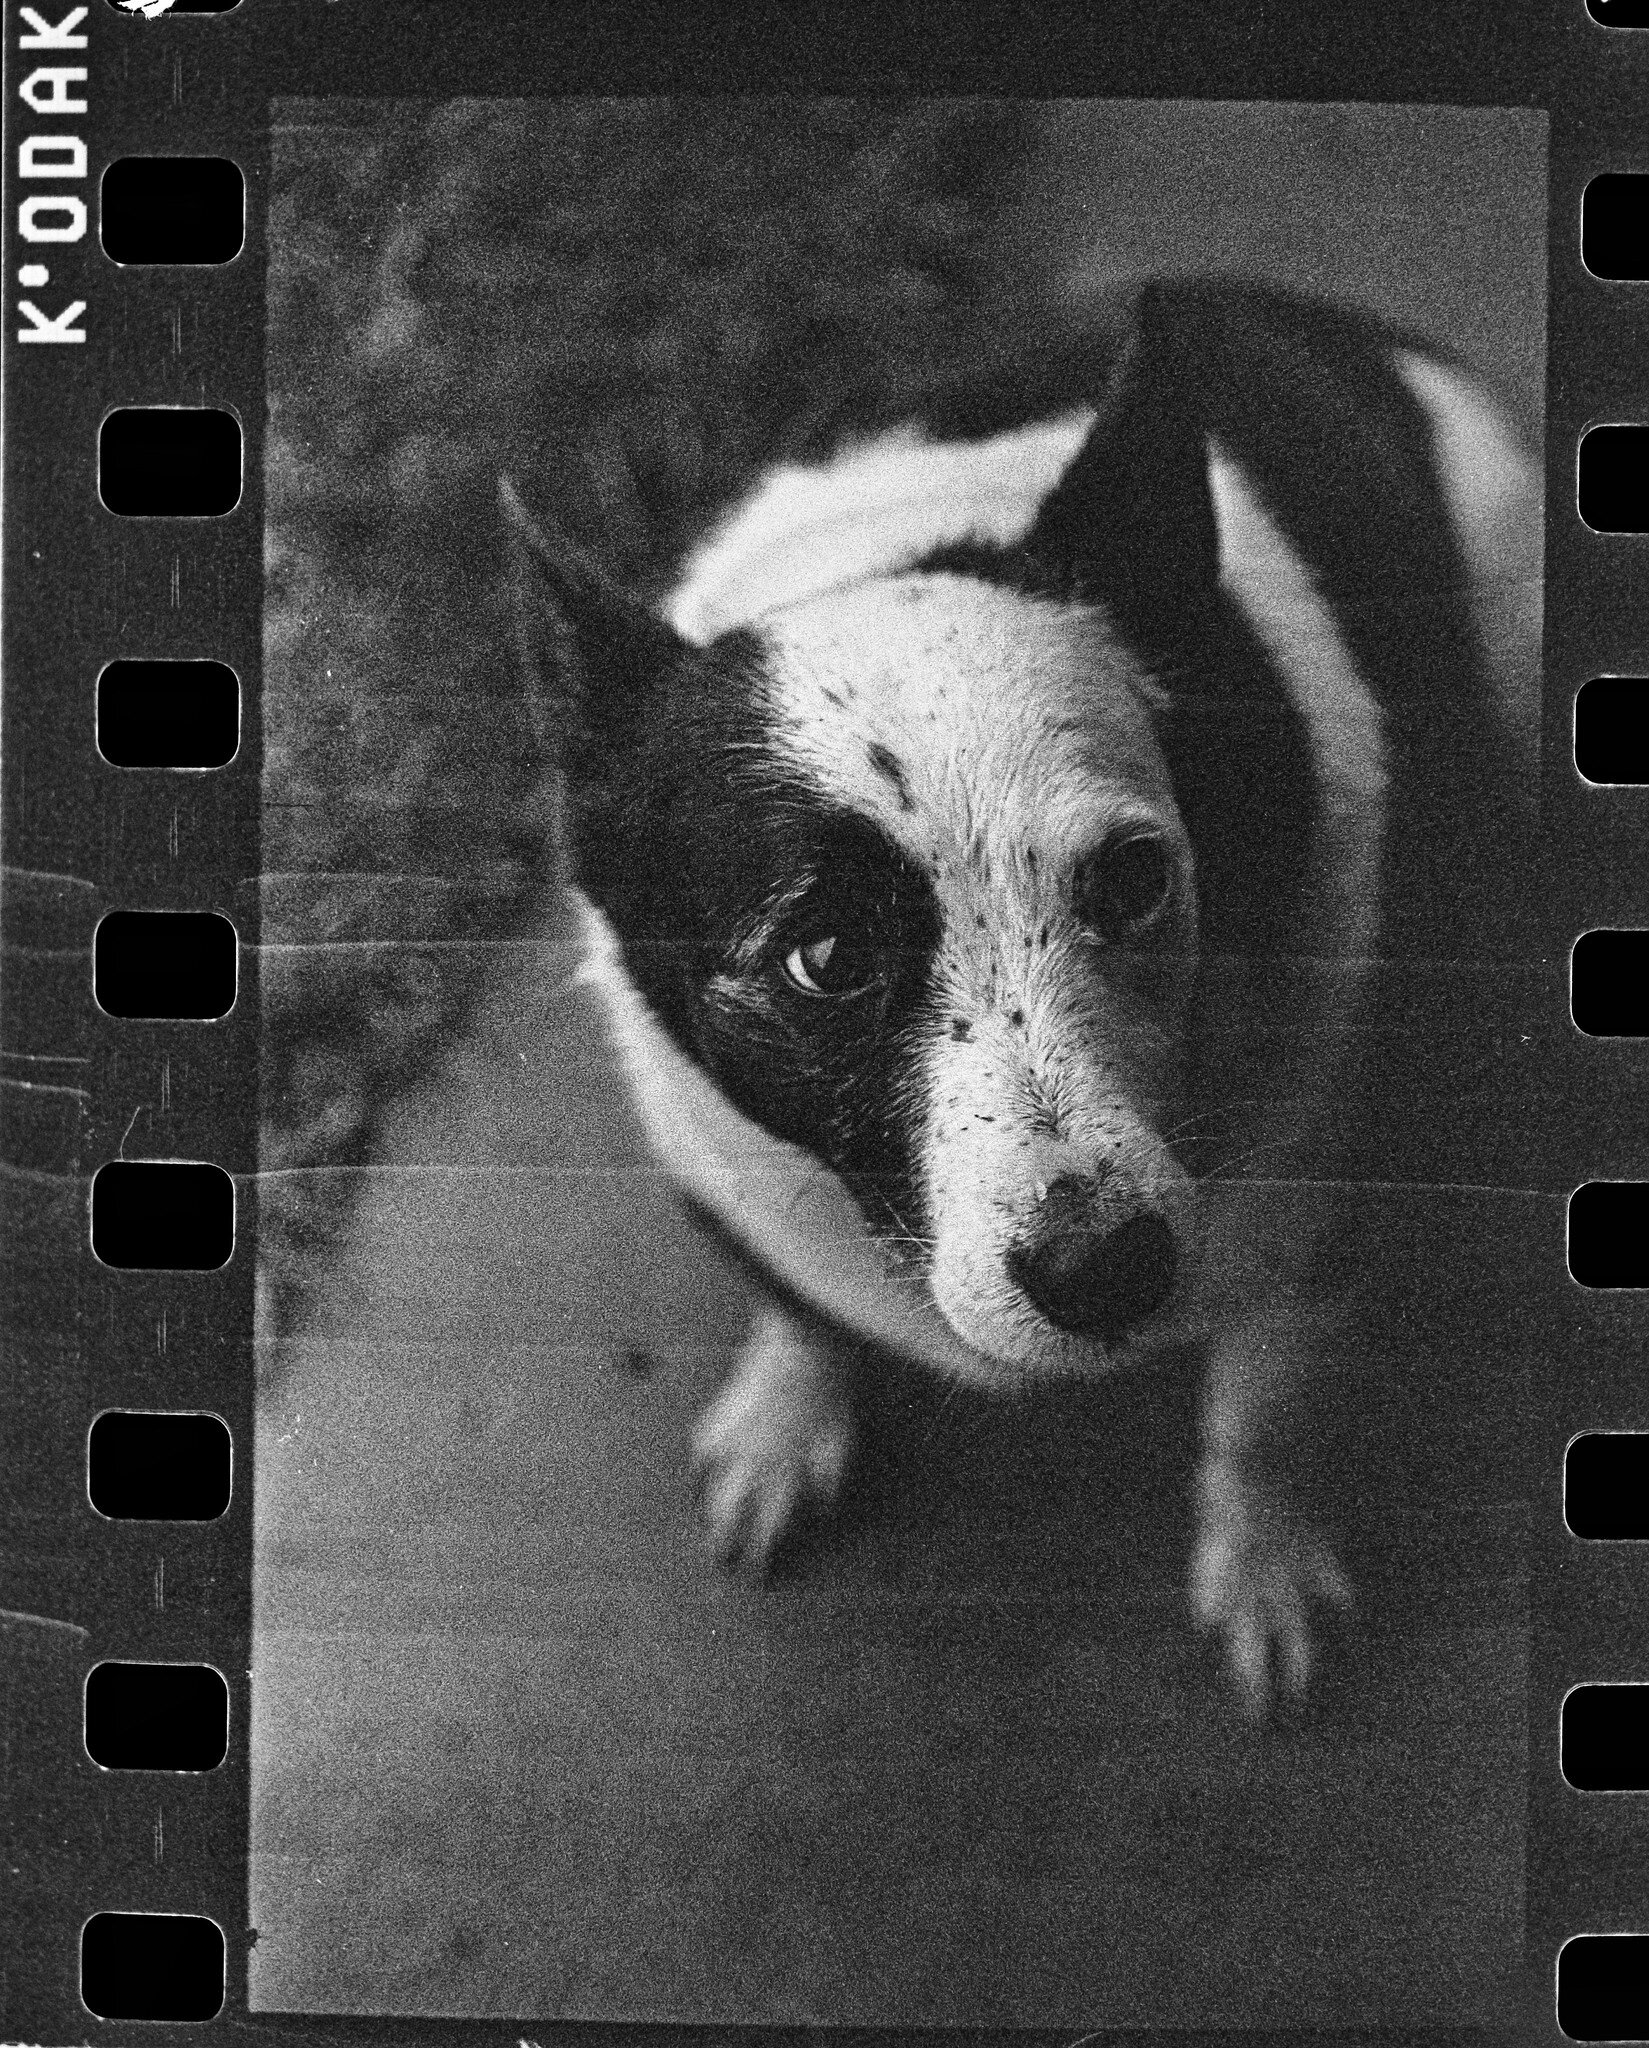
My images came out looking very rugged and old.

Here is my DIY setup and resulting scans from an early Saturday morning of horse riding with my daughter.

Kodak Six-20 'Brownie' C - Five Frames by dale rogers

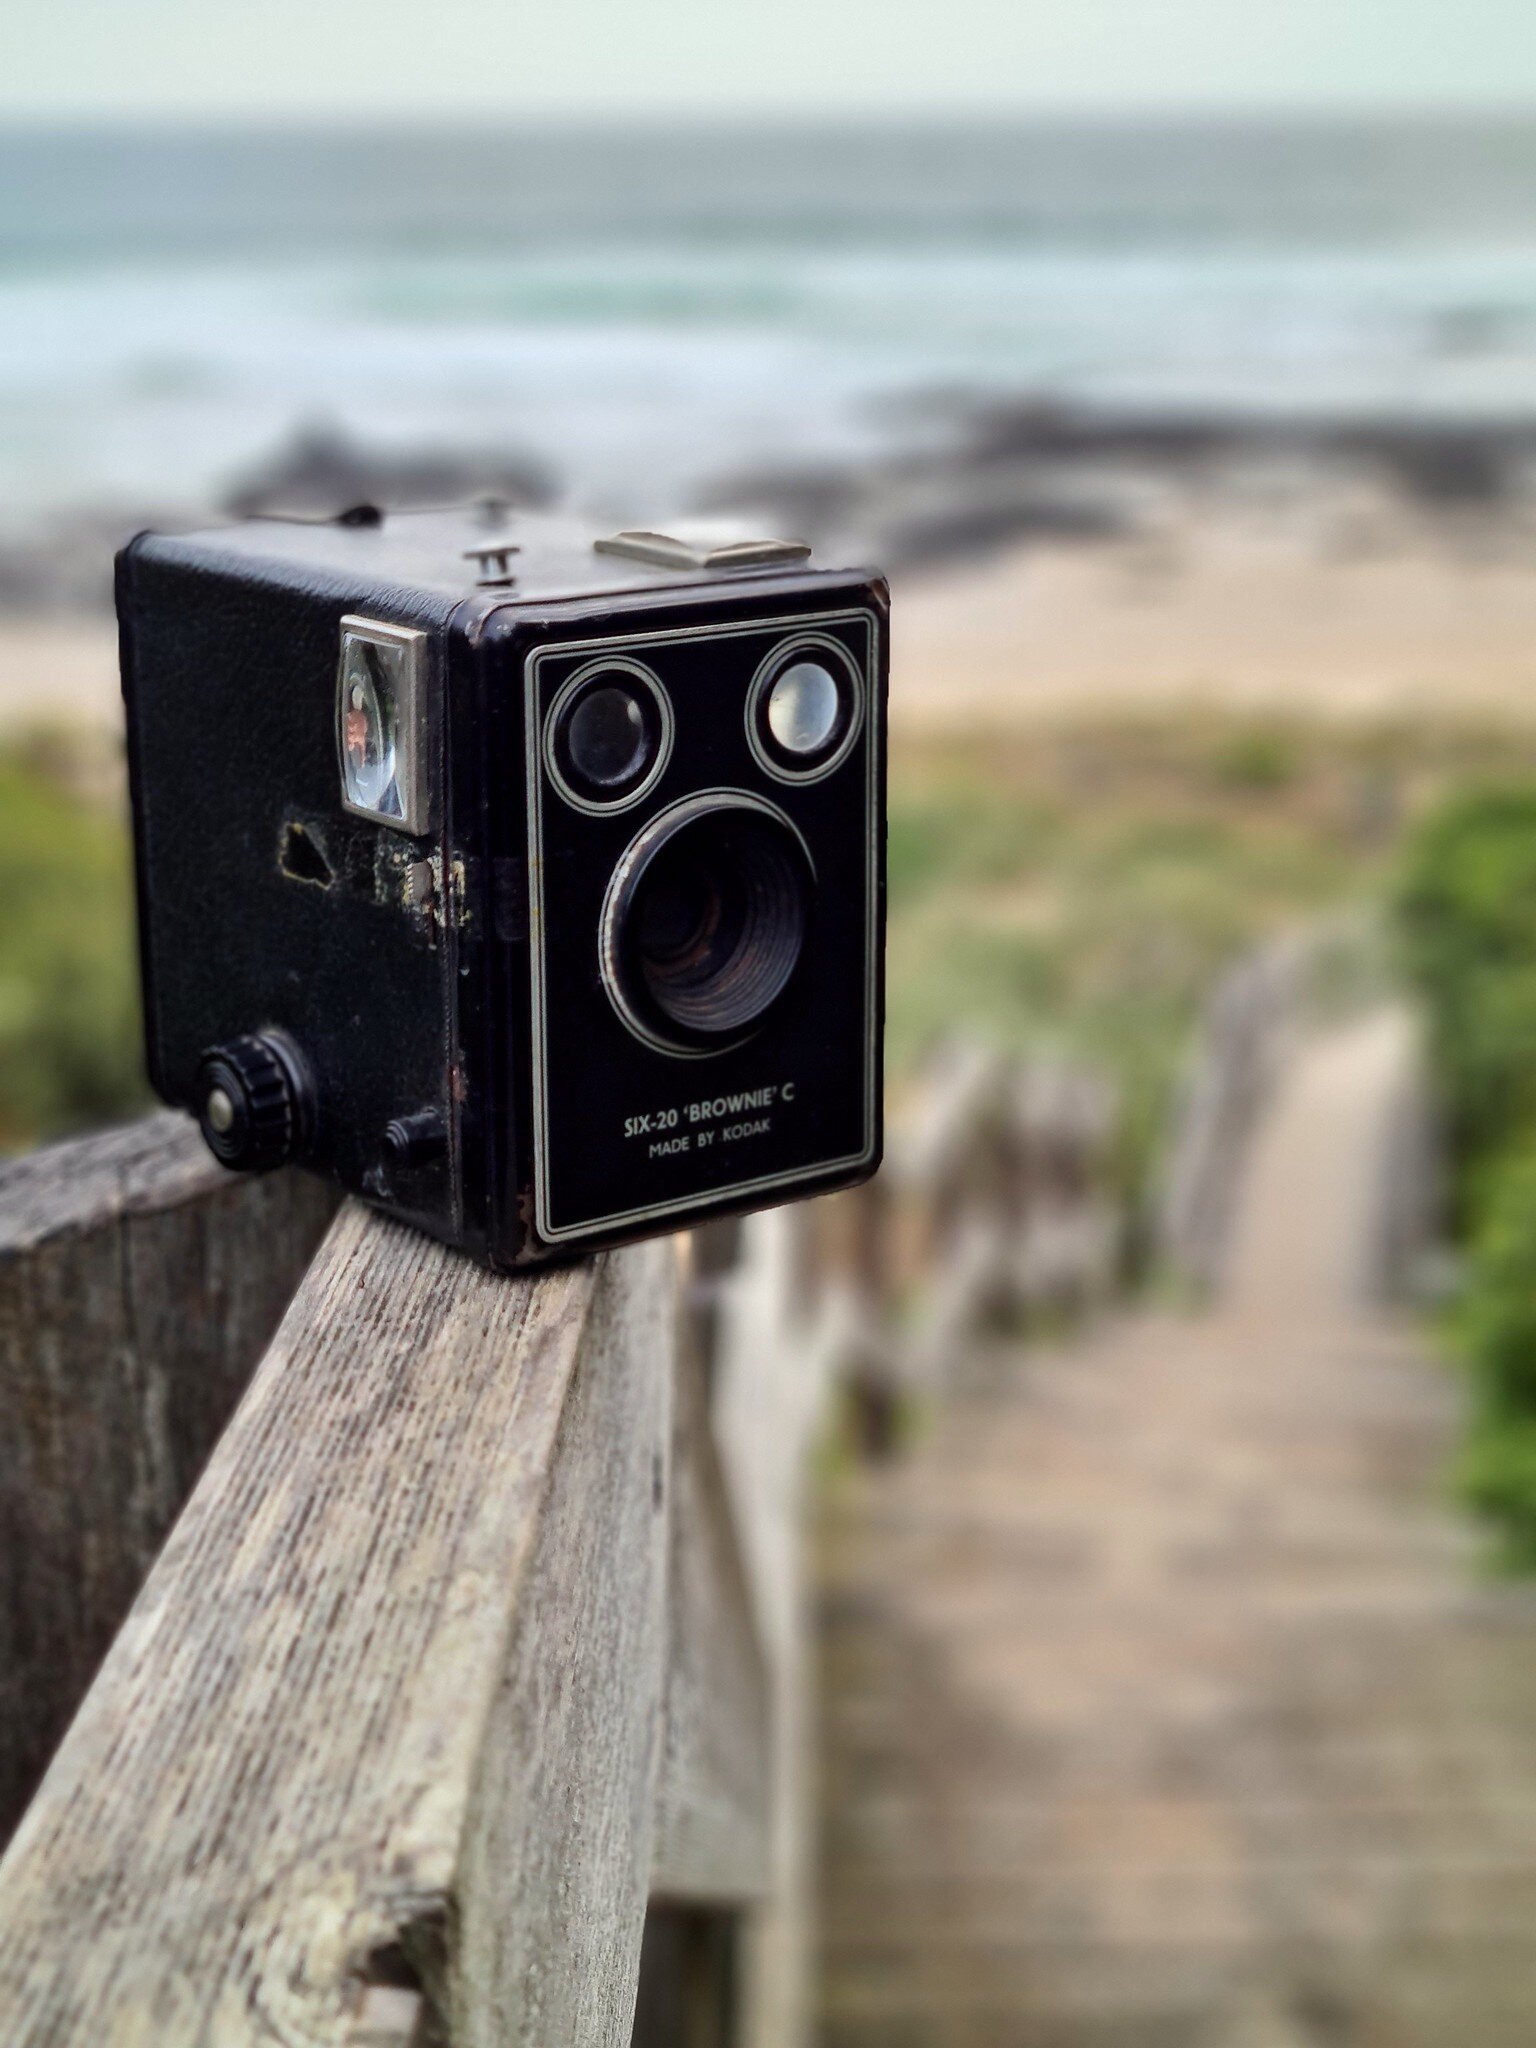
I have frequently seen little box cameras in vintage stores in the past and brushed them off as more ornamental dust collectors than cameras. Their unique shape, size and overall look was interesting but I could not fathom how a decent photo could be taken through their rust rimmed lenses. On top of the general state of decay on the ones I had seen, they usually used Kodak’s old proprietary 620 film. 

At some point, I either read or heard on a podcast about rerolling 120 film onto 620 spools. A quick search pulled up plenty of YouTube videos on respooling and watching one of these videos got my brain thinking back to the Brownie cameras.

I picked up a Kodak 620 Box Brownie C camera for USD 14 and four 620 spools for USD 7 from EBay. This camera was manufactured somewhere between 1946 and 1953. The camera looked to be in good condition with a clear lens, mirrors and intact red window in the rear. I was surprised at the simplicity of the camera. It’s a small metal box, 2 mirrors, a lens and a spring. There’s not a lot that can go wrong in the box. 

There are no adjustments, it’s a true point and shoot camera. This version of the Box Brownie only has one aperture at approximately f/11, shutter speed somewhere around 1/50th, no ISO adjustment and no focus. 

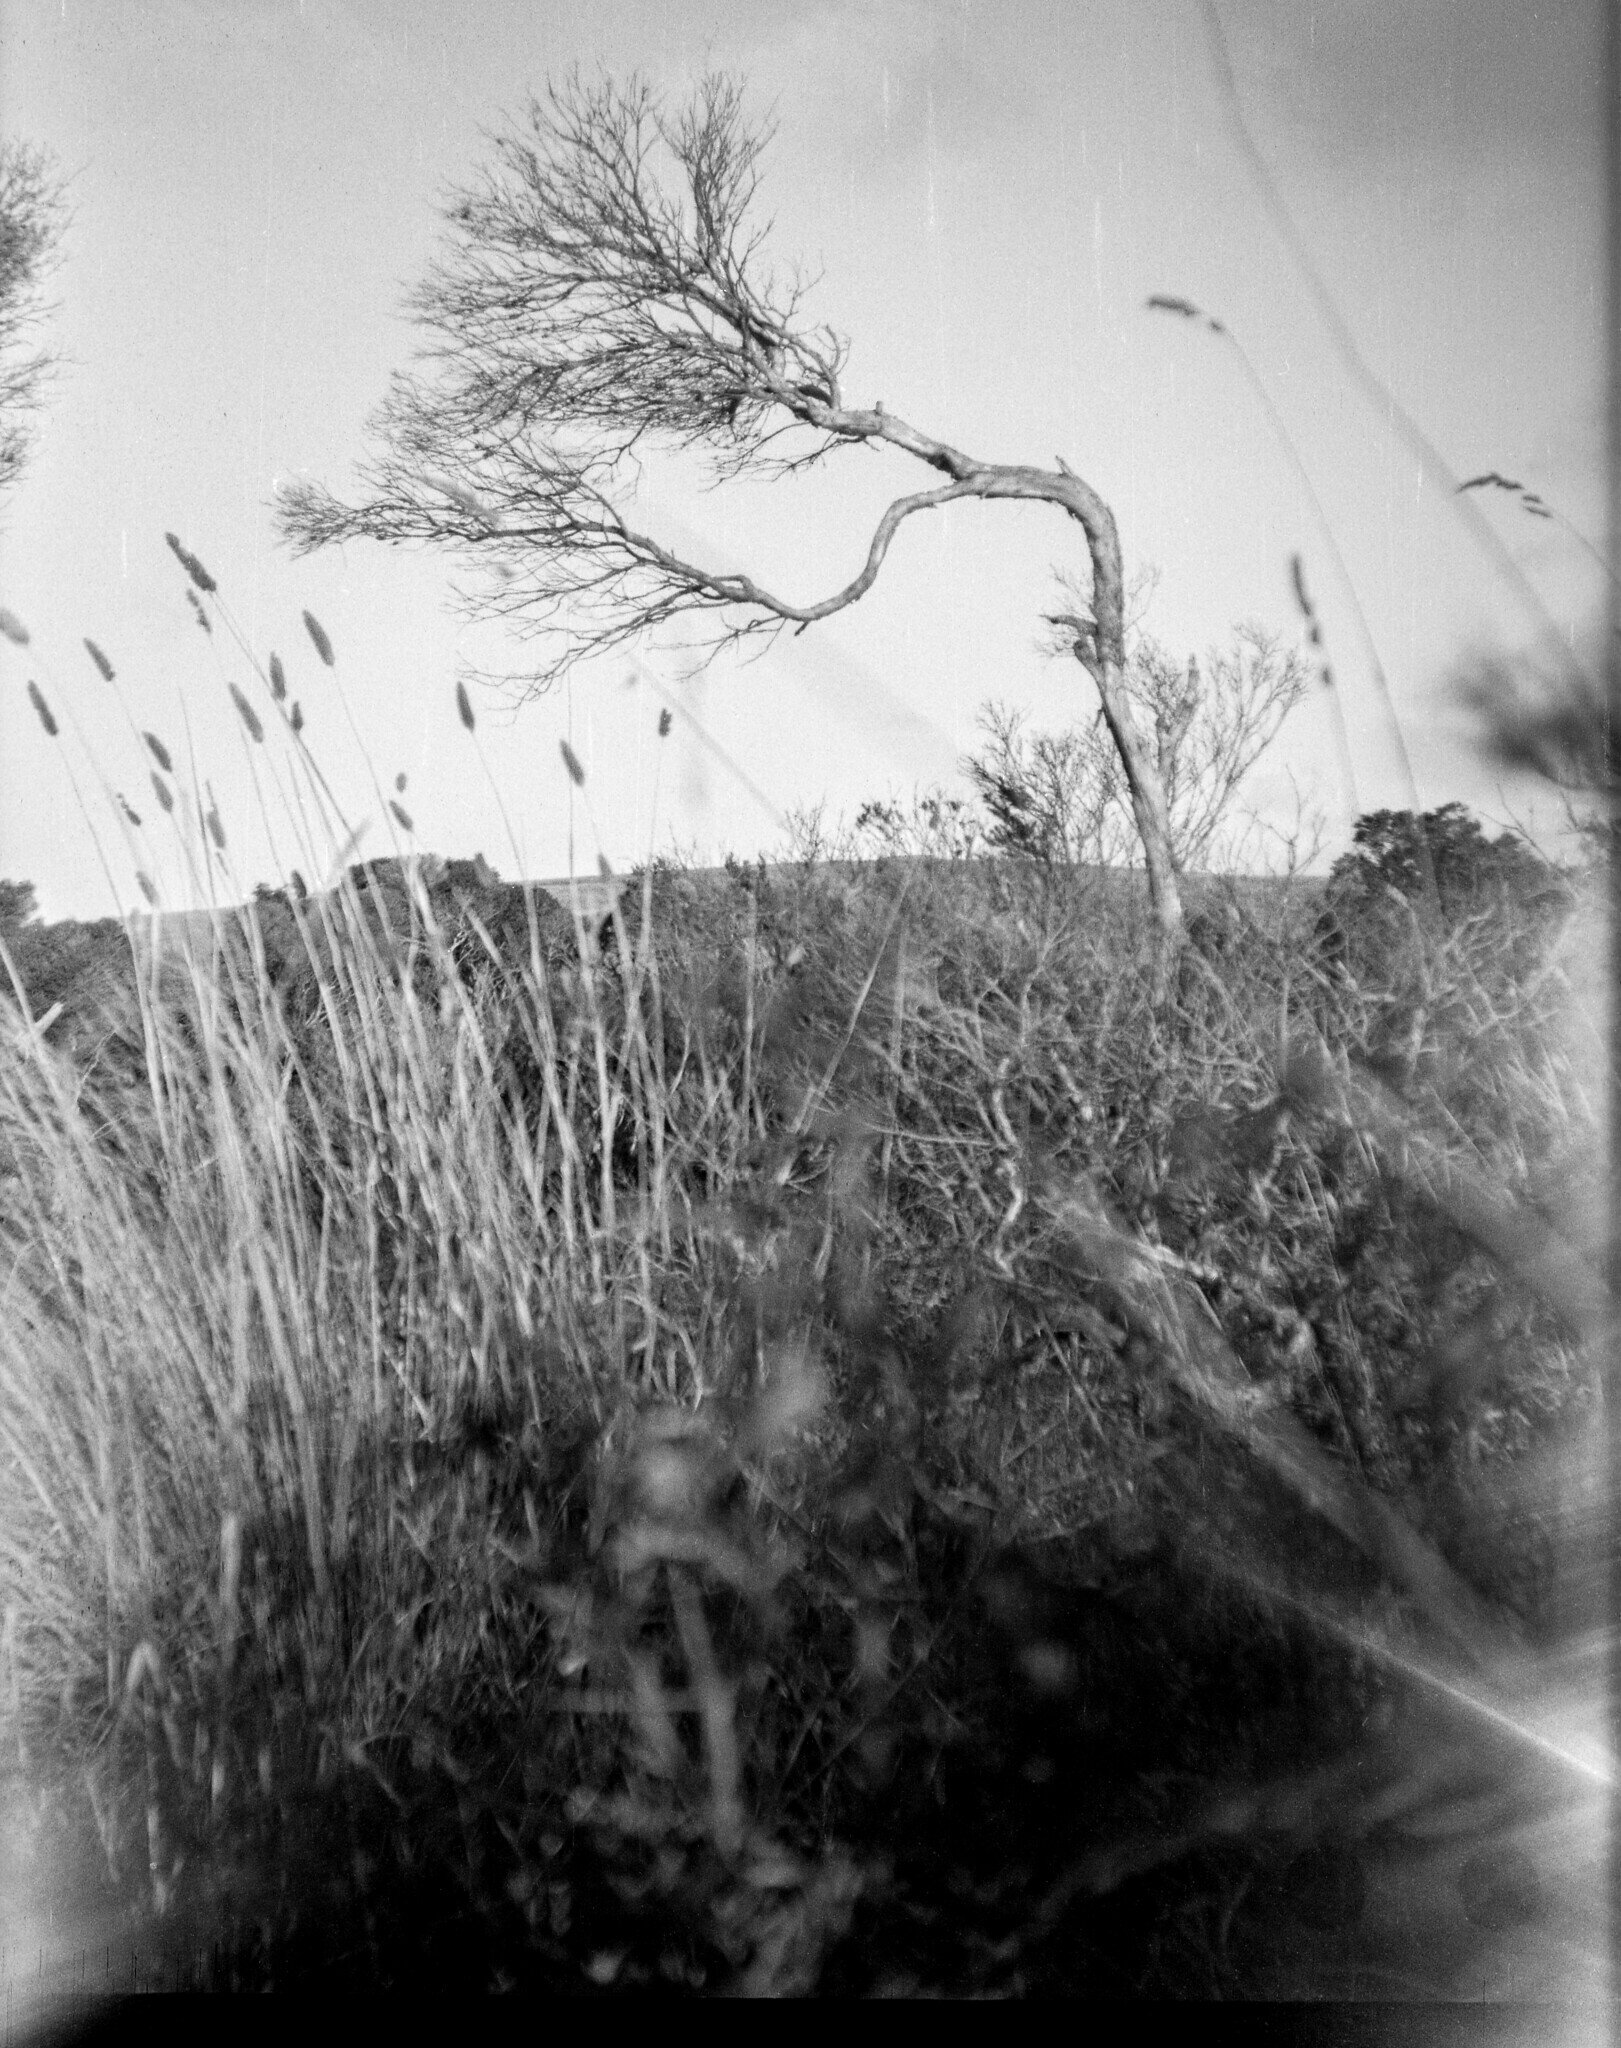
I respooled a roll of Fomopan 400 onto the 620 rolls inside of my dark change bag and then loaded the camera.

Shooting the Brownie was more fun than expected. It fits easily into the hand and the vertical and horizontal viewfinders are quirky but easy to see through and compose photos. A roll of film will get you eight 6x9 images. From my eight photos here are the best five. I was surprised at the clarity of the old lens. The camera needs about 2.5 to 3 meters for good focus and you’ll have no idea if it is in focus by looking through the small mirrored viewfinders.

Although a few of the images were out of focus, they came out better than expected and I really enjoyed shooting with the camera. I think I’m going to respool a few more rolls.


Photo Rangers COVID-19, Workshops and ACADEMY by dale rogers

Hello All, we hope you and your family are keeping safe during these difficult times. The Australian Government is recommending against all unnecessary travel within Australia at this time in order to protect the community from the spread of coronavirus (COVID-19). We have placed all of our workshops on hold until further notice.

Regardless of the country, we are all experiencing various forms of restrictions on travel and non-essential gatherings. These restrictions are in place to maintain our health and well-being. Maintaining your health and well-being requires both looking after yourself physically and emotionally. We have always believed that photography can be a ‘mindful’ activity that clears the mind making more room for thinking and improving capacity for physical and mental relaxation.

A couple of years ago we started the Photo Rangers Academy. The Academy was a LIVE online education program delivered using state of the art video conferencing software used by many colleges and universities. We ran several very popular Academy courses such as a 6 Week Basic Photography course, 6 Week Intermediate Photography course, Adobe Lightroom Editing course, Eco-Photography and Intimate Landscapes - all on-line. These courses had between 4-8 participants each and were very well received. We stopped offering the Academy courses because we ran out of time running physical workshops and the Academy online offerings.

In light of COVID-19, we’ve turned the lights back on in the Photo Rangers Academy and are pleased to announce new offerings including Basic Photography, Intermediate Photography and Lightroom Editing courses. What better way to spend time in social isolation than improving your photography and even documenting the experience for your children or children’s children to see some day.

See details under our Events tab on Facebook.

2018 PR Academy.png

Fujifilm XPro3 Acros -R digital vs 35mm Acros 100II by dale rogers

I shoot about 50% film and 50% digital these days. For digital I shoot with the Fujifilm X series cameras and lenses. Fujifilm cameras appealed to me several years ago because of the retro styling and film camera like controls for shutter speed, ISO and aperture. I also loved the ability to use Fujifilm film emulsion filters on the in camera jpgs such as Velvia, Acros, Provia, Astia, Classic Chrome and PRO Neg to name a few.

I love shooting film on a variety of 35 and 120 cameras because the process of slowing down and thinking about a shot elicits a certain mindfulness to my photography. With film I carefully consider each shot and I slow down. There’s no spray and pray with a roll of 36 exposures. With film, the process and experience of finding and executing the shot is as important and satisfying as the final image itself. There’s a certain Zen with acknowledging your limitations and working through them to find the perfect capture.

Another reason for shooting film is the ‘look’ that is magic. Magic, the noun, is defined as “the power of apparently influencing events by using mysterious or supernatural forces” and as an adjective as “wonderful; exciting”. Shooting film relates to both the mysterious and exciting.

I develop my black and white film at home. Using a combination of chemicals, mix ratios, agitation, drying and working film out of canisters and onto developing reels in total darkness reminds me of ancient alchemy. And at the end of this mysterious alchemical process, I find images - moments trapped in time, that have spontaneously appeared on a piece of celluloid. Sometimes the moments captured are from times I can not recall but, there they are, captured for all eternity as if by magic on these rolls of film and they are beautiful.

When Fujfilm announced late last year they are updating their digital rangefinder, the XPro series, to provide a more film-like shooting experience, I was intrigued and excited. The Fujifilm XPro3 does away with the back LCD screen and instead has a small window reminiscent of a film memo holder. This little memo holder display looks as if you have just torn off the side of a box of film and inserted it into the memo holder. The back panel does tilt down to reveal a traditional LCD screen with all the info you would typically find on a Fujifilm X Series camera.

And lastly, the XPro3 rangefinder has a hybrid viewfinder that can display a more traditional looking optical electronic viewfinder giving you a natural view of your scene with frame lines to equate with the lens focal length. This is great for those who enjoy seeing bits of the scene outside of the captured image and allows for easier framing of shots. It also can be quickly switched to a traditional LCD viewfinder.

The release of the Fujifilm XPro3 camera coincided with me getting some recently re-released Fujifilm ACROS 100II film.

Given my love of Fujifilm digital cameras, film photography and ACROS film, I desperately wanted to shoot and compare the new XPro3 alongside a rangefinder film camera. The good people at Fujifilm Australia were kind enough to send me a XPro3 to use for a couple of weeks to satiate my desire.

For my Fujifilm ACROS shootout I dusted off a Yashica Electro 35 GSN with a 45mm f/1.7 lens. I placed a red filter on the lens and loaded the  Fujifilm ACROS 100II 35mm film.

The XPro3 is a crop sensor camera so I attached a 27mm (41mm full frame equivalent) f/2.8 lens to the XPro3 and dialed in the ACROS -R film simulation. The -R is the ACROS simulation with a simulated red filter. So in theory, I had two rangefinders with very similar specs.

I threw both cameras in my car and carried them around for the 2 weeks pulling them out to take identical photos around my home on Phillip Island, Australia.

Once 36 exposures were taken, I used a stand developing method with a 1:100 Rodinal solution to develop the film and scanned the images on an Epson V550 scanner.

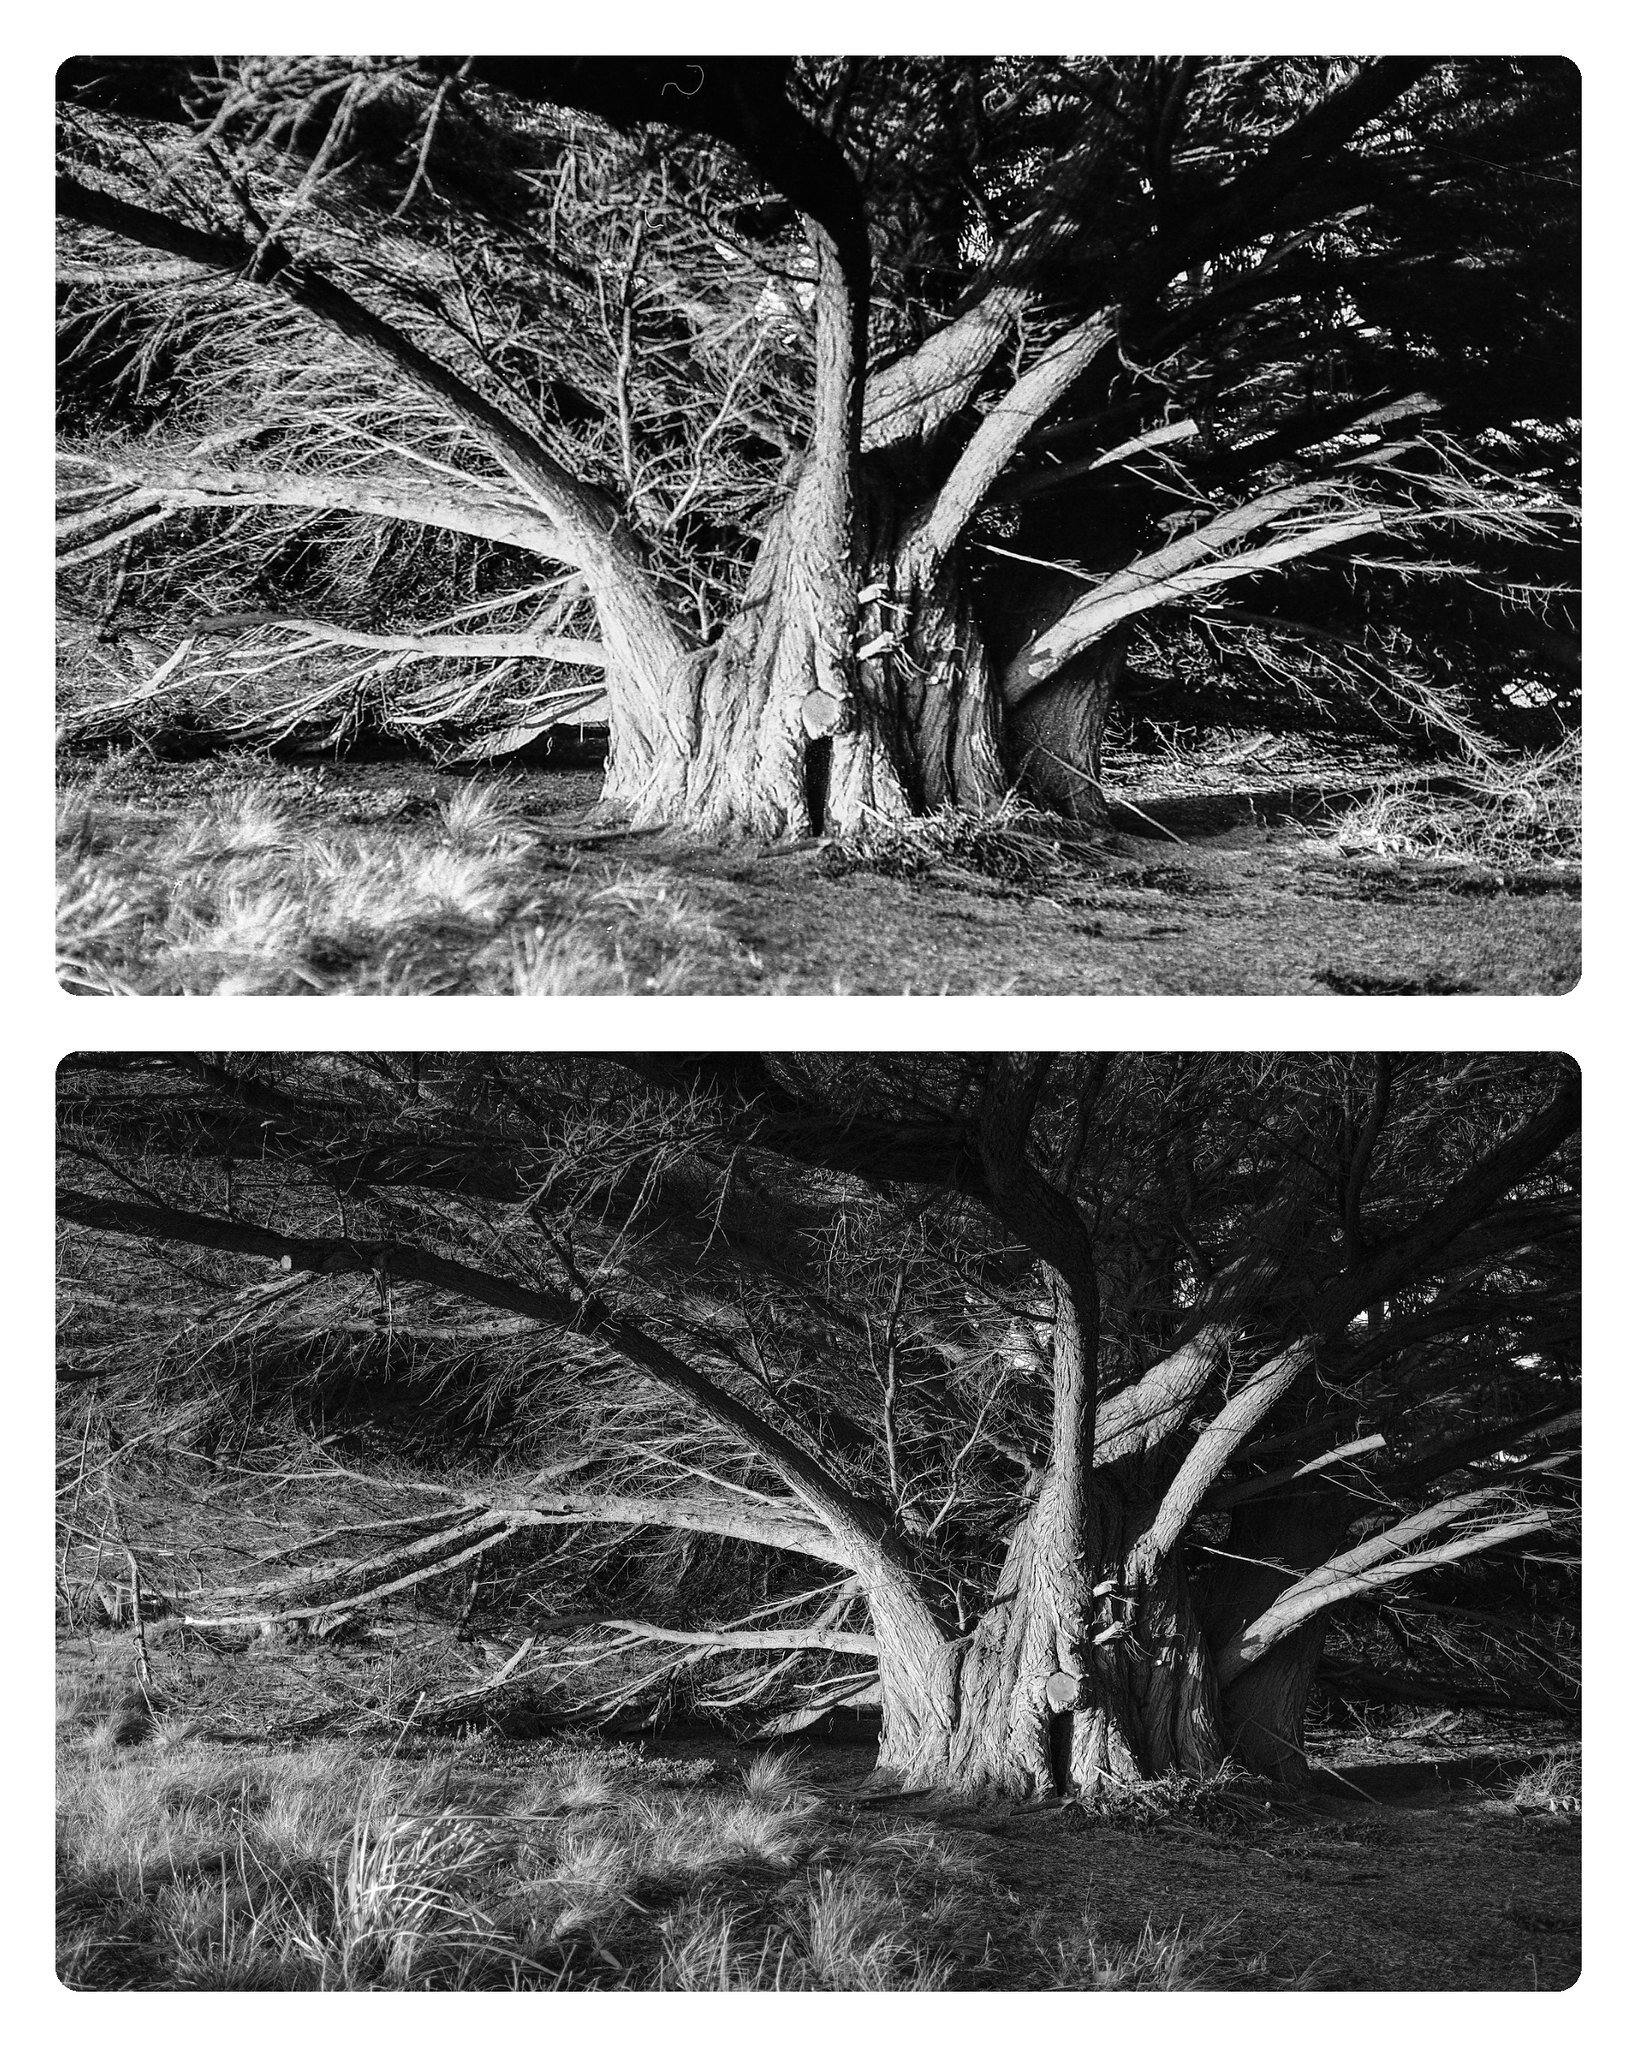
Here’s the big reveal - image comparisons. The top or left image is the 35mm ACROS 100II image and the bottom or right image is the ACROS -R JPG digital image.

These shots look pretty similar. Fujfilm did a great job on the ACROS digital film simulation. I was surprised the shots were similar in look and feel. However they do exemplify the differences between digital and film. From these images I have a much greater appreciation for the way film preserves and manages highlights. They look superb. Of course the digital sensor excels at shadow recovery even in a jpg file.

As for the XPro3, I like the rangefinder feel especially when using the optical viewfinder. It does help to recreate a film shooting aesthetic. I probably would not use this camera out shooting landscapes as I found the backscreen cumbersome when flipped down as I changed camera orientation or as a serious wildlife/sports camera. I put a 100-400mm f/4.5-5.6 on the body and it did not have the same balance and feel as my XT-3. However, It’s a super fun camera to shoot and I reckon it would excel as a street shooter and add a little interest and fun to the digital experience.

Which images do you prefer?


Intimate Landscape Workshop this Morning by dale rogers

This morning we held the Intimate Landscape Workshop down at Kitty Miller Bay. I do believe this is probably my favourite style of photography and without a doubt the most relaxing and mindful photography. Here are a few shots from today. They were all taken on a Fujifilm XT3 and either a 100-400mm or a vintage 50mm f/2 Russian Helios lens - can you spot the differences between the lenses?

Next weekend is our SOLDOUT MegaPhotography #9 Weekend!

Fujifilm X Series AU

Low Tech Camera Wins Again! by dale rogers

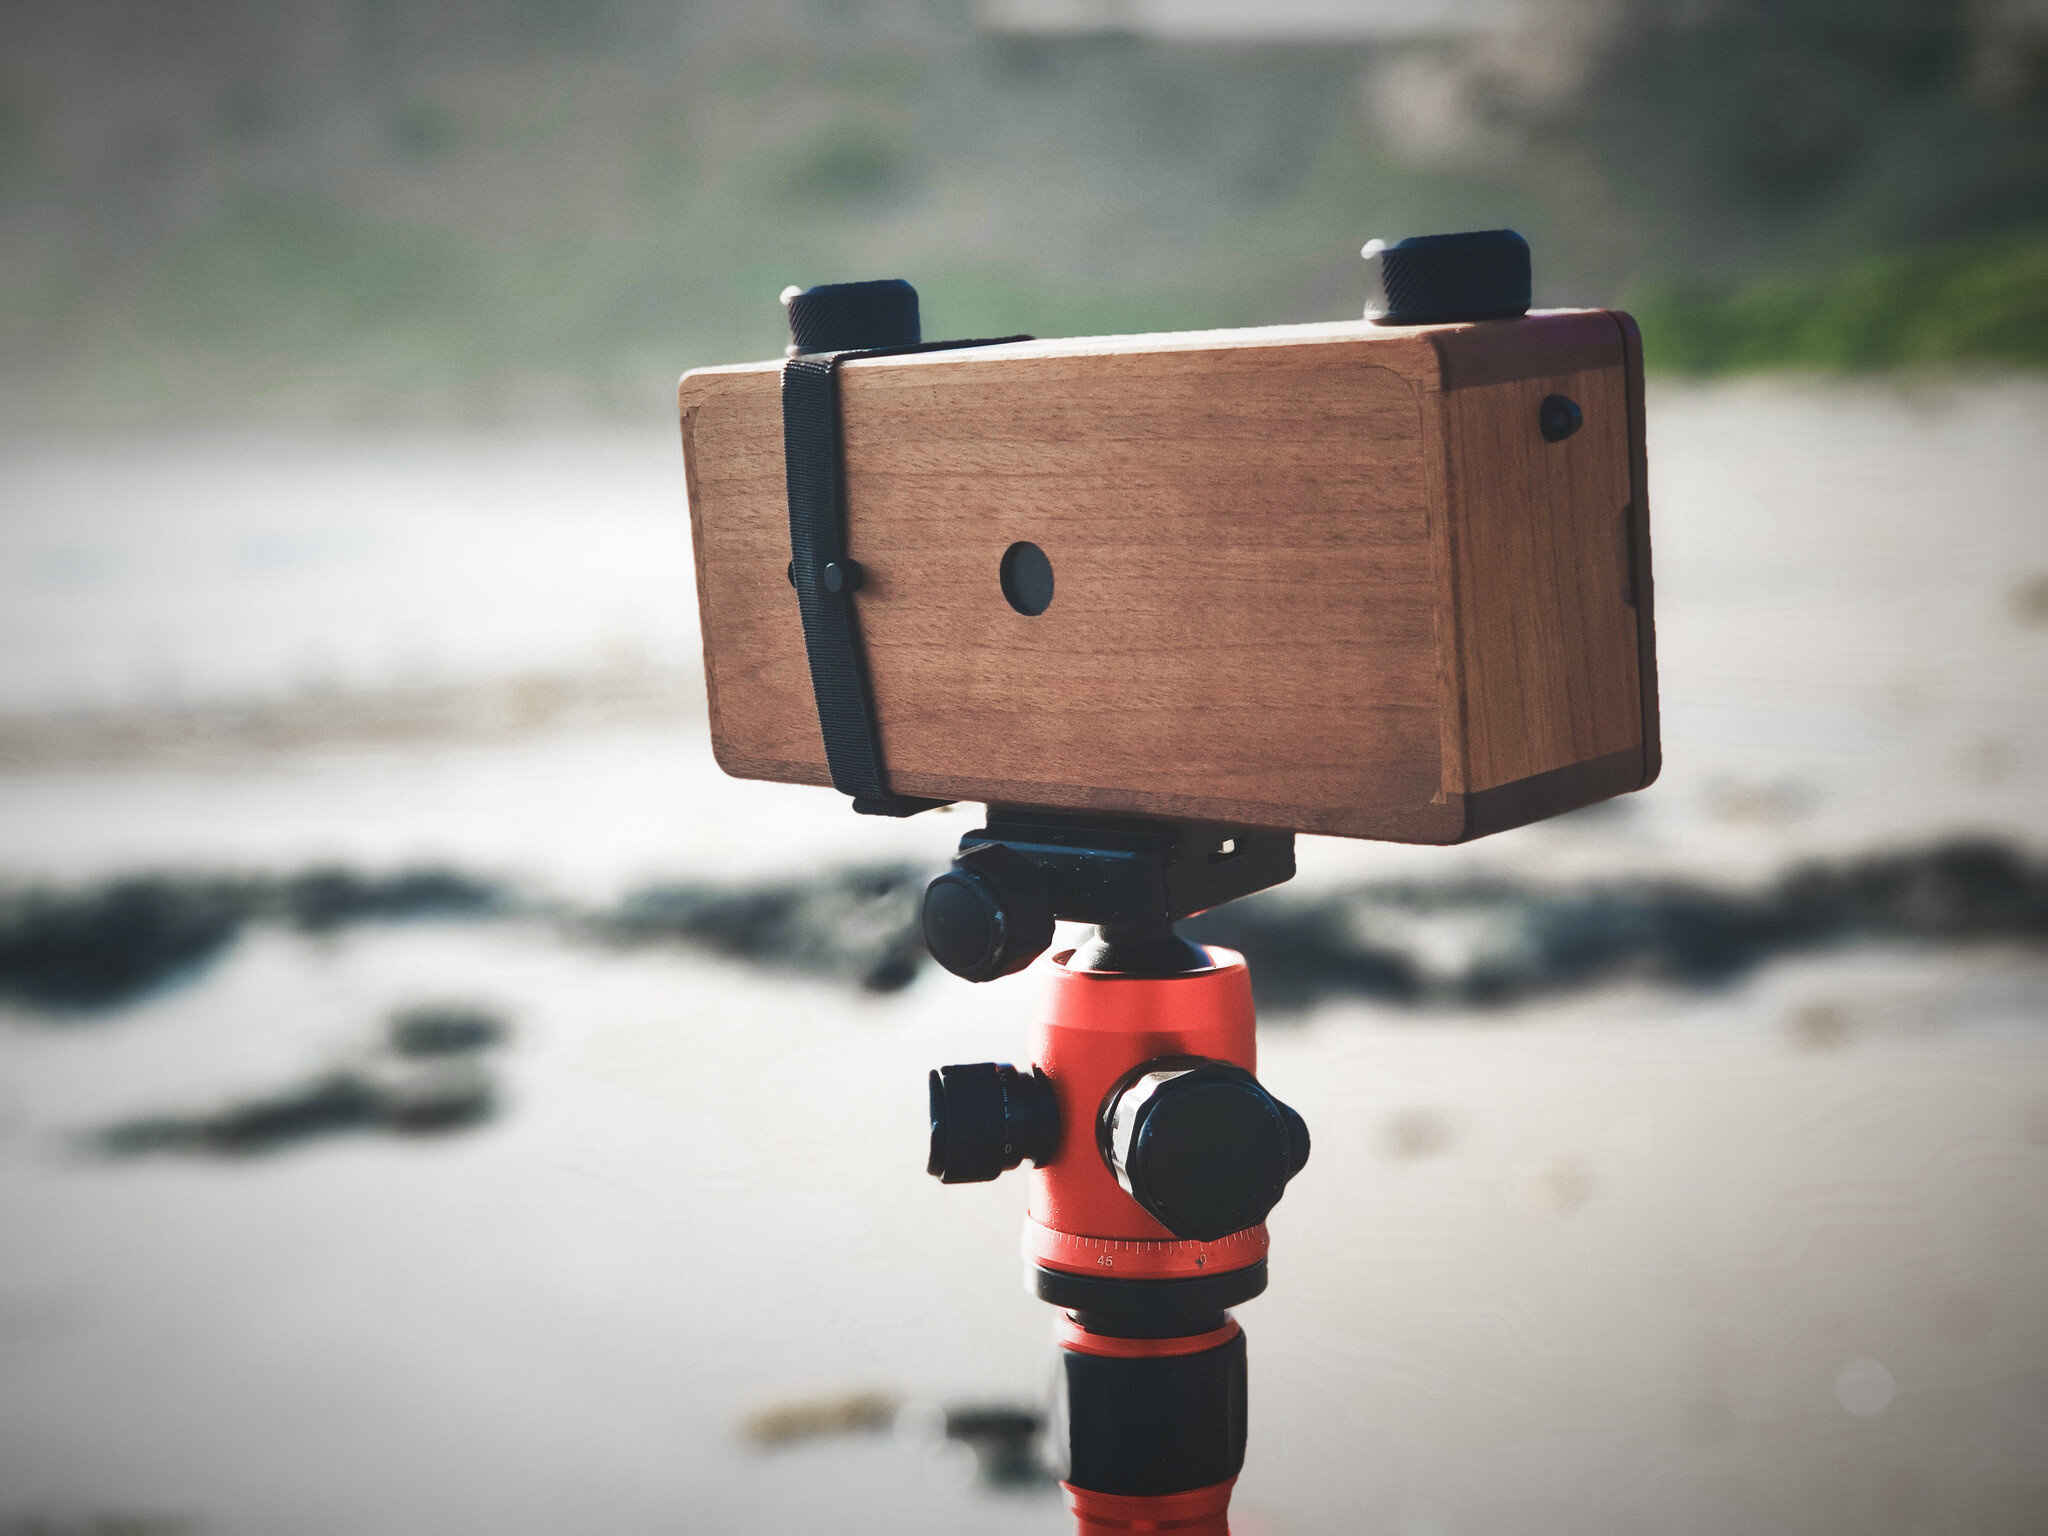
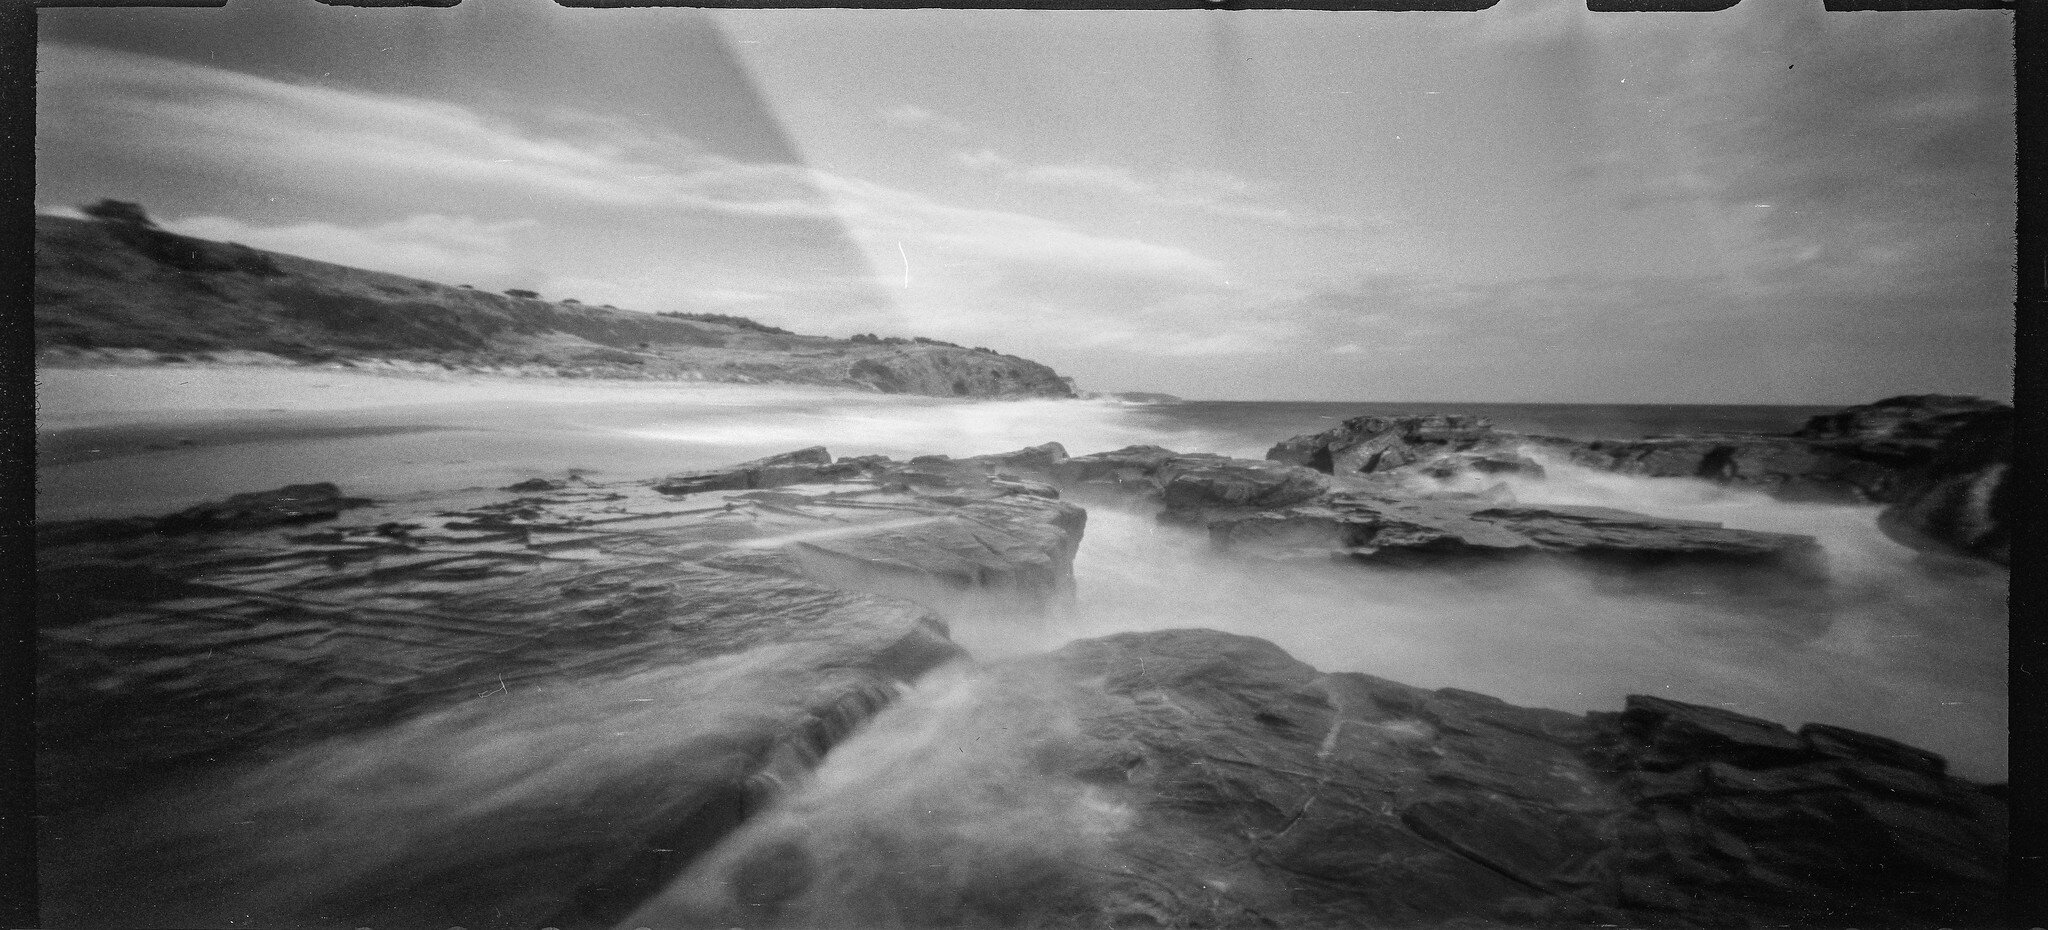
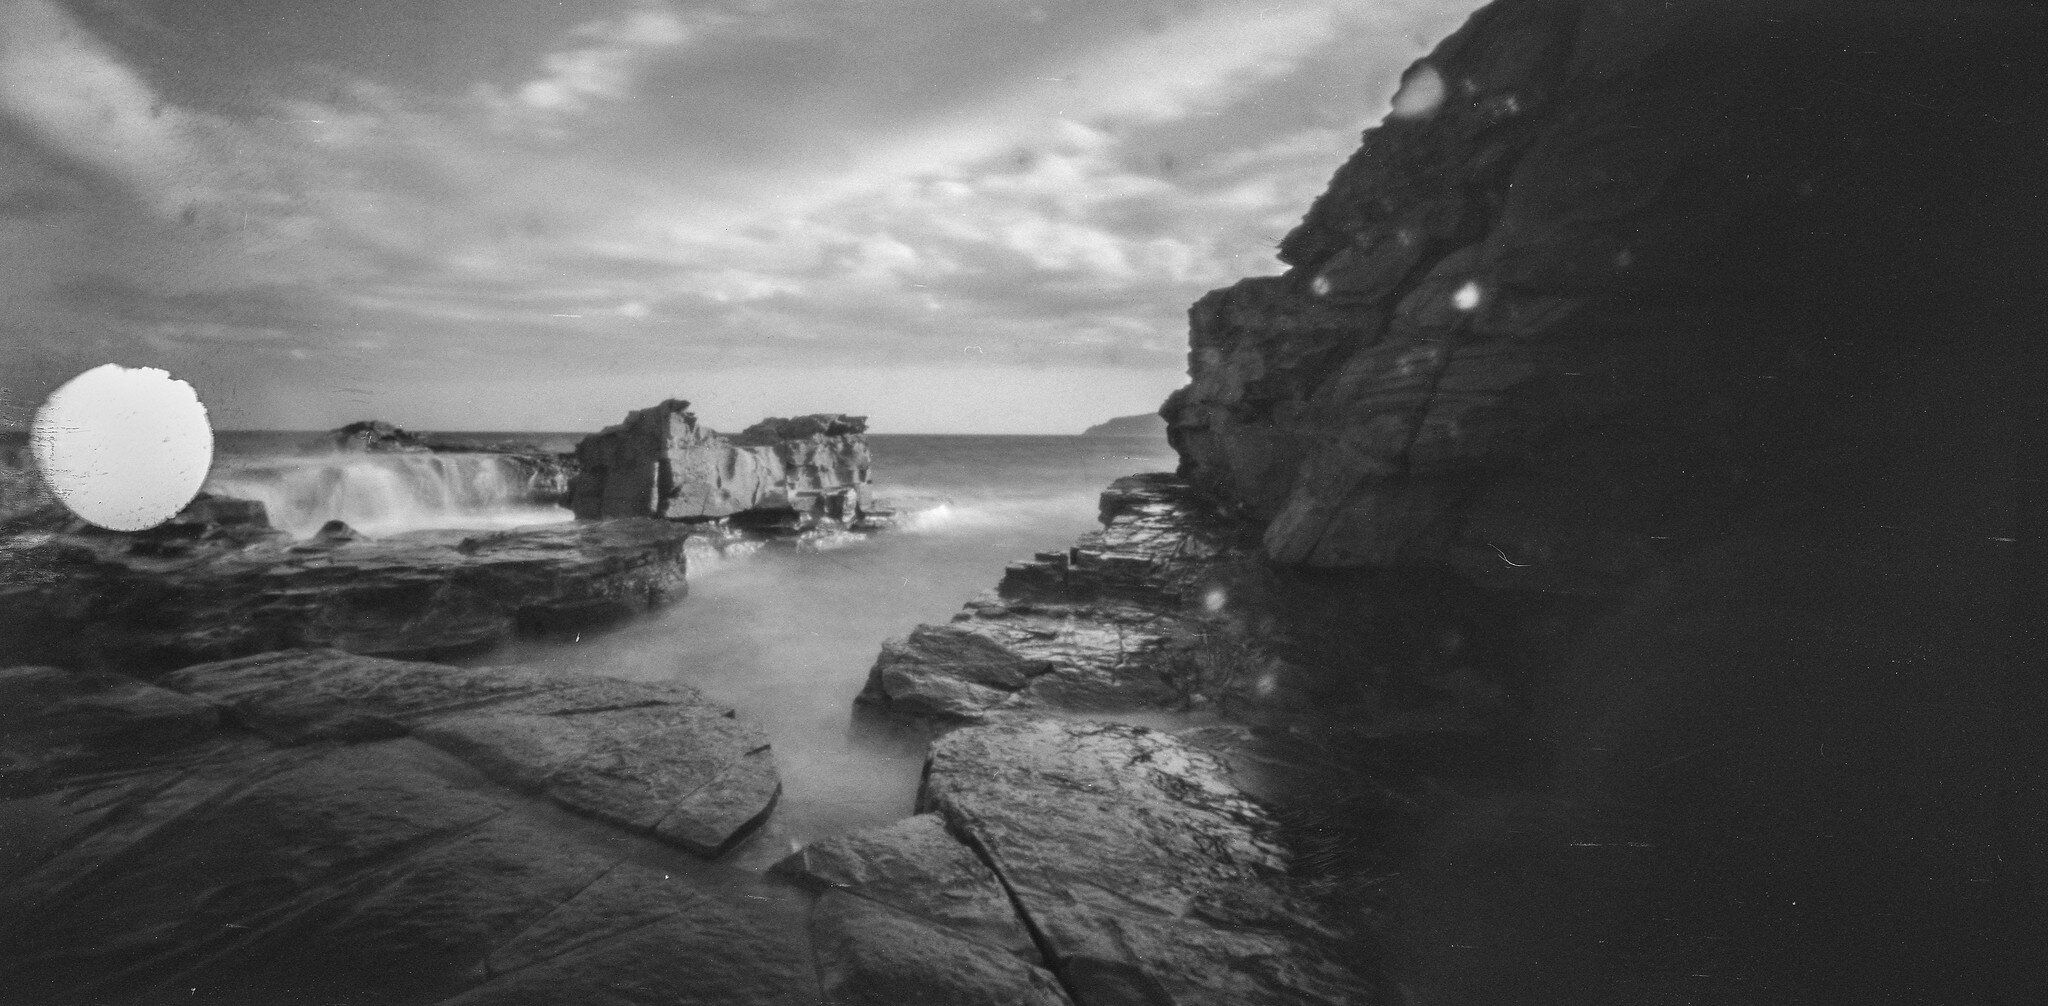
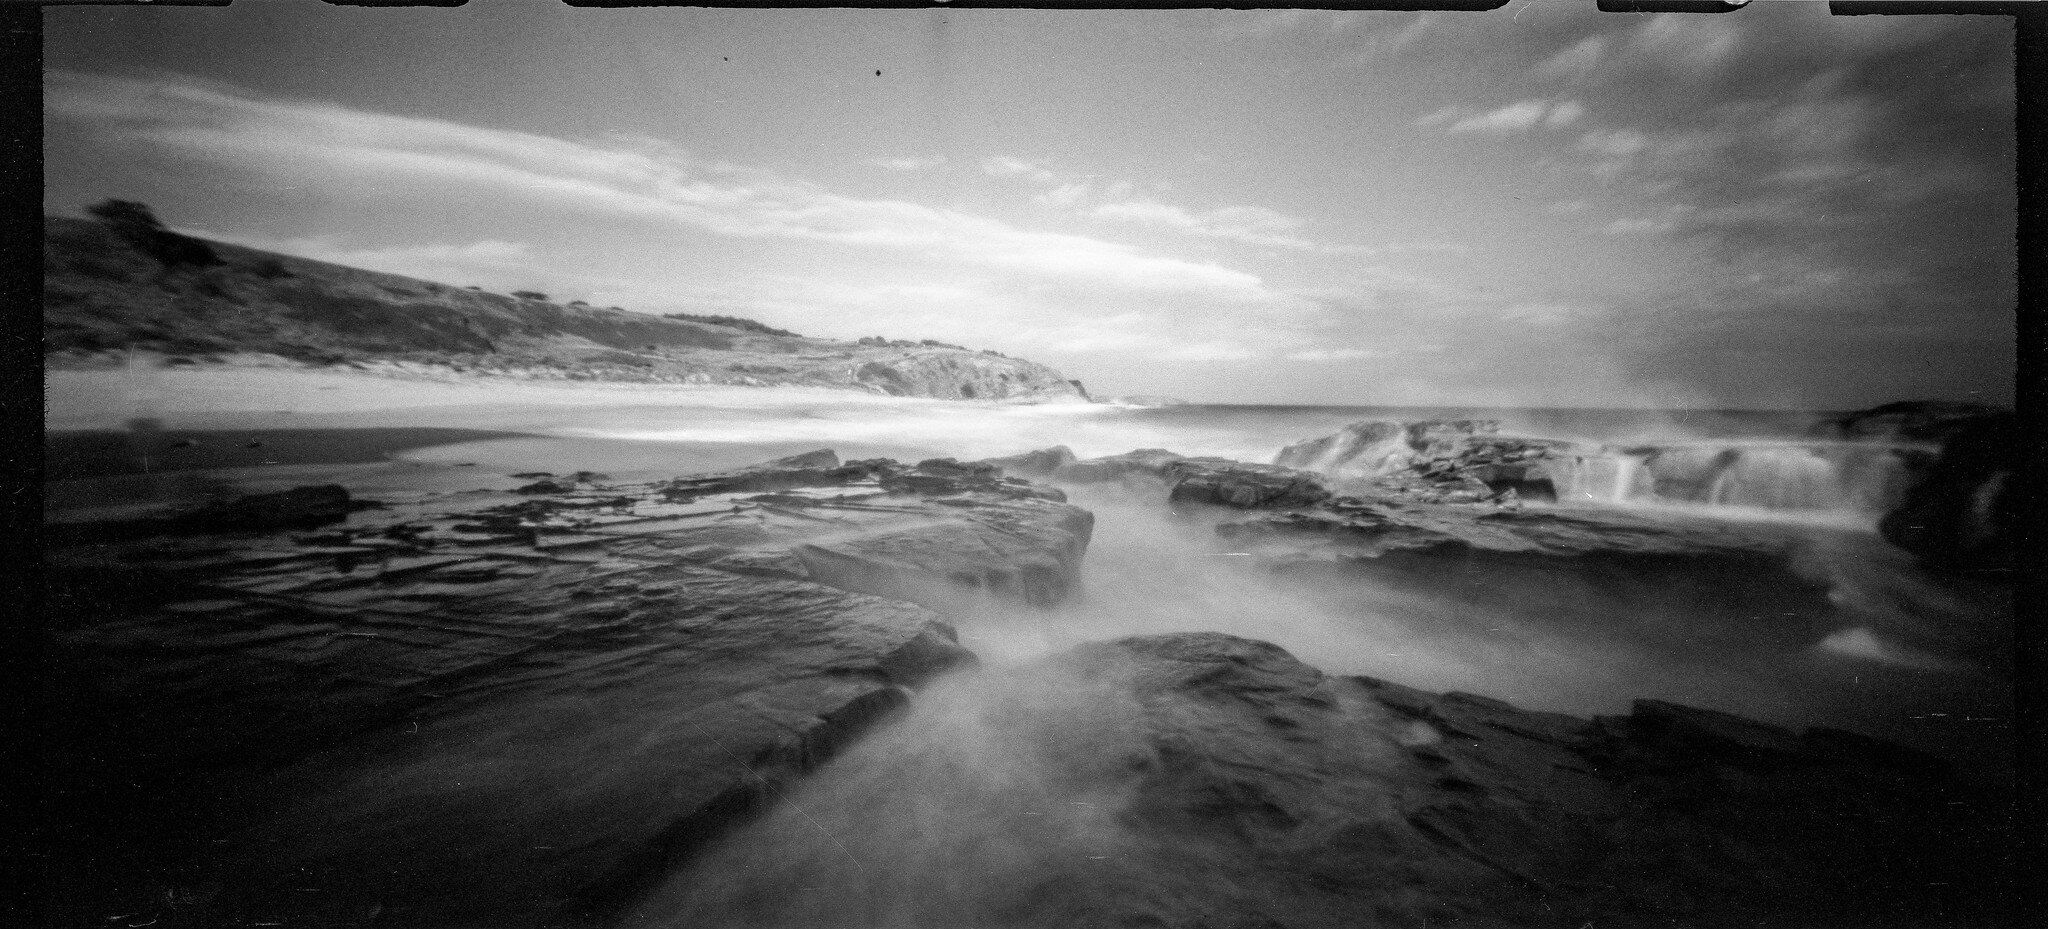
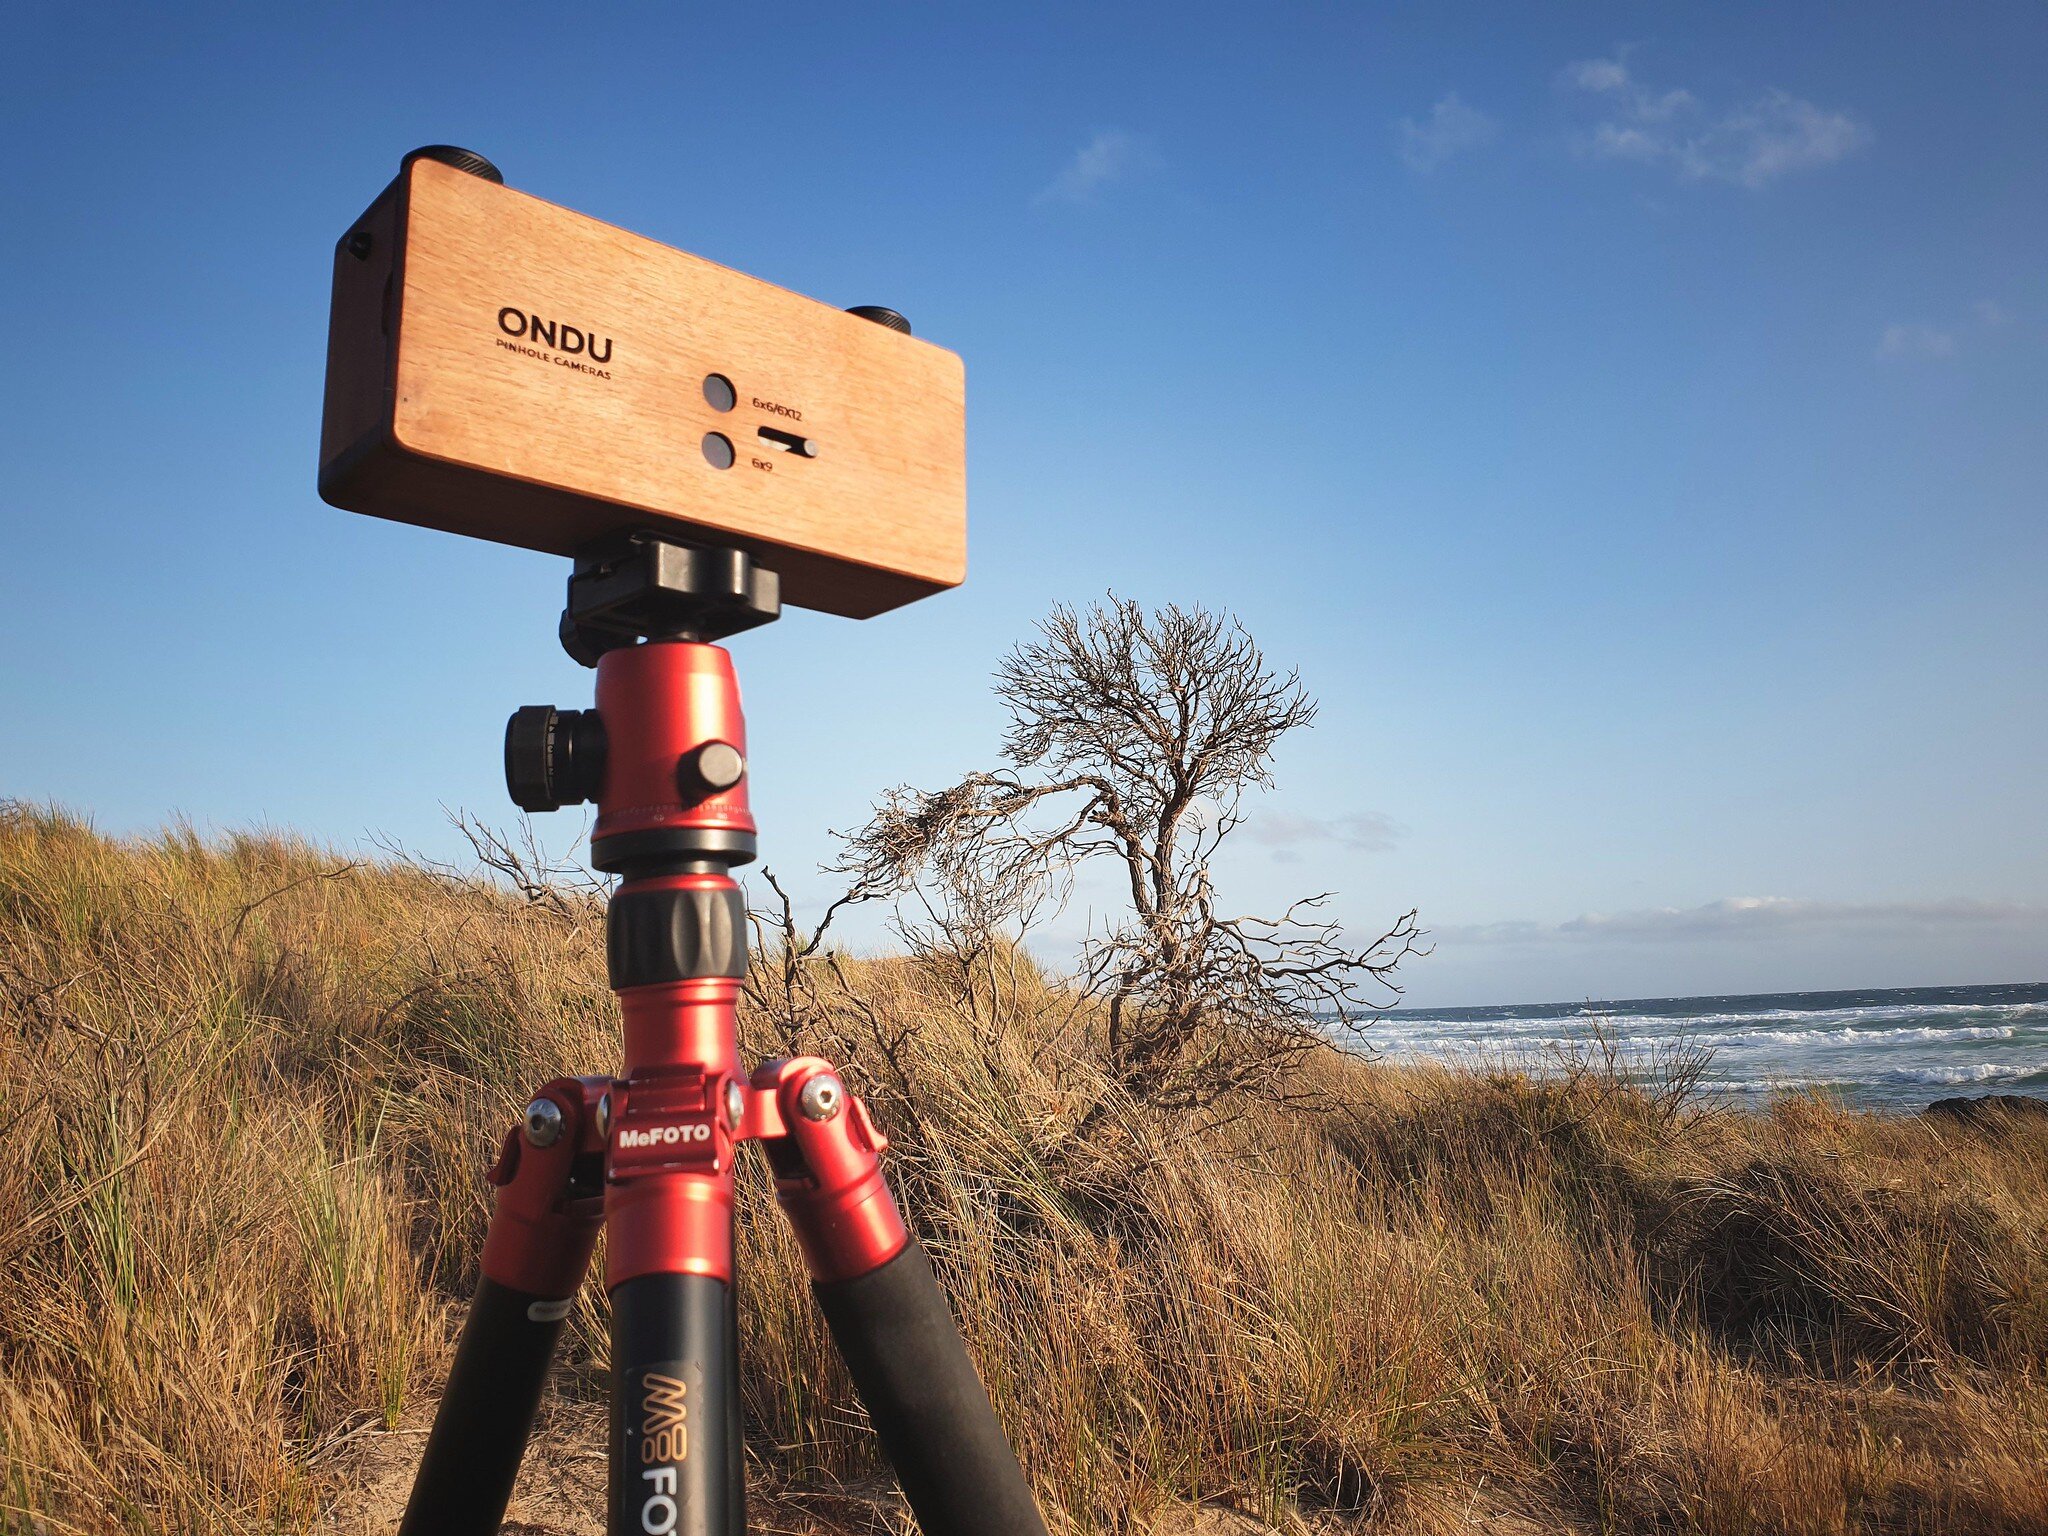
Last year I invested in the Kickstarter campaign for a medium format, wooden, film pinhole camera made by ONDU . It is literally a wooden box with a tiny pinhole for a lens! I had the opportunity to load the camera with film and take it out to Cadillac Canyon for our Long Exposure workshop.

I used Fompan 100 medium format film and shot the exposures in a 6x12 format. That meant I only had 6 exposures on a roll of film.

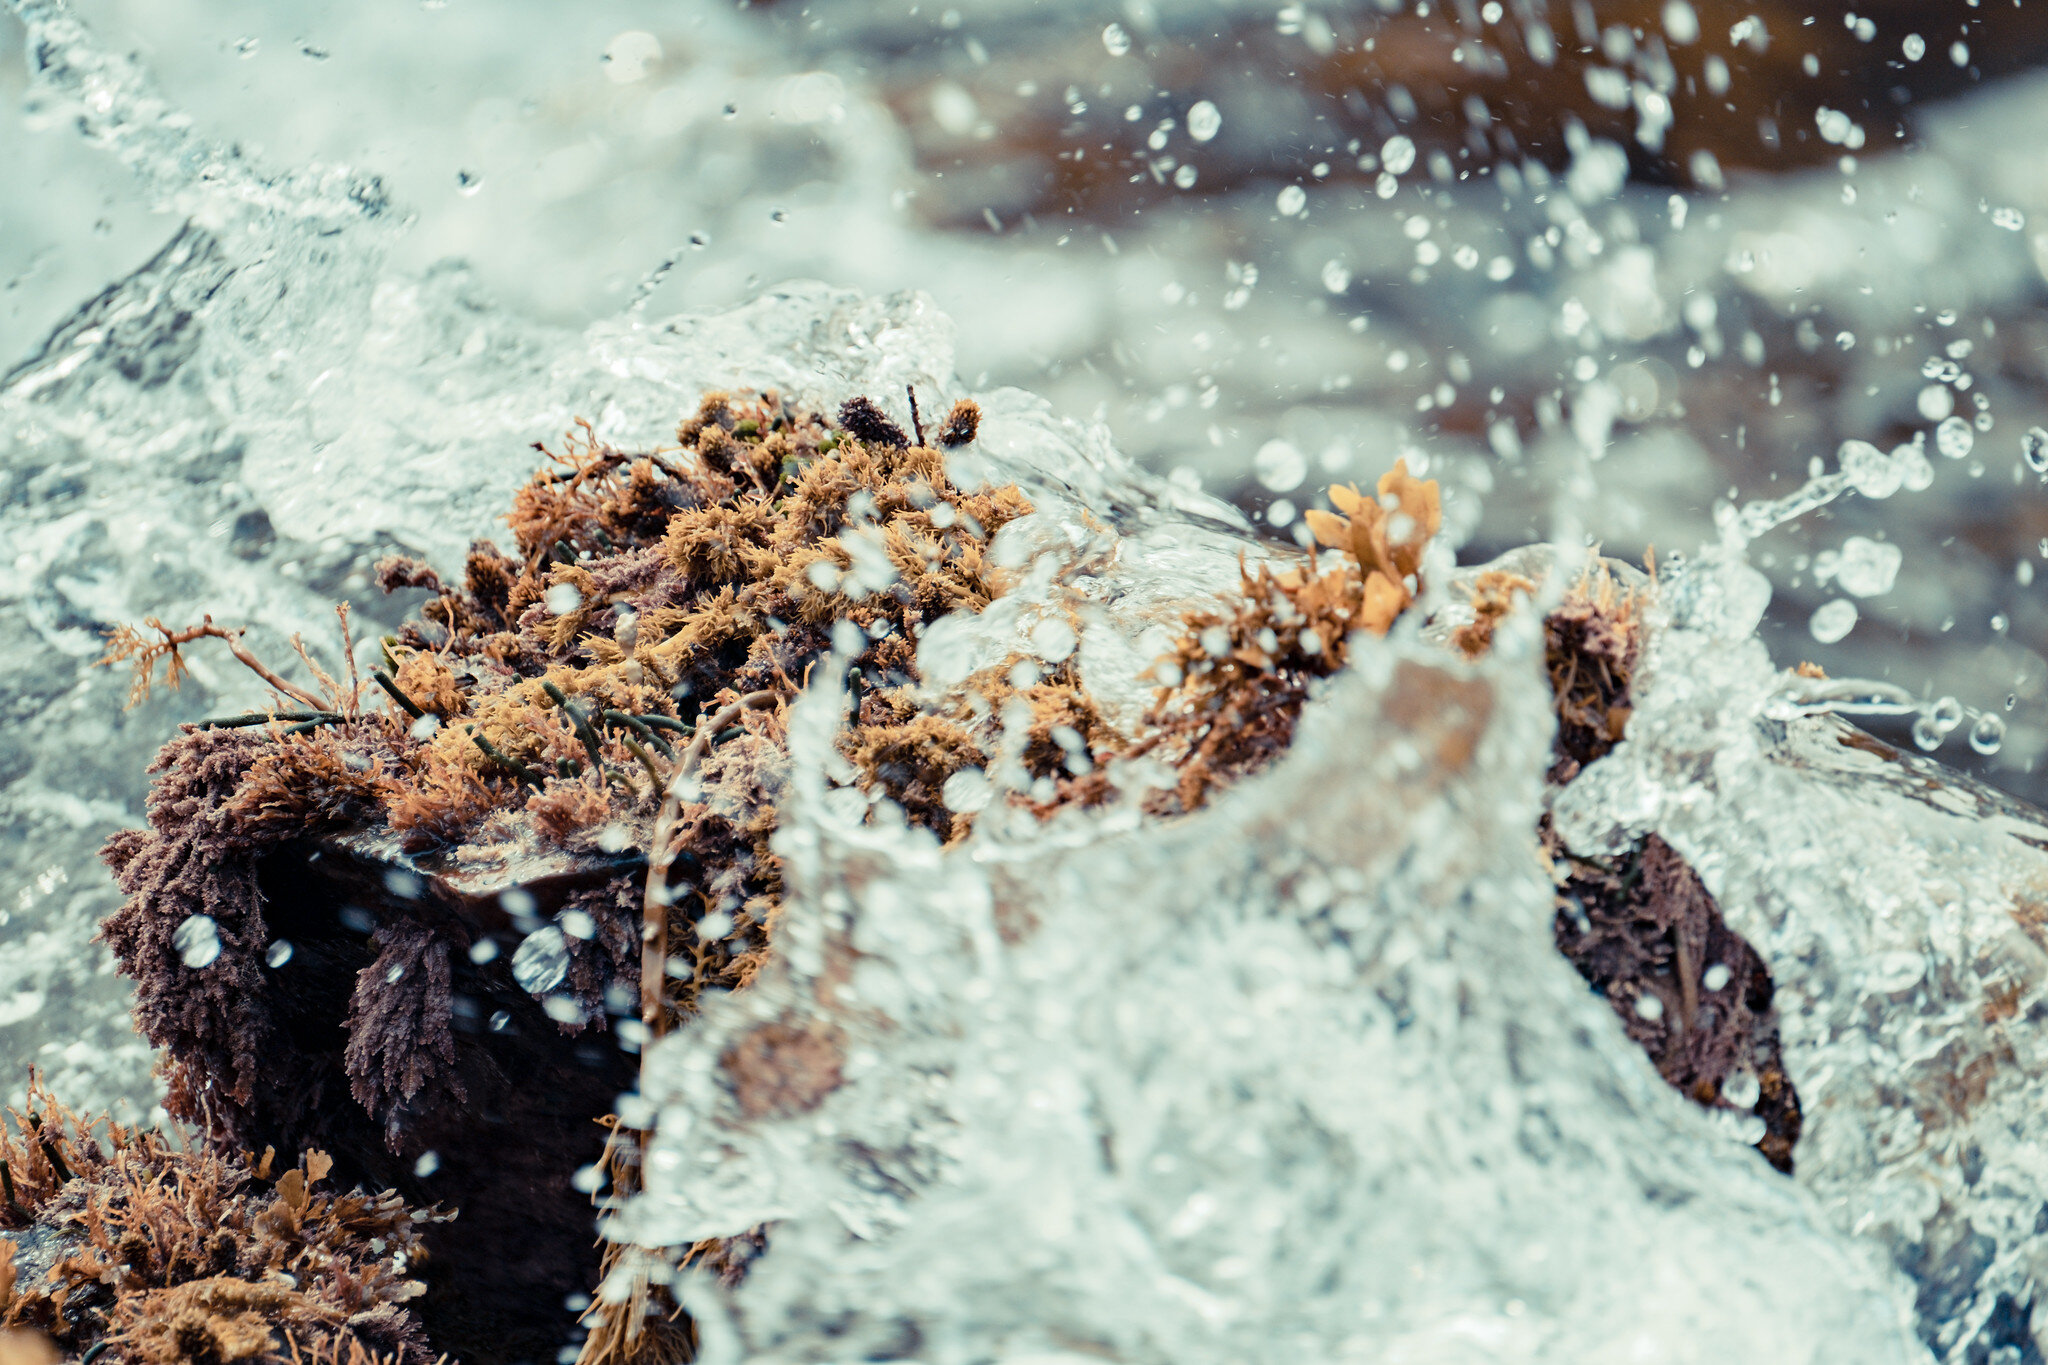
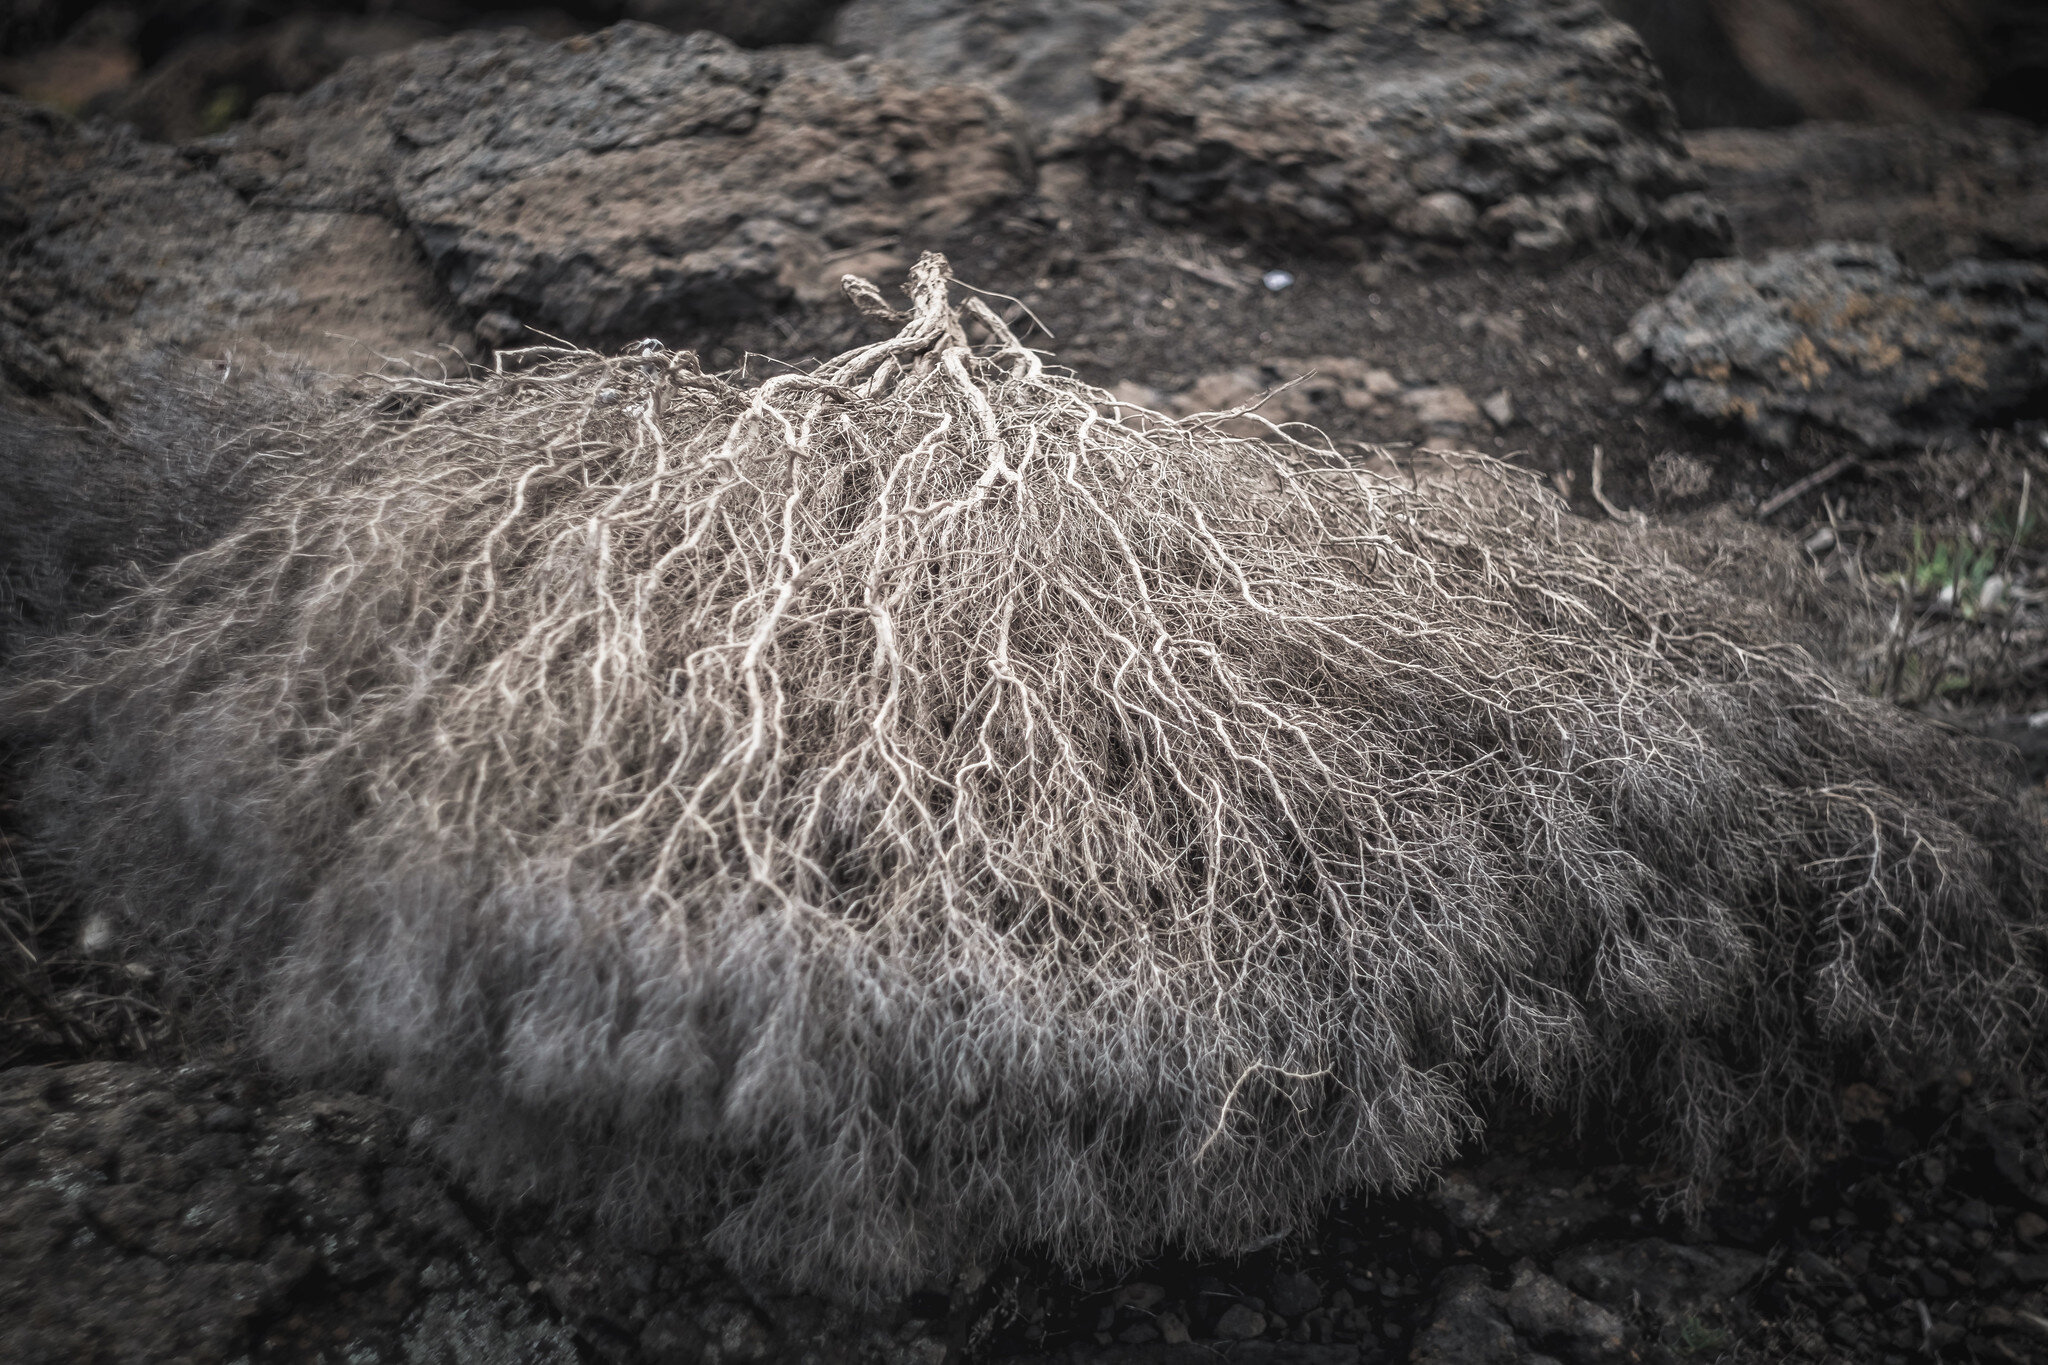
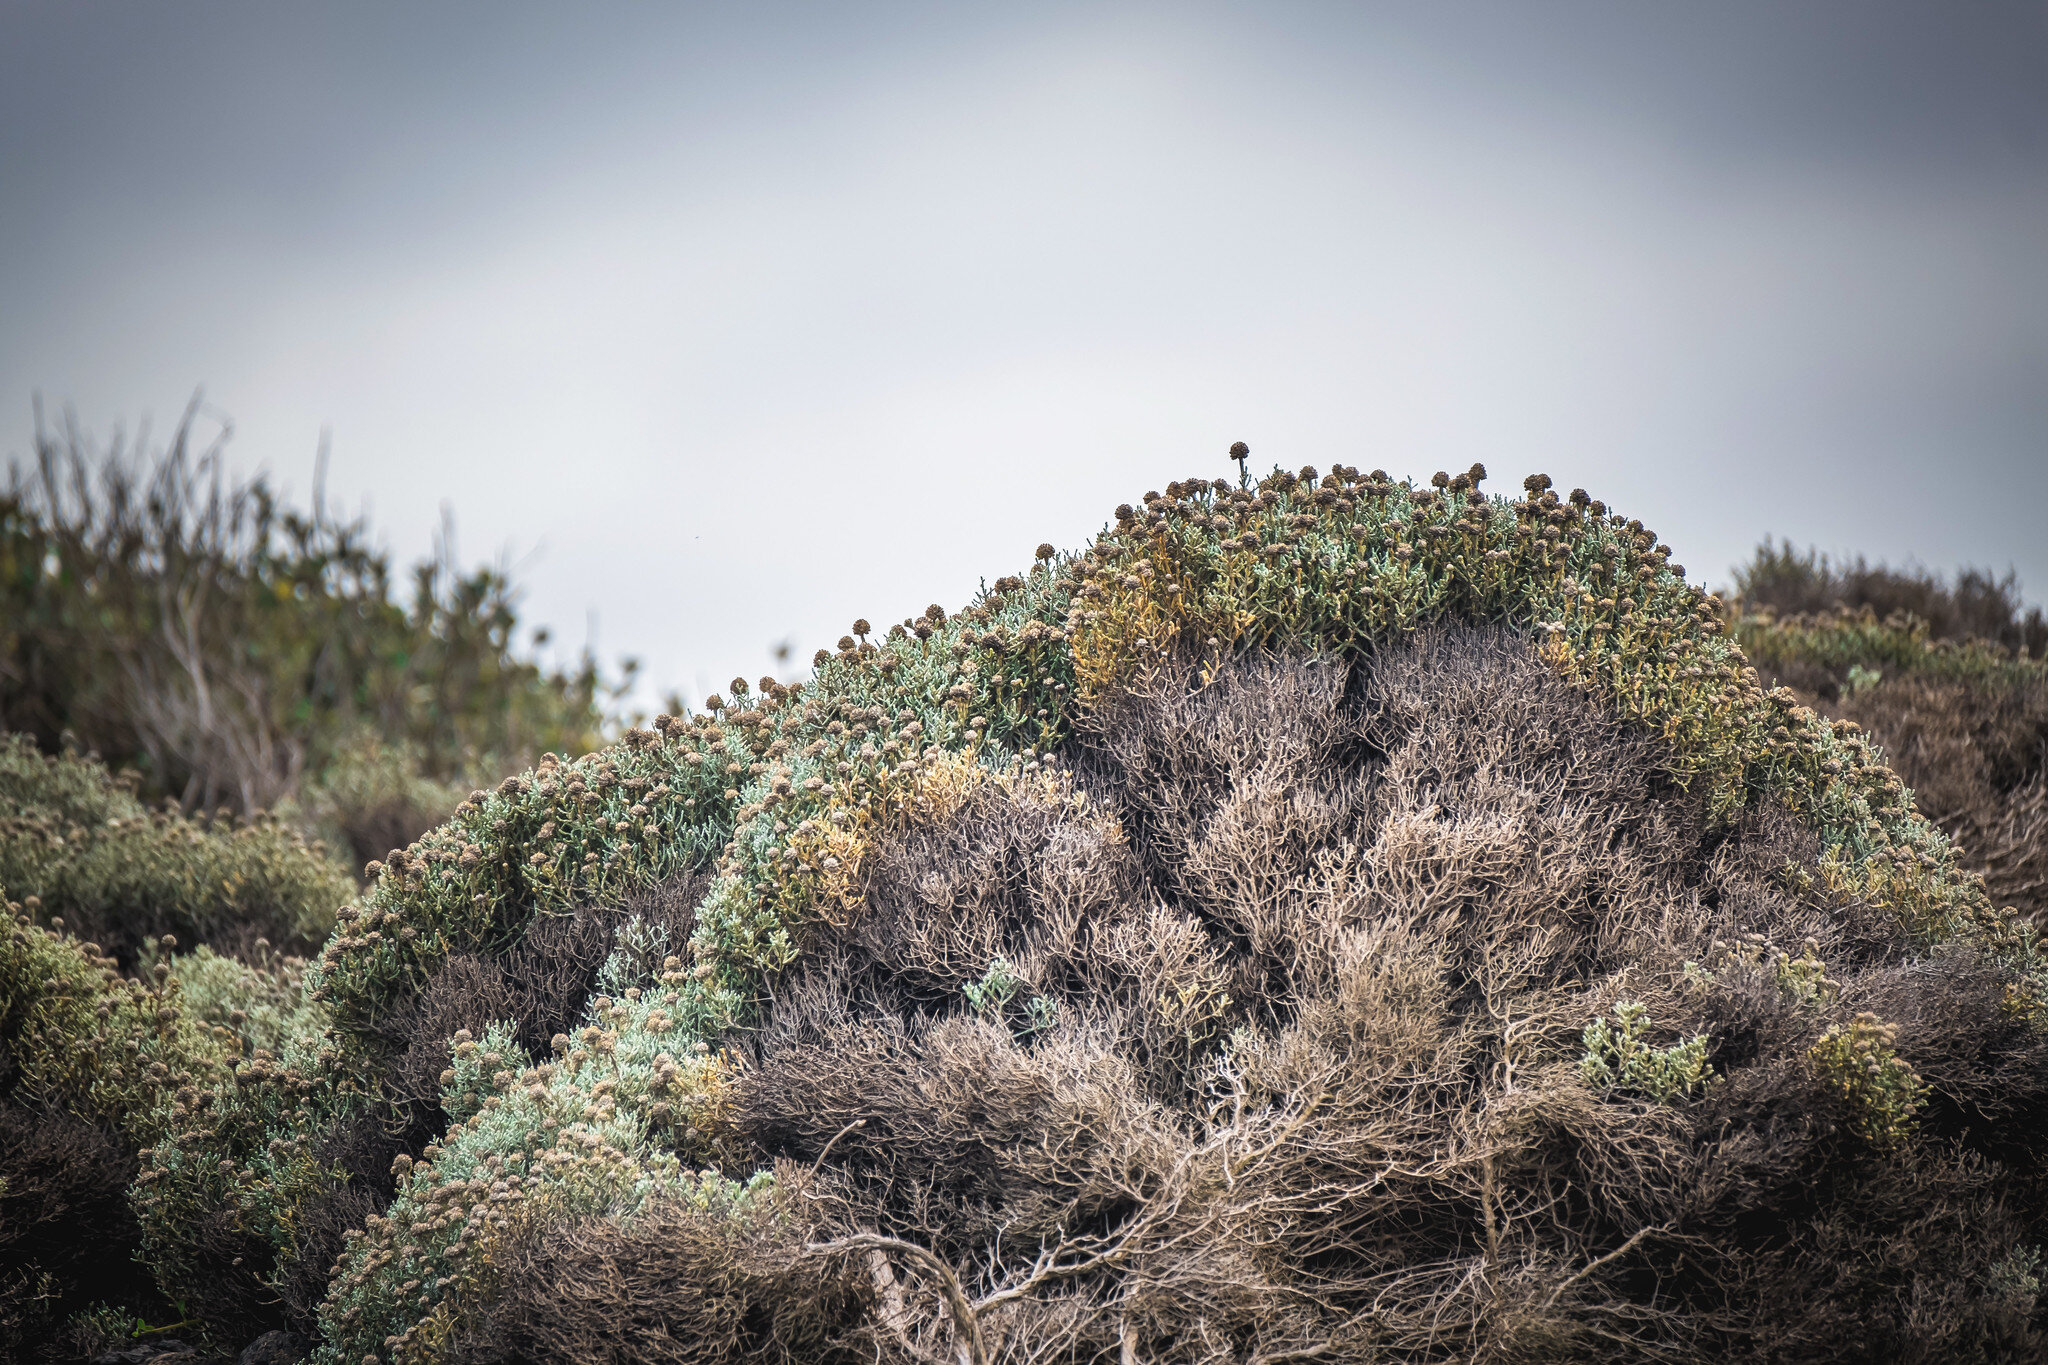
I had a blast using it out there and here are a few of the shots. They are not perfectly composed of exposed and you can see the flaws of a 'pinhole' lens. However, there's a raw look and feel about the photos that I love and I could not get using state of the art high tech gear.

What's Coming Up? by dale rogers

This Saturday is our Slow/Long Exposure Workshop at Cadillac Canyon. Here's a few shots from our last Slow/Long Exposure workshop at Cadillac Canyon. We still have places remaining so if you want to come along to the BEST photography place around Phillip Island and learn to shoot images like these, message us ASAP.

ASTRO Goodness! by dale rogers

Last night was perfect for Astro Photography. Cecilia and I had a packed house of keen astro photographers. Mother Nature did not disappoint and turned on ALL the stars for us and we turned on a few special lights of our own. We even got to see the tip of the Milky Way peaking above the horizon. Thanks to all the photographers who participated, we had a blast of an evening!

Our Workshop this coming Saturday is a Long Exposure sunset workshop at Cadillac Canyon. If you want to come along, message us soon as places are filling fast.

The next Astro Photography workshop will be on 22 Feb. Details will be posted in our events section ASAP. Here are a few shots from Cecilia and I. Cheers!

ANNOUNCEMENT - Weekday One2One Tuition With Cecilia by dale rogers

We have just opened up the weekdays for One to One photography tuition. The weekday tuition will be conducted by Cecilia. Cecilia is usually behind the scenes at Photo Rangers HQ doing the creative side of our work as well as designing new workshop curriculum. Cecilia is a professional photographer shooting leading the Photo Rangers commercial real estate, events and wedding photography. She is also a professional academic at Deakin University teaching teachers and as a learning skills adviser. She excels at tailoring the perfect curriculum for each person’s individual learning style. 

If you have wanted to join one of our group sessions but prefer a One to One option or if you typically can not make our weekend workshops, contact us to arrange a photography tuition consultation and session with Cecilia.

THANK YOU! BUSHFIRE WILDLIFE FUNDRAISER!! by dale rogers

Last night Cecilia and led our Wildlife Photography Bushfire Fundraiser Workshop. We received over $1500 in donations to help wildlife injured in the bushfires. We are so excited to be able to help our neighboring wildlife in such a significant way.

Special thanks to the 18 participants who braved the rain and wind to walk the 8k Cape Woolamai Track - it was an amazing night!

Summer Workshops Have Begun by dale rogers

This weekend we kicked off our Summer Workshop series. The first off the bat was the Adventure Based Basic Camera Workshop along the Cape Woolamai Track. We had nothing but perfect conditions making for an enjoyable and scenic workshop. Here's a few images from the evening.

Taken with a Fujifilm XT3 with a 100-400mm lens and a Fujifilm XPro2 with a 10-24mm lens.

Post Christmas Fun - Film Images With Sprockets by dale rogers

I hope everyone has had a very Merry Christmas! We had a very nice day and I even had a little time to experiment with my Epson V550 film scanner before the kiddos got up.

Here's a couple of shots I took at the Gippsland Campdrafting Association competition in Dumbalk earlier this month. I shot the event with an Olympus OM 2n film camera just to see if I could capture action on film and manual focus lenses. I also wanted the images to have a vintage look so I used a nice grainy black and white film, Kodak 400TX.
Here's a couple of frames that I have scanned that includes the film sprockets. This took some experimentation and work to get the scanner to not recognise them as separate images and not include the sprockets.

What I really love about this shot is I have the Campdraft Arena and the competitor in the first frame and the spectator covered 'gallery' in the second. They two images just line up perfectly.

What do you think of film images and how do you like this scan that includes the film sprockets?

49271243663_76cb141704_k.jpg

Top 5 Reasons Why I Still Shoot Film by dale rogers

Number 5 - GAS

No, film does not give me gas but it does allow me to indulge in Gear Acquisition Syndrome (GAS). Shooting film in the age of digital allows me to buy all different types of film cameras from online trader sites, EBay and opportunity shops. I have cameras as old as 70 years and can find all sorts of inexpensive cameras from any decade in my price range …. And that’s not a very big range at all!

Yashica Electro GSN using Kodak 400TX film

Yashica Electro GSN using Kodak 400TX film

Being able to afford multiple cameras has meant I can experience different camera styles such as the traditional SLR, folding cameras, rangefinders, pinhole, point and shoot and even vintage instant film cameras. In the digital world to experience the power of a larger format like medium format digital requires an investment of tens of thousands of dollars but film allows me the ability to explore other formats from 35mm to the larger medium format (120) to 4x5 sheet film for a fraction of that cost.


Mamiya C220 TLR and Kodak Ektar 100 - medium format film (120)

Mamiya C220 TLR and Kodak Ektar 100 - medium format film (120)

So, film shooting has fueled GAS and an incredible sense of exploration and discovery.

Number 4 - Magic

Magic, the noun, is defined as “the power of apparently influencing events by using mysterious or supernatural forces” and as an adjective as “wonderful; exciting”. Shooting film relates to both the magic noun and adjective for me.

I have learned to develop black and white film in my home. Using a combination of chemicals, mix ratios, agitation, drying and even throwing in the bit done in total darkness reminds me of ancient alchemy. And at the end of this mysterious alchemical process, I find images - moments trapped in time, that have spontaneously appeared on a piece of celluloid. Sometimes the moments captured are from times I can not recall but, there they are, captured for all eternity as if by magic on these rolls of film.

Taken with a Fujica STX1 with Kodak 400TX

Taken with a Fujica STX1 with Kodak 400TX

I have not yet ventured into developing my own colour film yet so I send those off to a lab for developing and scanning. I typically send in 5-6 rolls of film to the lab and impatiently wait for the email announcing my film has been developed and a link to the scanned images. Waiting for the scans to come back is akin to a kid waiting for Christmas. I’m so excited to see what has been captured and when I finally get the scans … magic!

Number 3 - Creativity

With digital, I have several Fujfilm X series bodies and most lenses in the Fujifilm lineup. I can set my ISO depending on the conditions and I can even change the look of the jpgs files in-camera with Fujifilm’s inbuilt film simulations. But, technology, gear and options makes it all too easy to get a good shot quickly and move on.
Film sparks my creativity through its limitations. I am limited by the ISO of the film I’m using and the gear I have. Most of my film cameras are manual focus and I may not have a large selection of lenses to fit them. Therefore, I must make the best with what’s at hand. This forces me to think creatively and work out how to get the best shot. The resulting shot is always very different from what I would have taken and settled for with digital gear.

Double Exposure taken with a Canon AE1 Program (my Dad’s camera) and Kodak Gold 200 film

Double Exposure taken with a Canon AE1 Program (my Dad’s camera) and Kodak Gold 200 film

My film images may never have the crispness, focus and exposure of the digital but they have a certain power and mystique, emotion or soul if you like, that is missing in my digital shots.

Number 2 - Zen of the Shot

Photography is a mindfullness activity for me. It allows me to free the mind of anxiety and clutter and be in the moment, experiencing the environment and the particulars on the scene before me. With film this is even more so as it slows me down and causes me to think deeply about what I am trying to capture.

Taken with a Pentax Z1-p using Agfa Vista 200 film

Taken with a Pentax Z1-p using Agfa Vista 200 film

With film I carefully consider each shot, I slow down, no spray and pray with a roll of 36 exposures. The process and experience of finding and executing the shot is as important and satisfying as the final image itself. There’s a certain Zen with acknowledging your limitations and then working through them to find the perfect capture of the subject matter.

Number 1 - The Look

And the number one reason why I shoot film, it just looks way cooler than digital. Yes, digital shots are sharper, have more dynamic range, more colour, more latitude for editing but there is something about the grain and look of the film stock that I love. If you think about it, most editing apps these days have built in filters. Many of those filters mimic the look and feel of classic film stock. Each type of film had a particular look, feel and mood. For example, if I am shooting a bright sunny day, I may want to use Kodak Ektar because this film will pop colours, especially the sky and look stunning. If I want a more desaturated, dreamy look I might use Kodak Portra and so on. Today there are heaps of different film stock and new ones coming on the market on a regular basis. This means, with film, I have these uber cool filters built right into my shot.

Canon EOS 55 with Agfa Vista 200 film

Canon EOS 55 with Agfa Vista 200 film

But that’s just with colour films. The black and white films have a look to die for. The bold contrasts and grain patterns of these films can not be recreated in digital … I have tried. The black and white negative film stock is also relatively easy to develop at home so I can take up a roll, develop it and scan immediately.

I shoot both digital and film but if I had to choose, I would choose film for its more artistic and mood evoking images.